Log Home Pictures - 10/8/05
The major projects for 2005 were to finish varnishing the first floor log walls and to chink as much of the first floor as possible. I also did some additional plumbing on the water line from the spring, I trimmed the inside of all the first floor windows, I installed the EMT and outlet boxes for all the first floor receptacles in the log walls, and I installed most of the receptacles in the living room and dining room. Varnishing and chinking turned out to be a lot of long tedious work.

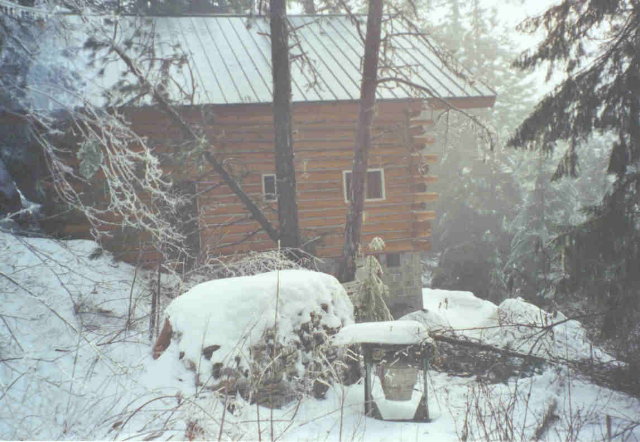
On 1/18/05 I discovered that an ice storm had broken off the two trees in the center of this picture 50 feet above the ground. Both broken pieces had fallen onto my roof. One fell across the ridge and broke in two. The top piece was still lying on the big roof and the other, larger, piece slid down so the butt was on the ground and it was still leaning against the eave. The other tree landed crosswise and as it slid off, it tore off twenty feet of rake metal on the western gable. This picture shows both trees.
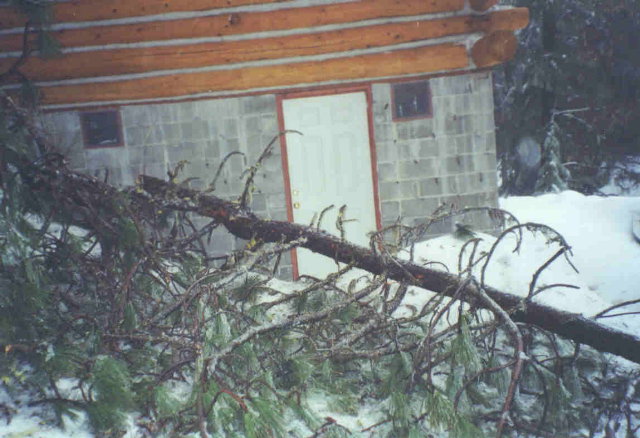
Here you see the second tree where it landed after tearing off the rake metal. The picture was taken on 1/18/05.
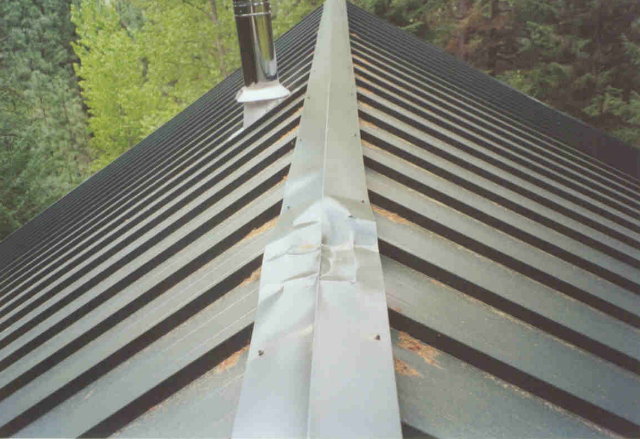
Here you can see the damage done to the ridge by that first tree falling on it. I went up on the roof and repaired the damage on 5/04/05.
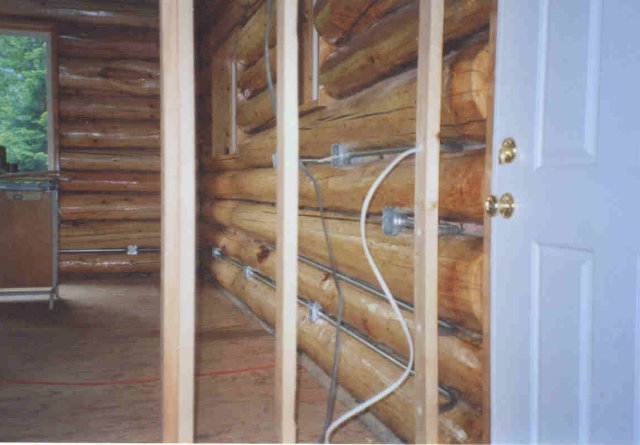
This is a picture of some of the EMT and receptacle outlet boxes in the kitchen and dining room as seen from the utility room through the open stud wall. Incidentally, the electical distribution panel will go between those two studs on the right, opening into the utility room. The picture was taken on 5/19/05.
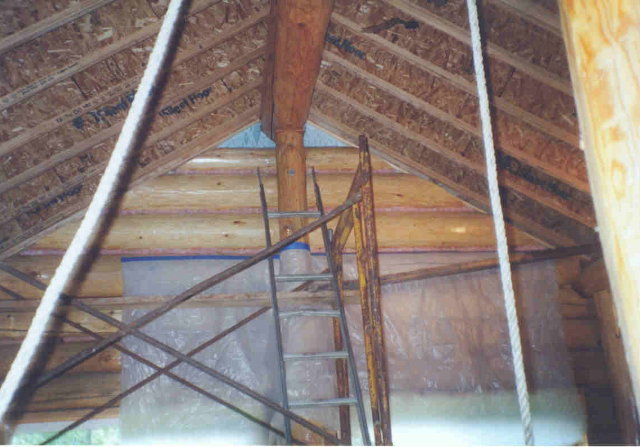
I got started chinking the inside on 6/8/05. Here you see the scaffold tower reaching to the gable peak where I started the chinking.
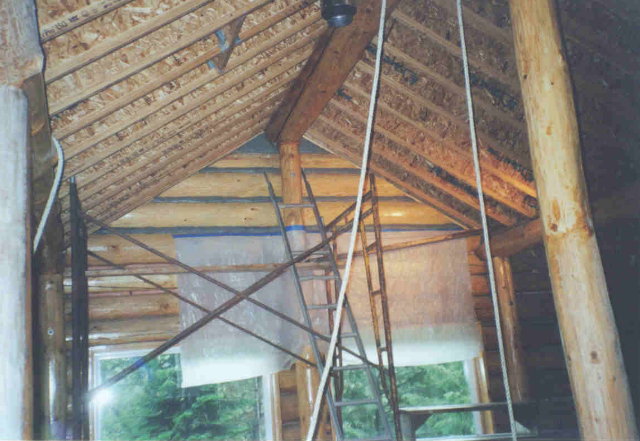
Here you see the first chinking at the gable peak done on 6/8/05.
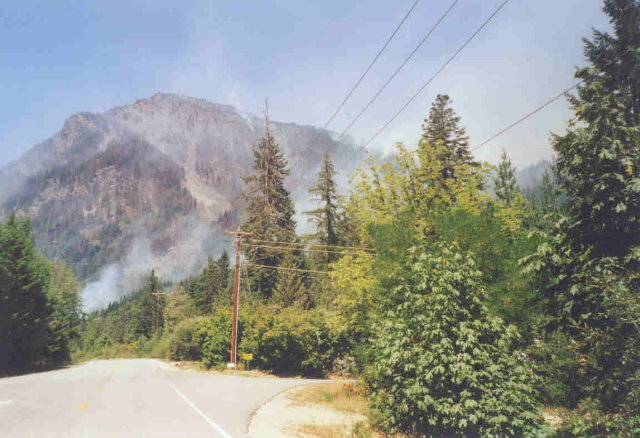
On 8/2/05, a fire was burning on Dirtyface Mountain.
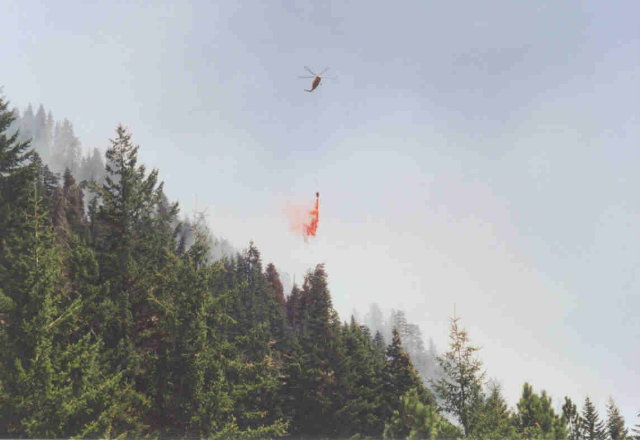
There were lots of helicopters and even fixed wing aircraft dropping water and fire retardant on the fires. ( 8/2/05)
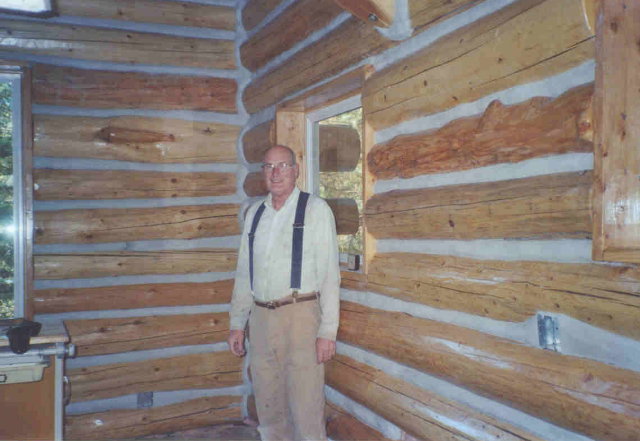
By 9/28/05 the chinking was done in the living room, the dining room, the kitchen, and half of the utility room. Here I am standing in the corner of the dining room with part of the kitchen wall on the right.
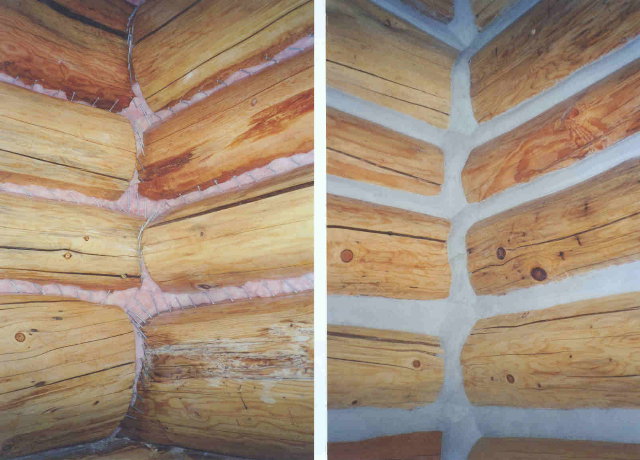
Here are close up pictures of a corner before and after chinking. (They are two different corners; the one on the left is the utility room and the one on the right is the dining room.) You can barely see the pattern of nails that holds the mortar in place. The pictures were taken on 9/28/05.
©2005,2006 Paul R. Martin, All rights reserved.