Log Home Pictures from 2006, Part 2 of 2
There are multiple picture pages for this year. . . . . . . . . . . . . . . . . . . . . . . . . . . .This is Page 2 of 2. Go to page 1 2 next prevOther years: 1991 1992 1993 1994 1995 1996 1997 1998 1999 2000 2001 2002 2003 2004 2005 2006 2007 2008 2009 2010 2011 2012 2013 2014 2015 2016 2017 2018 2019 2020 2021 2022 2023 2024 2025
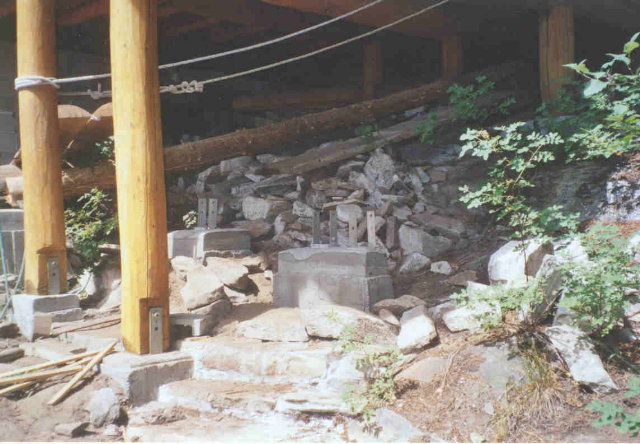
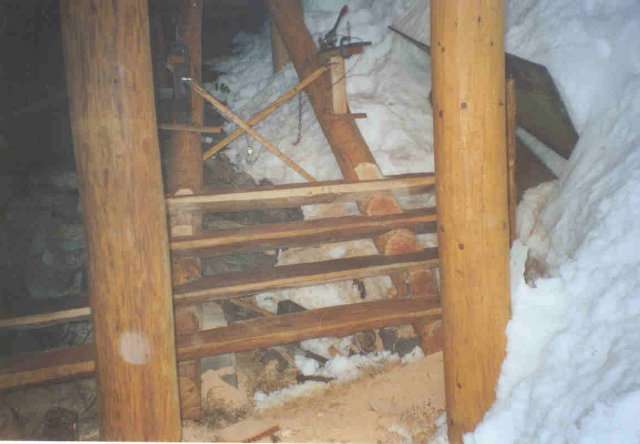
Here you can see the two concrete pads that will support the stair stringers. - 7/19/06.
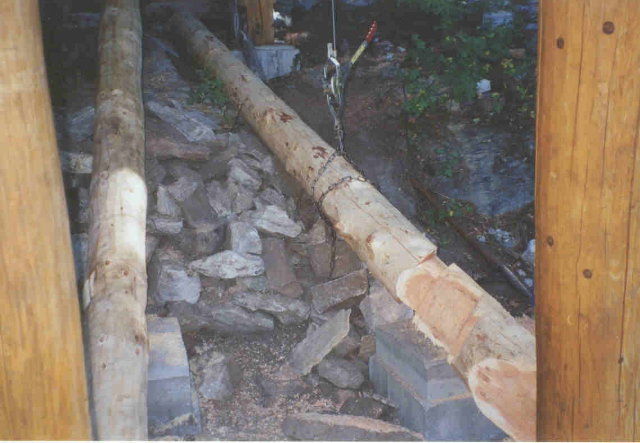
The two log stringers are notched to fit into the CB66s on the concrete pads. The left stringer is already in place. The right stringer is upside down so you can see how it is cut to fit into the CB66. - 7/27/06.
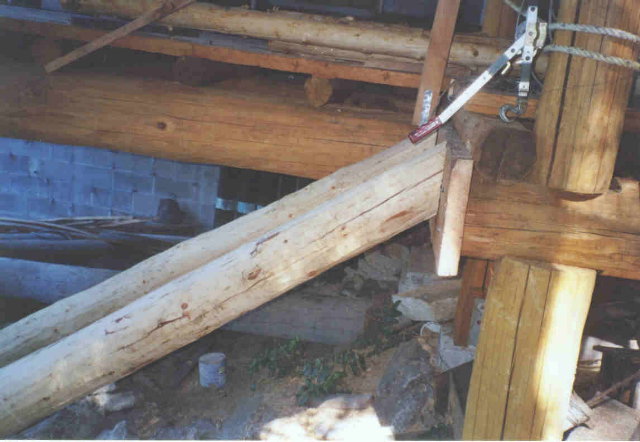
This picture shows how the stringers are fastened at the top. They rest against a plank header and are lag screwed to the header from behind. - 7/27/06.
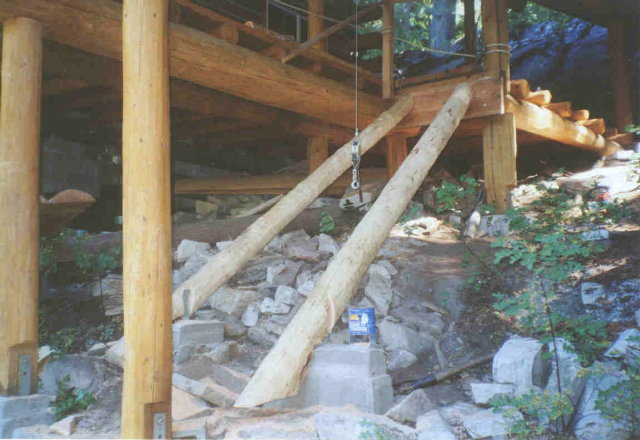
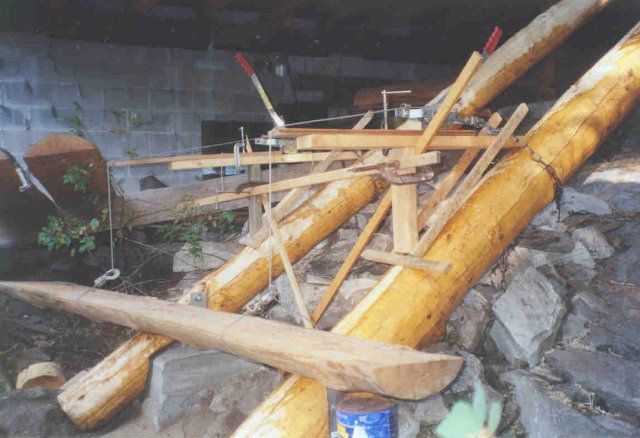
Here the two stringers are in their final places ready to be fitted with the half-log treads. - 7/27/06.
This shows the two jigs that are used to hold the tread in place for the scribing operation. The jigs allow all six degrees of freedom of position of the tread to be independently adjusted. When the tread is in exactly the right position, the tread and stringers are scribed with lines showing how and where the notches are to be cut. - 8/3/06.
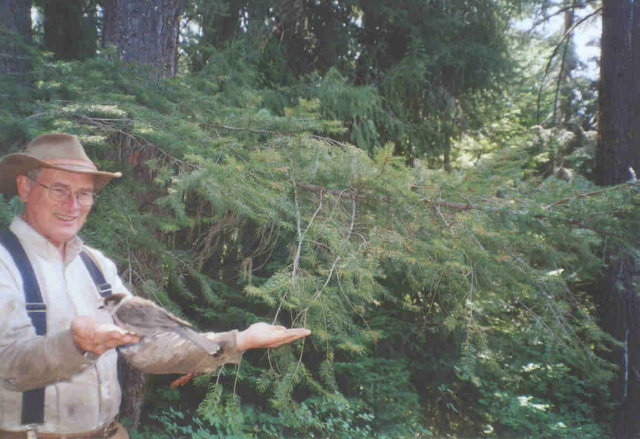
Here Paul is taking time out to feed the gray jays a peanut treat. - 8/3/06.
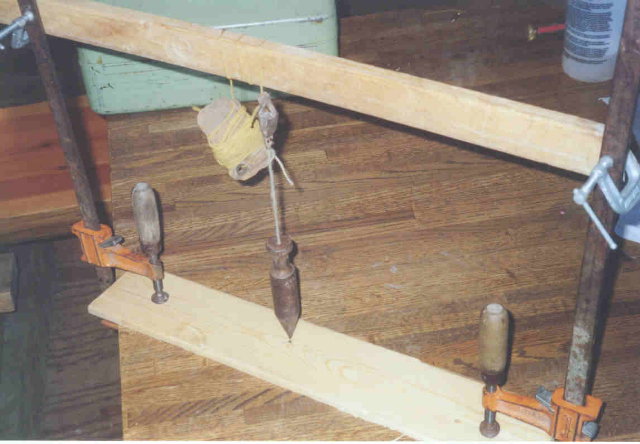
This is the jig used to align the scribe. The horizontal 1x2 is just a little short of the scribe distance above the lower board. The plumb bob shown here is used to make a mark on each board such that the marks are exactly in a plumb line. - 8/9/06.
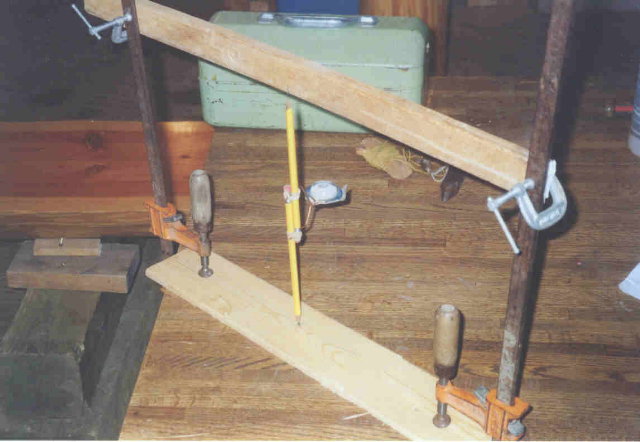
Here you see the scribe in the alignment jig. The scribe is made of two pencils, a bubble level, and a wire bracket, all held together with two rubber bands. With the pencil points on the two vertically aligned points, the bubble shows how the wire bracket needs to be bent in order to center the bubble. When it is centered correctly, the scribe can spin 360 degrees in the jig and the bubble will stay centered all the way around. It is then ready for use. - 8/9/06.

Here the first tread and the newel post are in place. You can see the notch in the top of the end of the tread that allows the bolt to fasten the newel post to the CB66. When the bolt is in, the wood chunk will be replaced in the notch and it will be hard to see how that bolt was fastened. - 10/25/06.

Here you can get an idea of how the notches were cut, both in the treads and in the stringers. In this particular case, the notches in the stringers are a little shallower than typical, but you can get the general idea. - 12/14/06.
Here the first four log treads are in their final places. From here on, temporary plank steps were installed in order to get ready for the scouts. Those temporary steps will also take some of the pressure off to get all the front log steps done soon. Hopefully more progress can be made in 2007 than was made in 2006. - 12/14/06.
©2006-2025 Paul R. Martin, All rights reserved.