Log Home Pictures from 2013, Part 1 of 4
There are multiple picture pages for this year. . . . . . . . . . . . . . . . . . . . . . . . .This is Page 1 of 4. Go to page 1 2 3 4 next prevOther years: 1991 1992 1993 1994 1995 1996 1997 1998 1999 2000 2001 2002 2003 2004 2005 2006 2007 2008 2009 2010 2011 2012 2013 2014 2015 2016 2017 2018 2019 2020 2021 2022 2023 2024 2025
The objectives for 2013 are to finish the outside ceilings, install the countertops and sinks in the kitchen and bathroom, flooring in the bedroom and loft, fix the springbox leak, and get a start on the inside ceilings.
2/20/13 The bucked up log you see here used to be half of the double tree in front of the crawlspace door. It is the one Robert Ferrel climbed to help me remove the other half of the double tree from leaning against the cabin. A major ice and snow storm last December brought this tree down along with many others.
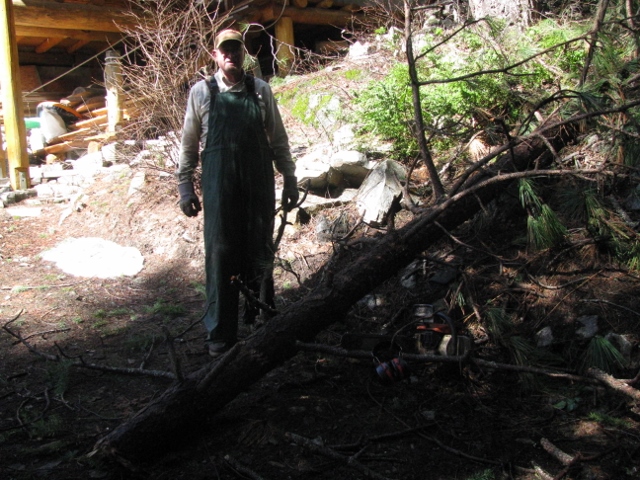
2/20/13 This is me after I cut a notch in the Ponderosa pine log so that I could walk through it.
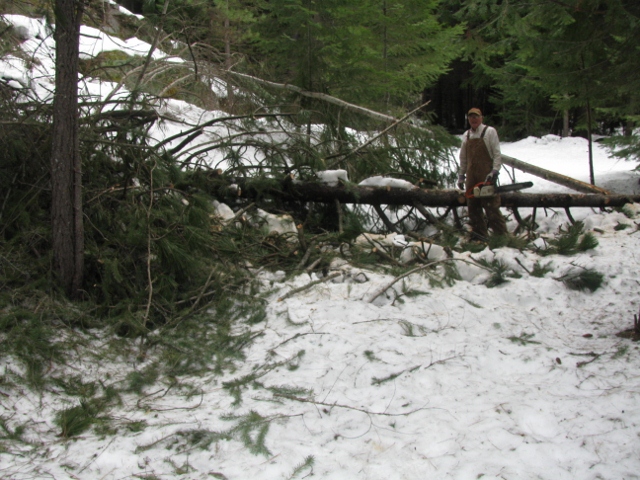
2/20/13 This is me after limbing a couple trees that had fallen across the driveway.

2/20/13 This is the driveway after I finished limbing and bucking the trees that had fallen across it. I can now walk up my driveway for the first time since last December.

3/7/13 This is the fourth generation rodent valve I made to allow the last of the packrats to leave my rafters for good. It will let them out but not back in.

3/7/13 This is the 4G rodent valve installed in the ceiling with all other escape routes plugged up either with permanent ceiling boards, or the temporary scrap boards you see here. After the packrats have left, the ceiling will be finished.
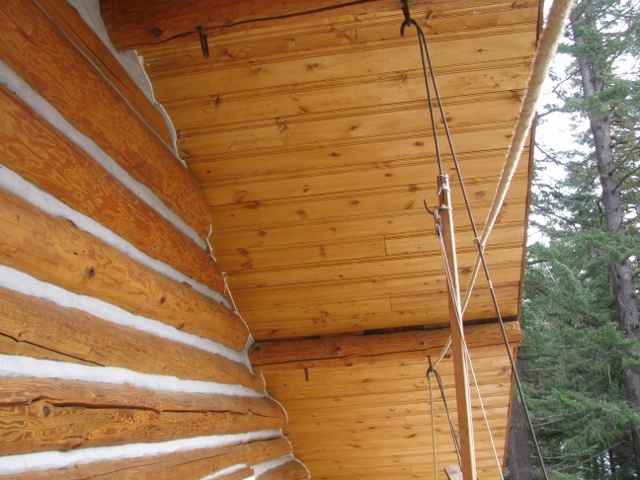
3/7/13 Here you can see the caulking between the ceiling and the log wall between Grids C and E. You can also see the rebar S-hook and the rebar skyhook hooked into the Grid C3 anchor hook on the ridgepole. The S-hook holds up the scaffolding. The skyhook holds a pulley and rope that will be used to lower the 4x4 cross pieces of the scaffolding when it comes time to dismantle it.
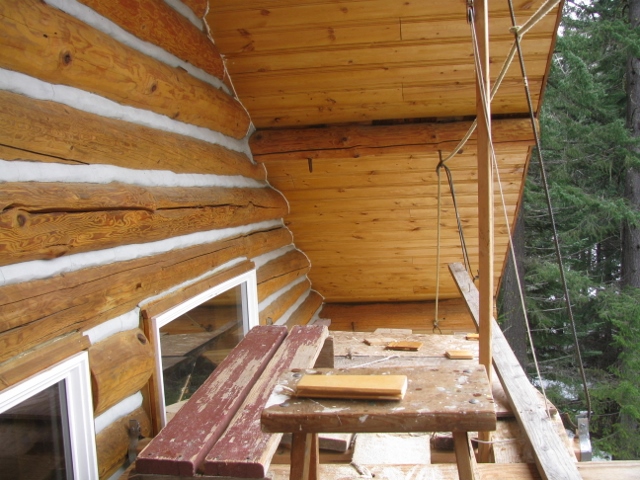
3/7/13 Here you see part of the scaffold deck. On the right side you can see the rebar S-hook coming down and hooking the bolt through the strap around the 4x4 cross piece that holds up the deck. This is typical of the scaffold structure.
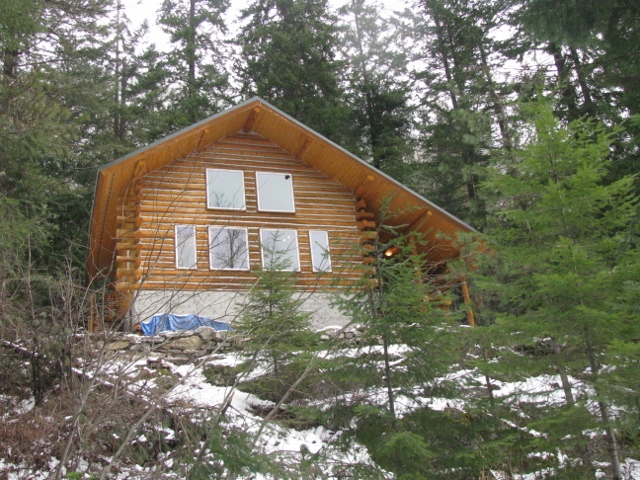
3/21/13 All of the outside ceiling boards have been nailed on. For the first time in over a year there are no scaffolds set up anywhere. A big project has been completed. Hooray!
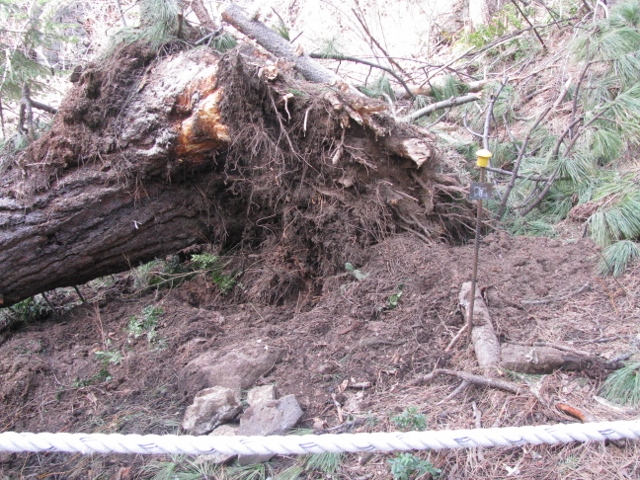
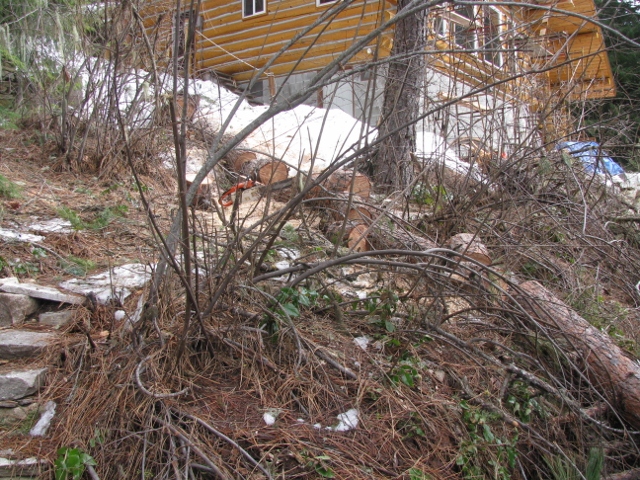
3/28/13 This is the root ball of the big ponderosa pine that fell over during the 2013 ice storm. The 6-foot giant sequoia tree named "Bill" is buried somewhere under the root ball. It was standing straight behind that sign bearing its name--the one with the orange rebar safety cap on top.
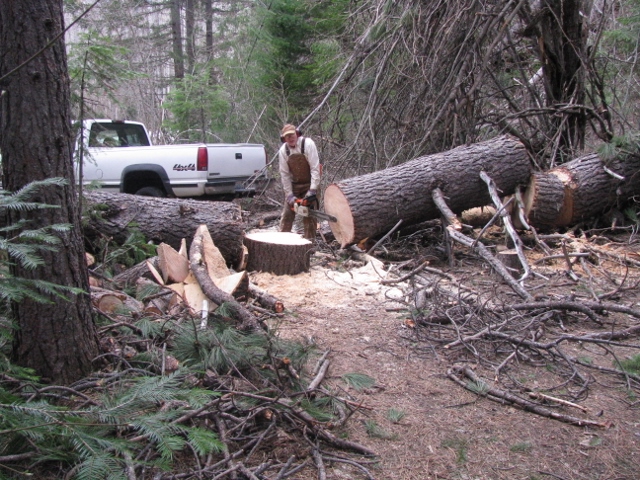
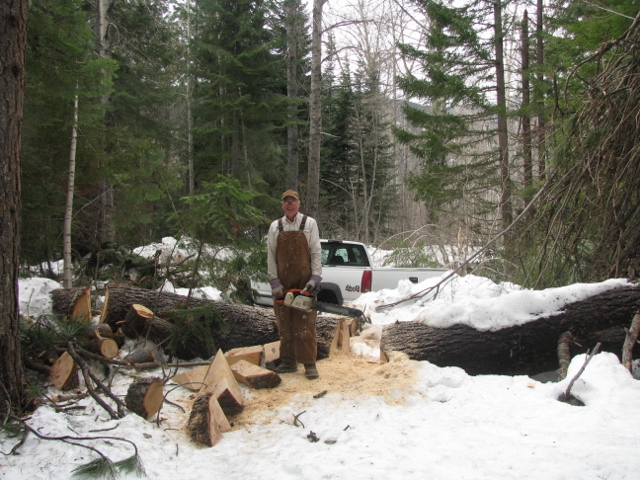
4/9/13 Here I am busy bucking up the big ponderosa log across the driveway. This week, I bucked up that section I am working on in the picture plus one round on the section at the left. That should allow the truck to get through.
4//13 This is a picture of the widowmaker that I saw fall across my trail during the ice storm last winter. I was in the cabin, heard a crack and a crash, and saw a big cloud of snow blown up from the roadway. I didn't realize how big this branch was until the snow melted away. It is seven inches in diameter. I'm glad I wasn't on the trail when it came down.
There are multiple picture pages for this year. . . . . . . . . . . . . . . . . . . . . . . . .This is Page 1 of 4. Go to page
1
2
3
4
next
prev
©2013-2025 Paul R. Martin, All rights reserved.