Log Home Pictures from 2016, Part 1 of 4
. . . . . . . . . . . . . . . . . . . . . . . . . . . . . . . . . . . . . . . . . . . . . . . . . . .This is Page 1 of 4. Go to page 1 2 3 4 next prevOther years: 1991 1992 1993 1994 1995 1996 1997 1998 1999 2000 2001 2002 2003 2004 2005 2006 2007 2008 2009 2010 2011 2012 2013 2014 2015 2016 2017 2018 2019 2020 2021 2022 2023 2024 2025
The objectives for 2016 are to finish both of the exterior log staircases, build a stoop at the front door, complete the logging activity, and work on the crawlspace drainage problem.
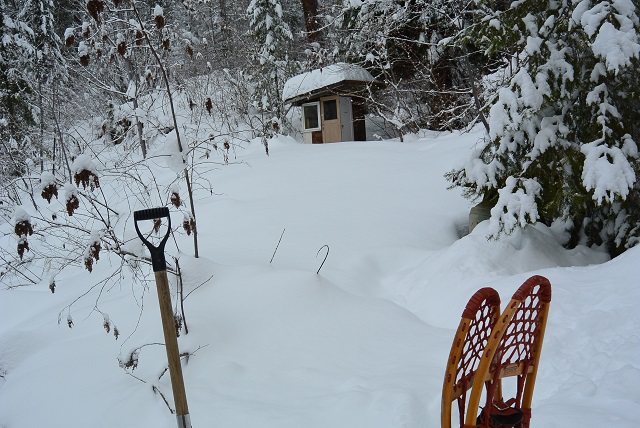
1/6/16 This winter is starting out with a lot of snow. Here the privy is carrying a dangerously heavy load of snow. I spent most of the morning getting up there and shoveling the ice and snow off the roof.
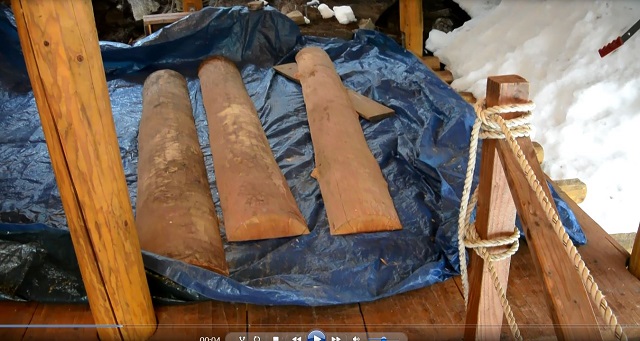
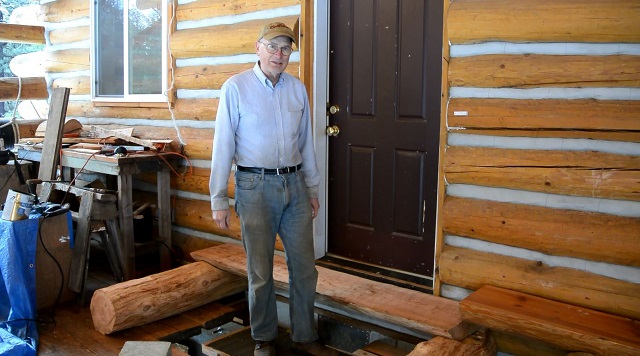
1/27/16 The first project tackled this year is to build the front stoop. There is too much snow around the outside staircases to work on them in the dead of winter but the porch is nice and protected. The stoop will be made of two logs sticking out from the cabin wall and three slabs resting on them. The inner two slabs will form a deck at the level of the cabin main floor and the third slab will be a step up to them from the porch deck. Here you see the three slabs destined for the stoop.

2/3/16 After a false start, the logs for the stoop will be harvested from this log that was part of the tree that crashed through the cabin roof in 2014.
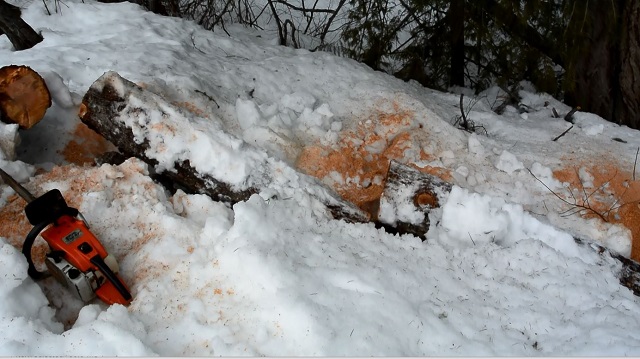
2/3/16 Here the two logs have been bucked from the malicious log.
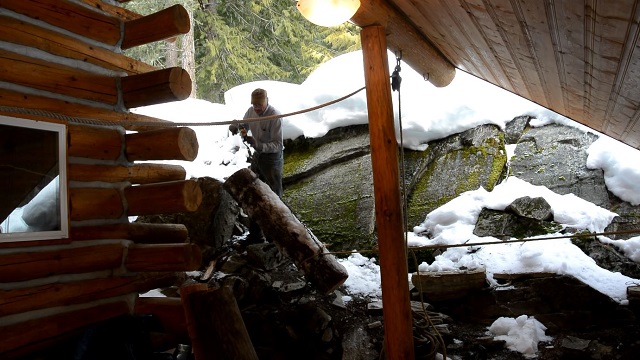
2/3/16 I used a come-along to drag the logs over to the porch and to lower them down. Here I have the first one almost lowered.
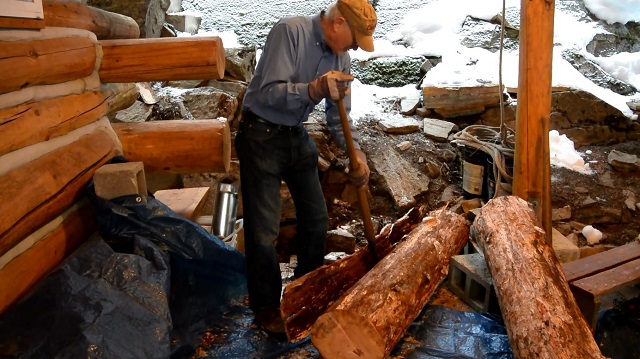
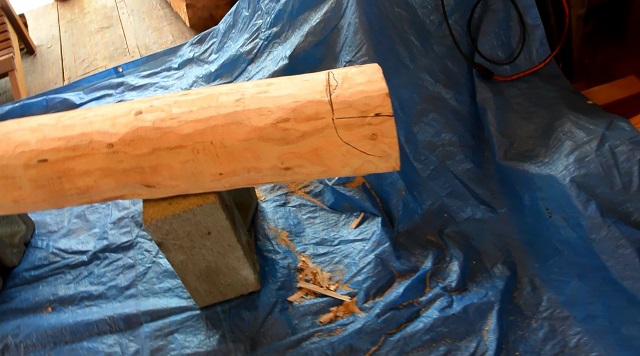
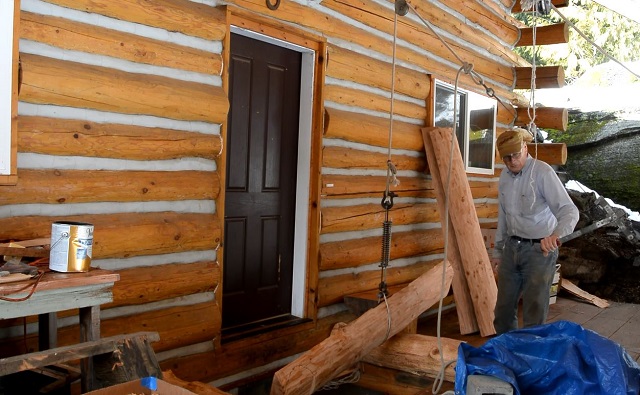
2/3/16 Next I used a spud to remove the bark from the logs.
2/10/16 Here I am with the step slab planed. It turns out that planing the slabs is too inefficient so from this point on, I switched to using the gwizard.
2/10/16 Here I am gwizzing a slab.
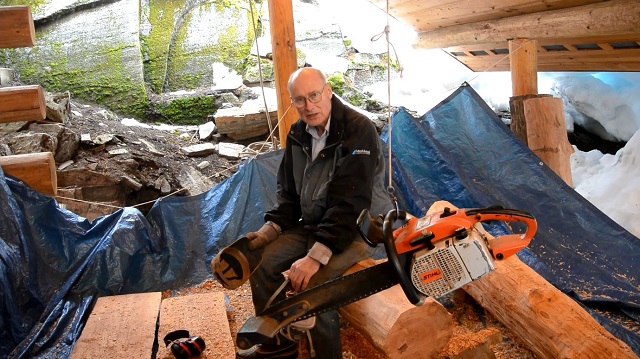
2/10/16 Here I am resting after all the gwizzing is done on the two remaining slabs and the two logs.
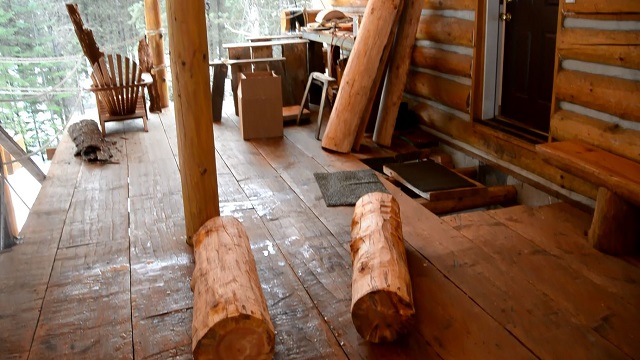
2/10/16 Here the logs and slabs are ready to begin covering the hole you see in the porch deck.
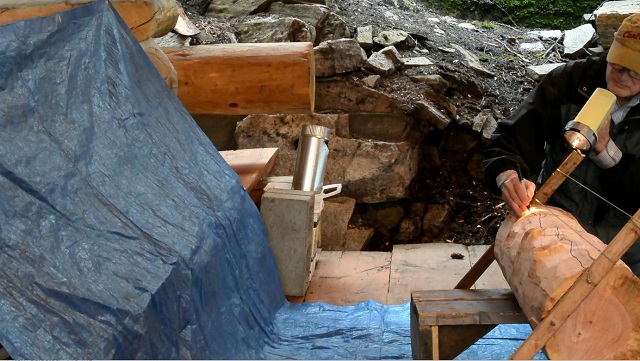
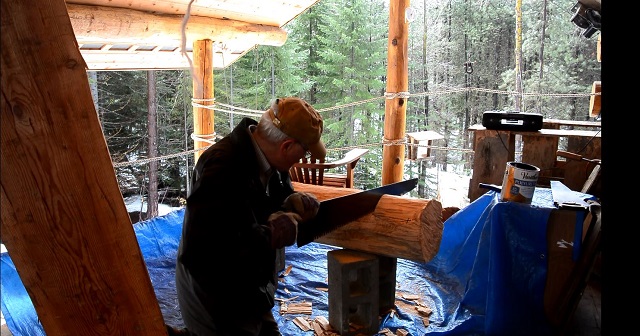
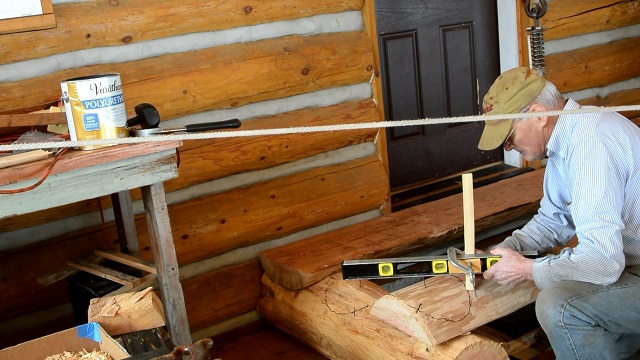
2/17/16 Here I am scribing a log in order to flatten the bottom of it. I sight across the two tight strings you can see and draw a line that is in the plane I want to establish by cutting along the lines.
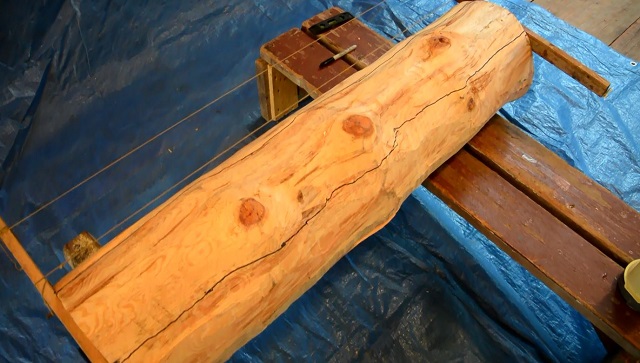
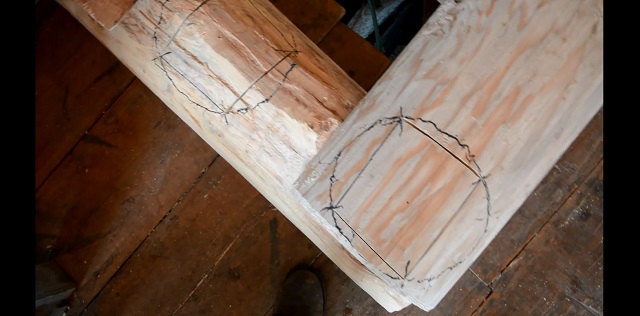
2/17/16 Here is a view of a log scribed and ready for flattening.
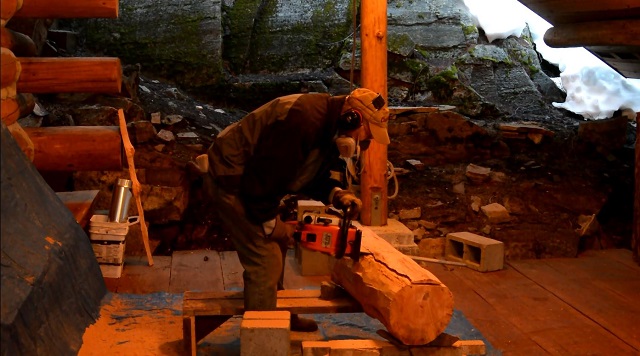
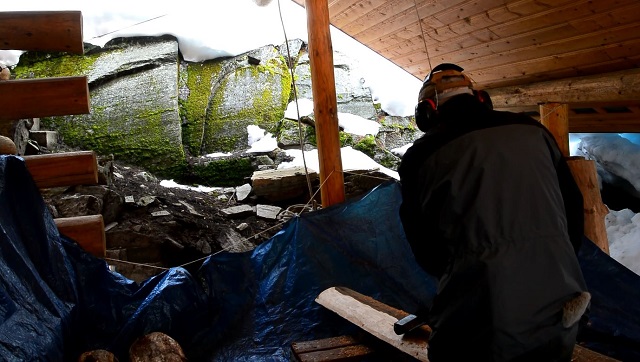
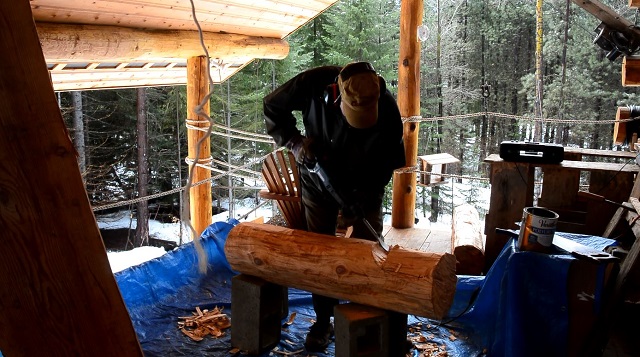
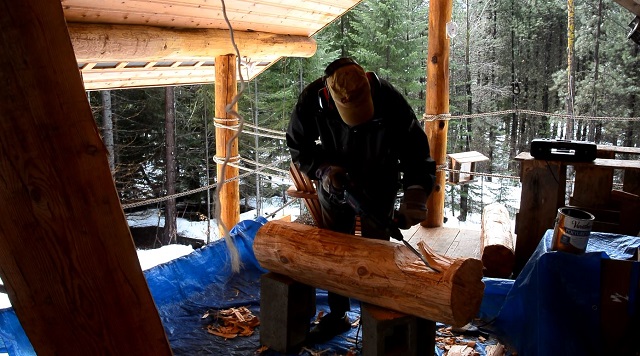
2/17/16 And here I am cutting along the lines to flatten the log.
3/2/16 One end of a plank scribed for the notch.
3/2/16 Here a kerf is being cut to the proper depth.
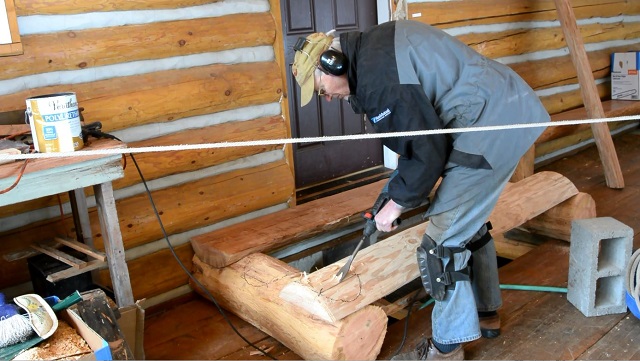
3/2/16 A Bosch Bulldog with a wood chisel is used to form the notch on one side of the kerf.
3/2/16 Here the Bulldog is used to form the flat bottom of the notch on the other side of the kerf.
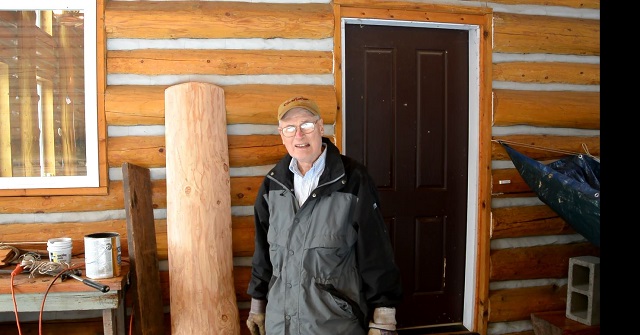
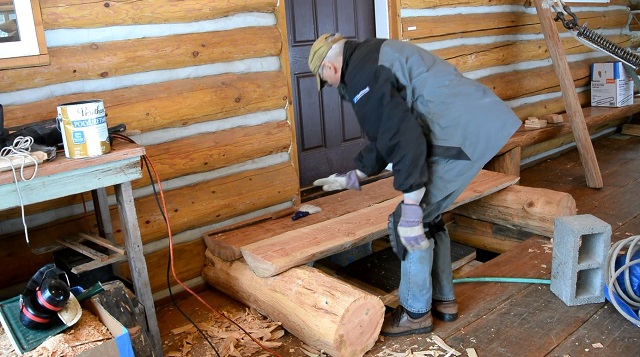
3/2/16 Paul happy that the first plank fits perfectly into the notches in the support logs. They are not fastened yet because they will be treated and stained first.
3/3/16 Paul having fun weighing the plank with his home-made scale. The plank weighs 80 lb.
3/9/16 The scribed lines are drawn, the arbitrary depth point has been chosen, now here the remaining three depth points are established in the same horizontal plane using a level clamped to a shim.
3/9/16 All the lines for cutting have been drawn and the kerfs to the horizontal plane have been cut.
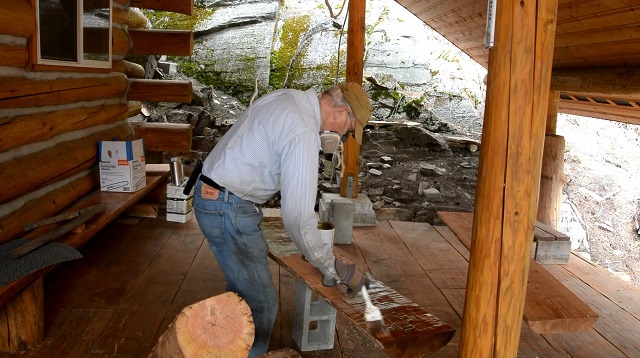
3/9/16 Using a Bosch Bulldog with a wood chisel bit to cut the notches.
3/9/16 The notches have been cut and the plank fits pretty well on the first try.
4/5/16 The tops of the stoop parts are stained.
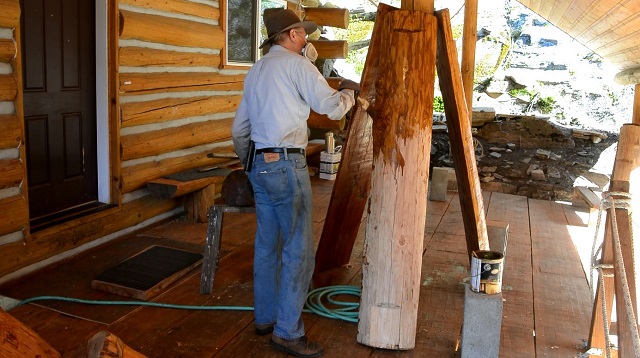
4/6/16 The stoop parts are completely stained.
. . . . . . . . . . . . . . . . . . . . . . . . . . . . . . . . . . . . . . . . . . . . . . . . . . .This is Page 1 of 4. Go to page
1
2
3
4
next
prev
©2016-2025 Paul R. Martin, All rights reserved.