Log Home Pictures from 2019, Part 1 of 3
. . . . . . . . . . . . . . . . . . . . . . . . . . . . . . . . . . . . . . . . . . . . . . . . . . .This is Page 1 of 3. Go to page 1 2 3 next prevOther years: 1991 1992 1993 1994 1995 1996 1997 1998 1999 2000 2001 2002 2003 2004 2005 2006 2007 2008 2009 2010 2011 2012 2013 2014 2015 2016 2017 2018 2019 2020 2021 2022 2023 2024 2025
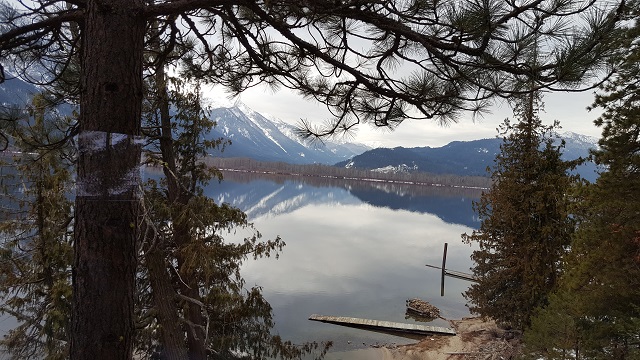
1/2/19 During a visit with Earl in his home, I snapped this picture of Lake Wenatchee through the window.
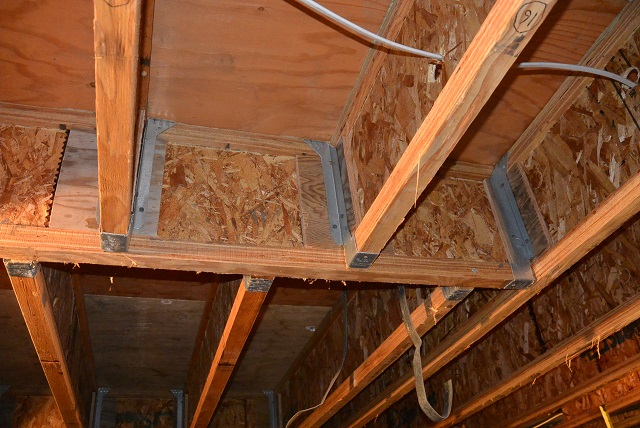
1/16/19 The backer blocks for the TJI joist hangers have all been installed, knocking off one of the last remaining items required for final inspection. You can see the two types of backer blocks as the small blocks of plywood sandwiched between the TJI webs and the joist hangers. It is a good feeling closing in on the occupancy permit, however gradually.
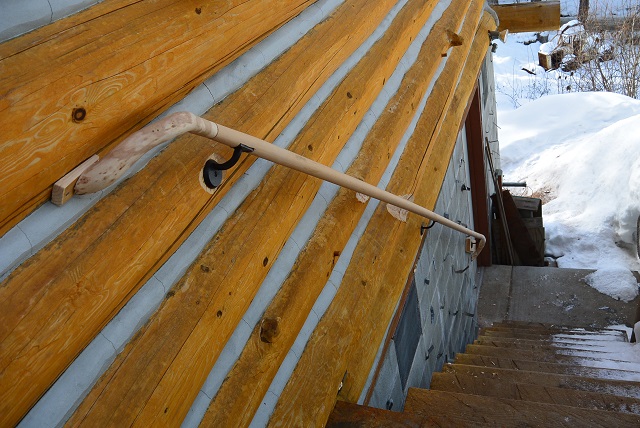
2/7/19 A view of the back-porch inside stair rail. Since this rail is attached to a wall, no balusters are needed. The rail as shown is pretty much completed. All that remains is to get stained and for the lower joint to be glued as soon as the weather permits.

2/7/19 Here is a close-up of the two knuckle notches that have been cut into the log wall. They allow space for your knuckles to pass as you slide your hand up or down the rail.
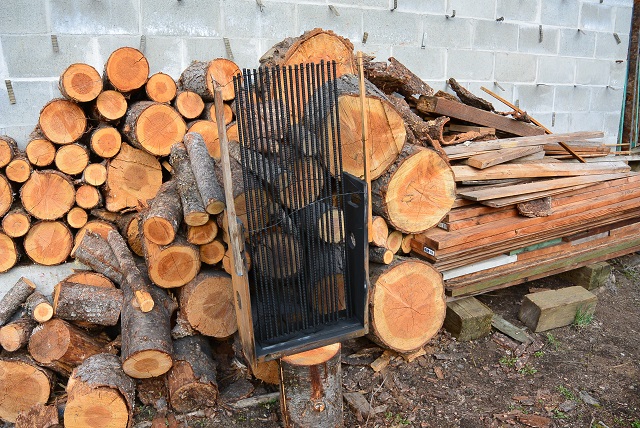
4/3/19 This is my new and improved baluster painting rack. The rebar balusters are stuck into holes in the bottom of the rack and they more or less stick up into the air. They used to get slightly cattywampus and cover each other making it hard to paint the rebar. The improvement I just made was to add the wire retainer running across the top which holds each rebar in position so they are all nice and parallel. That makes painting much easier and quicker, and I even think it saves paint. I am very happy with it.
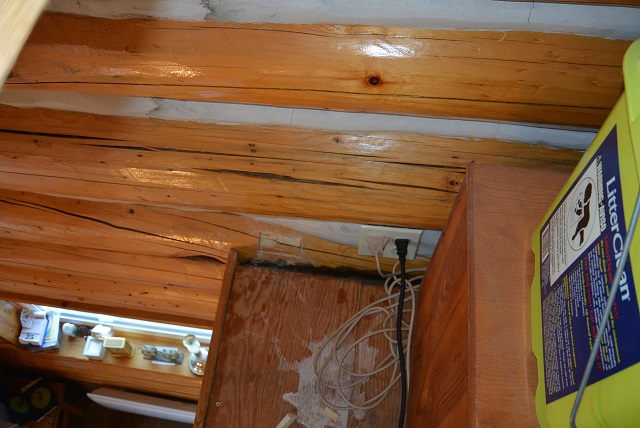
4/3/19 This picture is hard to understand without an explanation. What you see in the center-bottom, with the white paint splotch, is the loft subfloor. The loft edge is on the left with the dining room window ledge and heater visible down below. The loft subfloor meets the Grid A log wall in the center of the picture. To install the railing along the edge of the loft, I need to place a 2x4 on the subfloor a couple inches in from the edge. The 2x4 will meet, and actually penetrate, the log wall in order to make a secure joint. To the left of the electrical outlet, you can see the recess I have begun chiseling in the log to receive the 2x4. With one badly executed blow of the hammer, the chisel flipped out of my hand, did a flip in the air, and then fell neatly down into that crack between the log wall and the subfloor. The crack is black in the picture because the log wasn't scraped and varnished there because it will be out of sight when the floor is finished. Anyway, the chisel fell down between the log wall and a joist and landed on the dining room ceiling drywall eight inches below. The crack is way too small to get your hand in, and you can't see into the crack even with a mirror and a flashlight. There seemed to be no way to get that chisel out. I told Ellen when she called that night that I would probably have to buy a new chisel.
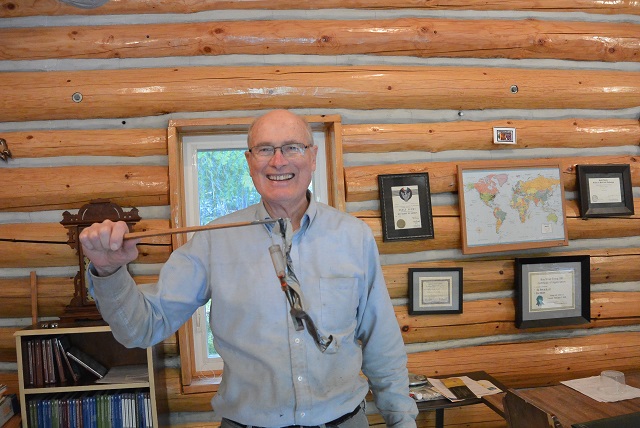
4/4/19 The next morning, I decided to try fishing for the chisel. I made a short fishing pole, which you see me holding. The fishing line is a length of duct tape fastened to the end of the pole. I worked the duct tape down into the crack and started twisting and moving the pole around. Pretty soon, I could hear the sounds of a chisel being dragged across drywall. I ever so gingerly and gently pulled the duct tape up, making sure I didn't dislodge the chisel, and after a while, I was successful in pulling the chisel up and out. I was excited and happy about my success as you can see in the picture.

4/4/19 This is a view of the first section of the loft rail in place. It is just wedged in under the temporary 2x4 rail for now and will have to be fastened later and capped by a varnished 2x6, but the balusters in this section will remain where they are. The railing project is now under way.
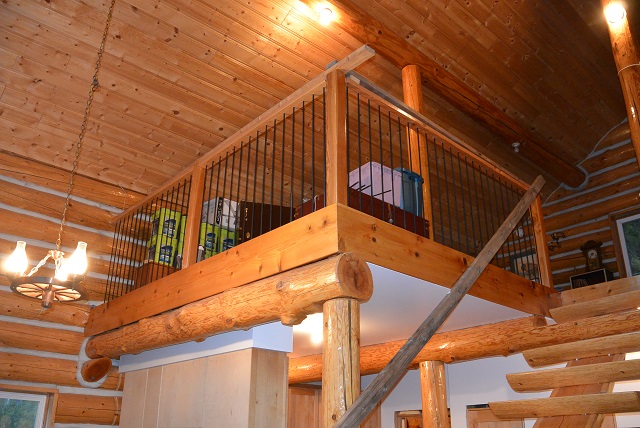
4/17/19 Here the railing is in place all the way from the staircase to the Grid A wall. It still needs to be permanently fastened and capped with the finished 2x6.
Pictures from other years:
1991
1992
1993
1994
1995
1996
1997
1998
1999
2000
2001
2002
2003
2004
2005
2006
2007
2008
2009
2010
2011
2012
2013
2014
2015
2016
2017
2018
2019
2020
2021
2022
2023
2024
2025
©2024-2025 Paul R. Martin, All rights reserved.