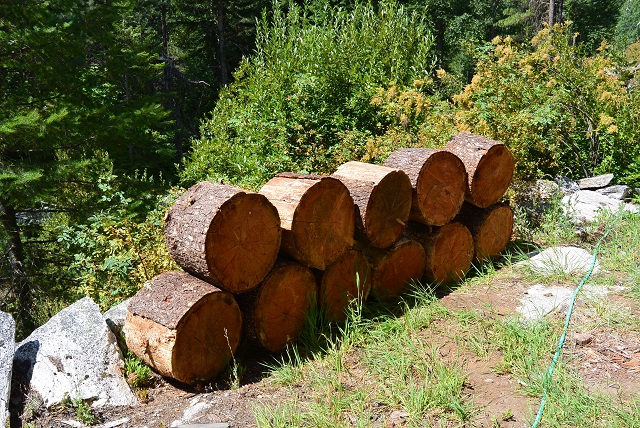
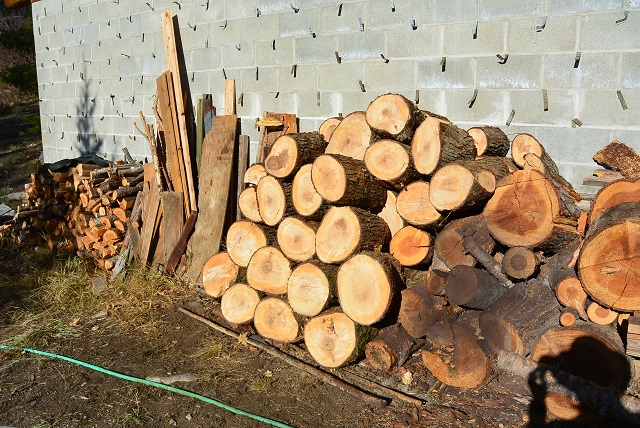
7/31/19 These eleven firewood rounds were wheelbarrowed from the woods up by the Sequoia grove and stacked here in a little less than an hour. This, together with the wood already at the cabin should last through the coming winter.
Log Home Pictures from 2019, Part 3 of 3
. . . . . . . . . . . . . . . . . . . . . . . . . . . . . . . . . . . . . . . . . . . . . . . . . . .This is Page 3 of 3. Go to page 1 2 3 next prevOther years: 1991 1992 1993 1994 1995 1996 1997 1998 1999 2000 2001 2002 2003 2004 2005 2006 2007 2008 2009 2010 2011 2012 2013 2014 2015 2016 2017 2018 2019 2020 2021 2022 2023 2024 2025
7/31/19 These eleven firewood rounds were wheelbarrowed from the woods up by the Sequoia grove and stacked here in a little less than an hour. This, together with the wood already at the cabin should last through the coming winter.
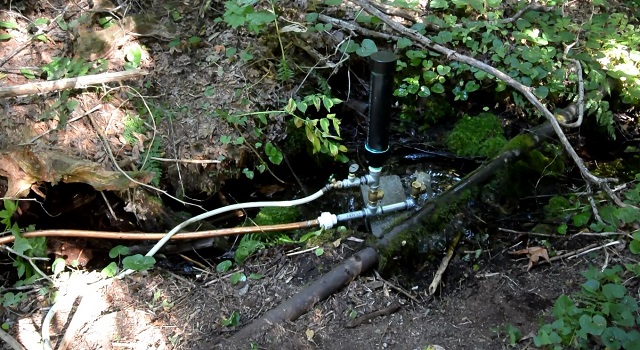
8/8/19 This is the new, and hopefully final, ram pump in operation. This is a completely new pump made with 1" galvanized pipes and fittings instead of 3/4" copper. It is also fitted with a pressure gauge and a new spigot. The compression chamber is somewhat smaller than the previous one but it is connected with a 1" fitting rather than a 1/2" fitting. Another possible contributor to the success of this pump is that the dam below the intake screen was beefed up, raising the pond level a couple inches. This reduces the possibility of air getting sucked into the delivery pipe which I think caused some of my previous problems.
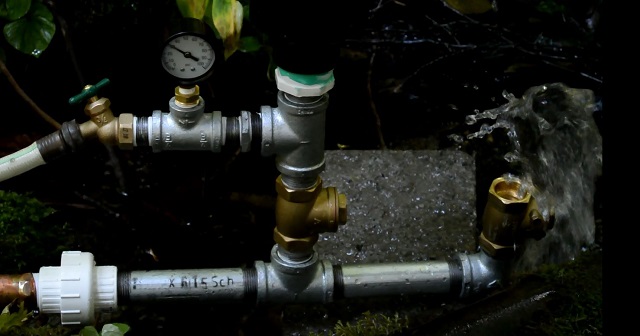
8/8/19 This is a close-up of the new pump so you can see the components more clearly.

8/8/19 This is the final configuration of the pump. The change is that the compression tank has been lashed to a stick which is in turn lashed to that old vestige of a 3" iron pipe that was used by the pioneers of the property to deliver their water from the same spring. The lashing stabilizes the pump so that it can't fall over and loosen the union that connects it to the delivery pipe. Hopefully the pump won't require any more attention until winter when I will at least disconnect the delivery hose to keep it from freezing.
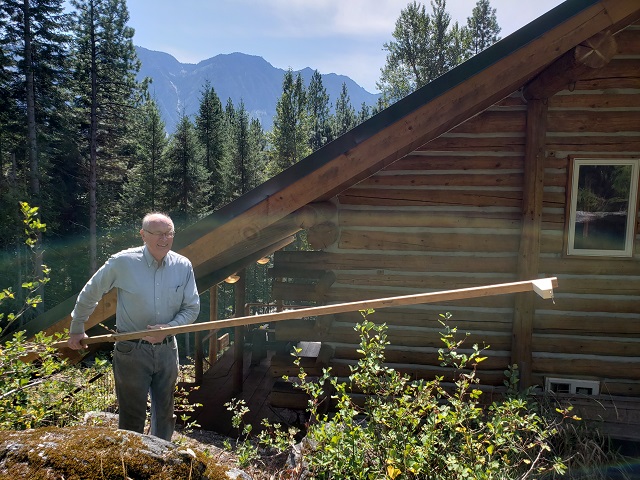
8/14/19 Another interruption from normal work came from the discovery of a leak in the chimney. To diagnose and fix it I will need to go up on the roof. And to do that, I have to have a rope strung over the roof so I have something to hang onto while I am up there. To help get the rope strung over, I made this 15-foot rope picker. I used it to grab a light rope I had thrown over the ridge and then drag it down to where I could reach it. Dave took this picture of me with the rope picker while he was visiting.
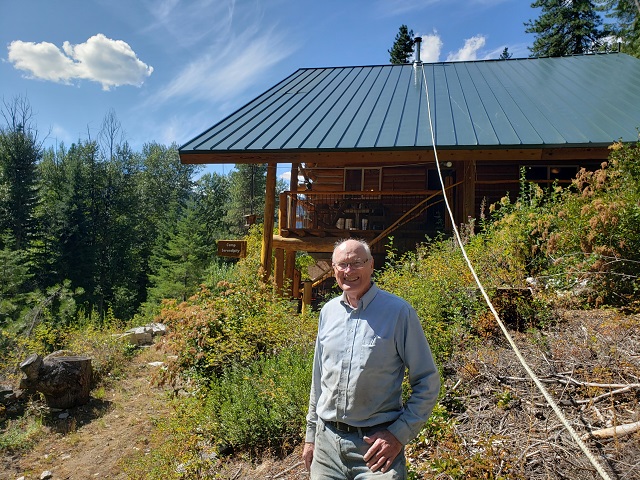
8/14/19 Here the big rope is successfully strung over the roof, thanks in part to Dave who took this picture.
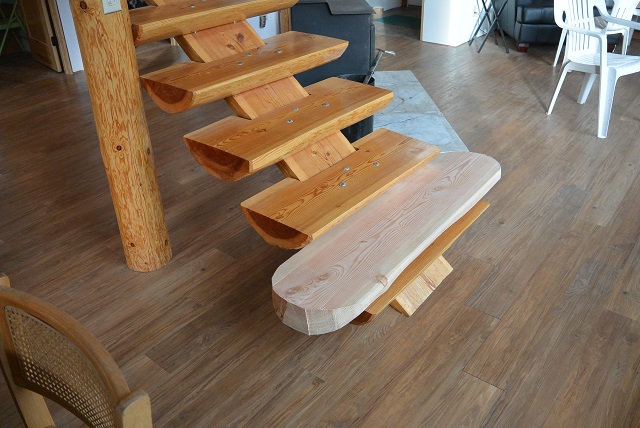
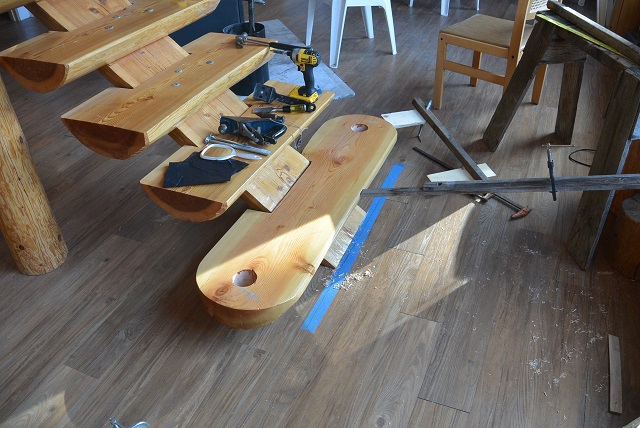
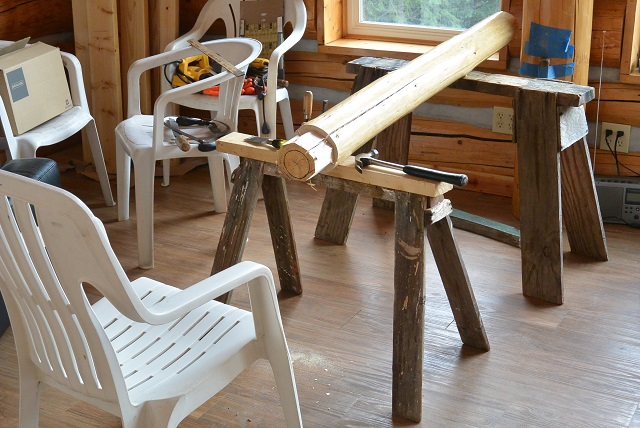
8/21/19 I have decided to replace the lowest tread on the loft staircase with a wider one that can accommodate the newel posts. Here you see the new tread blank in the process of fabrication. It is just resting on the one it will replace so you can get an idea of how it will look.

10/13/19 Here you see the new tread, notched, bored, and varnished ready to dry while I am gone. The two newel posts, standing vertically and tethered by the cord tied to the RPSL, and also four 2x6s that will form the tops of railings, have also been varnished and are starting to dry.
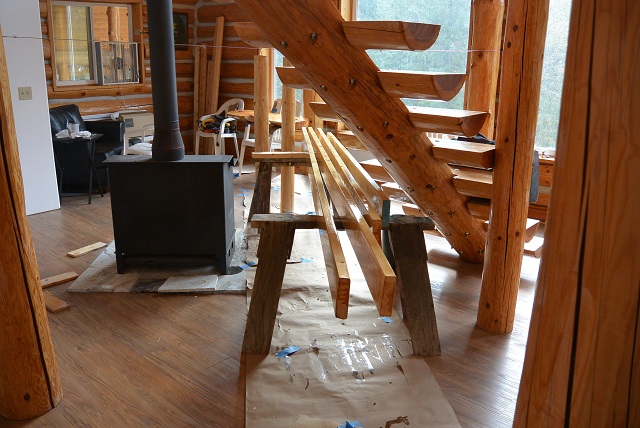
10/13/19 Two of those 2x6s are 16-footers and in this picture you can see how I made room for them in the cabin by running them under the staircase. You can also make out the tread and newel posts in the background.
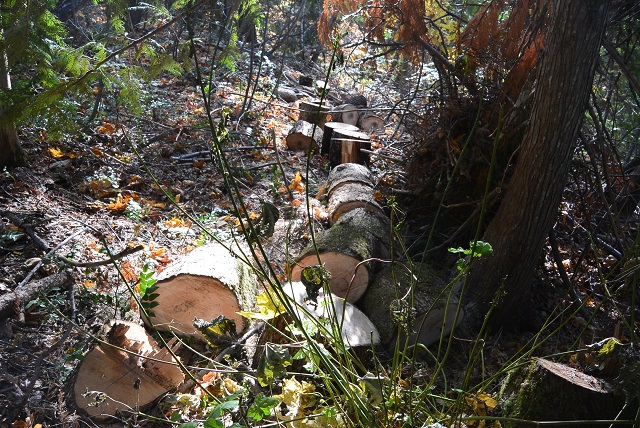
10/26/19 While it was still pleasant working in the woods before the snow falls, I decided to harvest a big maple log for firewood. It's a pretty long wheelbarrow run through the woods to the cabin, but the wood is so good that the work is worth it. Here you see the log bucked up. Unfortunately, I made the mistake of wearing a hearing aid while I worked. At some point the hearing protection muffs I was wearing took the hearing aid out without my noticing it when I took the muffs off.

10/26/19 After having my lunch and a nap, I noticed the hearing aid was gone and I knew it had to be up among the sawdust where I had bucked up the maple log. After about an hour's tedious search, I found it right about at the center of this picture. I had carefully brushed away the sawdust one square inch at a time, starting way beyond the left of this picture, using a one-bristle brush, which you see lying just to the right of the center of the picture. On the left of the center, you can see where the sawdust has been brushed away, and on the right is the sawdust as it looked before I brushed it away. I felt elated to have found that thing. A great example of serendipity.
11/2/19 Here you see that entire maple log stacked in firewood rounds in the center of this picture.
11/10/19 The new bottom tread has been trimmed and shimmed to fit in the staircase and is ready to be drilled for the bolts. It is being held in place by that slanty pair of 1x2s clamped together that is braced against the wall. Before drilling from underneath, the tread will be held down tight with a pair of concrete blocks (not shown). You can see some of the mess from trimming and you can see a sample of the tools I used.
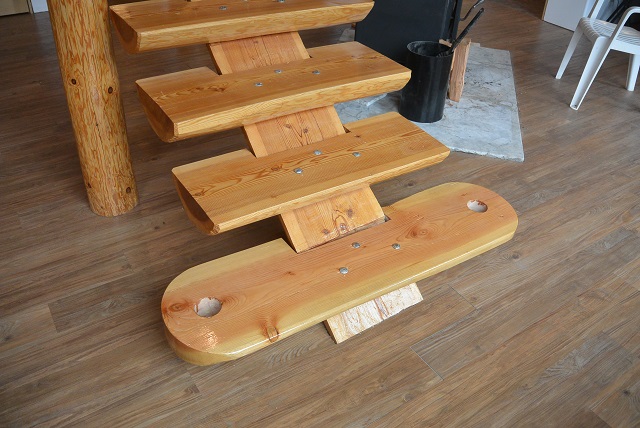
11/16/19 Here the new bottom tread is securely bolted into place.
11/17/19 And here is the start of forming the tenon on the bottom of the first newel post. It goes into the mortise hole about an inch and a half at this point.

11/23/19 Here the first newel post is seated all the way into the tread.
11/23/19 This is the beginning of roughing out the second tenon.

11/24/19 These pencil lines show the progress as the tenon is repeatedly tried for fit and then worked down to fit better. The rim of the mortise hole was rubbed with a pencil so the smudge marks on the tenon show where to take off a little wood. As you can see from the lines, it went faster as it went along. The next attempt after this picture went all the way down.
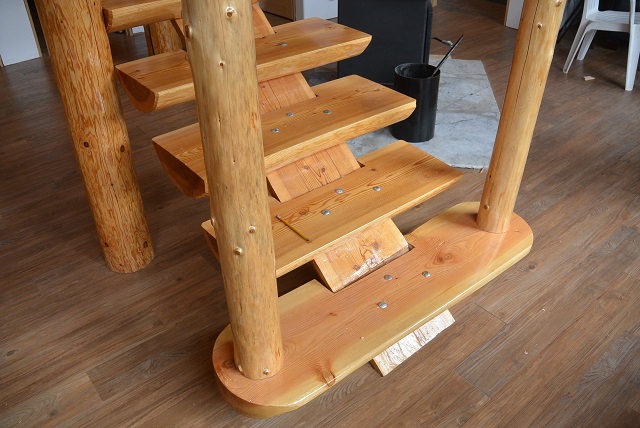
11/24/19 Here you see both newel posts seated in the tread.
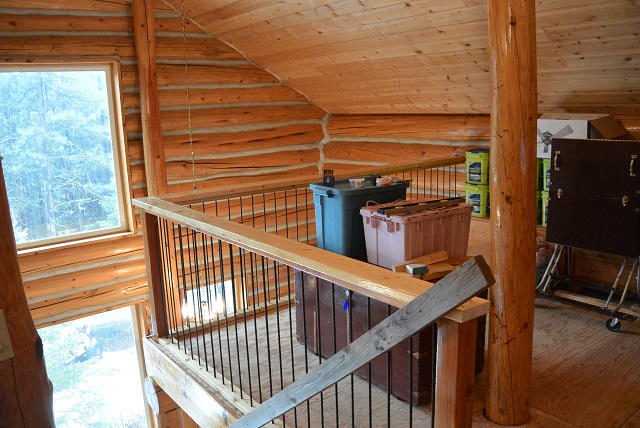
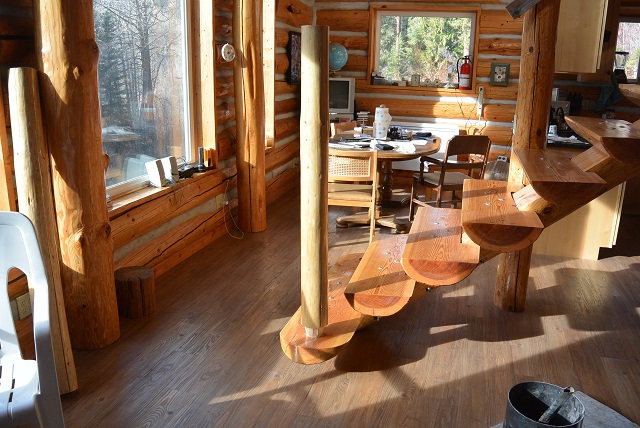
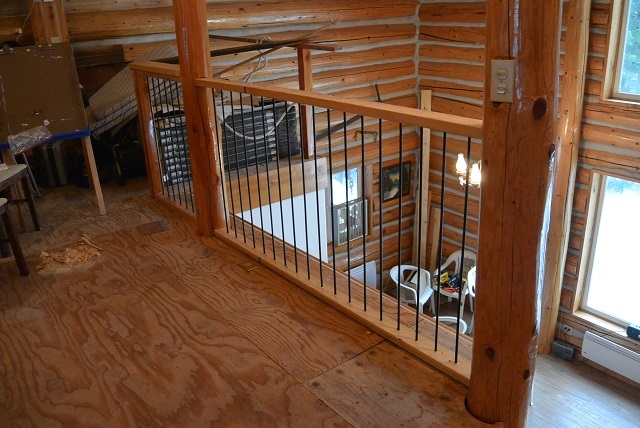
12/8/19 The balustrades from the Grid A log wall to the loft staircase are complete except for some small varnish touch-ups on the ends of the top rails.

12/15/19 Another short section of the loft railing is done.
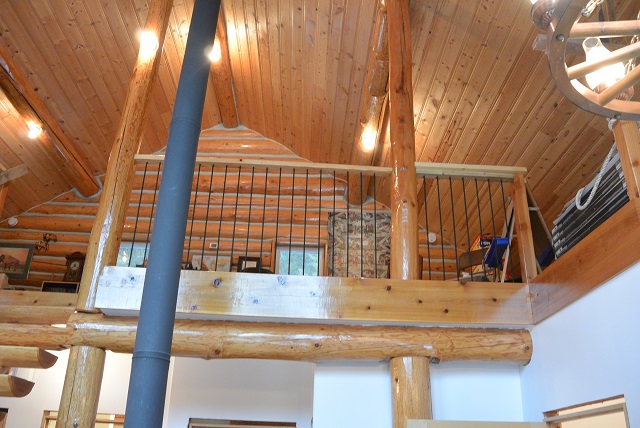
12/22/19 Here the Grid C2 - D2 balustrade is in place except for the top 2x6.
Pictures from other years:
1991
1992
1993
1994
1995
1996
1997
1998
1999
2000
2001
2002
2003
2004
2005
2006
2007
2008
2009
2010
2011
2012
2013
2014
2015
2016
2017
2018
2019
2020
2021
2022
2023
2024
2025
©2025 Paul R. Martin, All rights reserved.