Log Home Pictures from 2024, Part 1 of 1
. . . . . . . . . . . . . . . . . . . . . . . . . . . . . . . . . . . . . . . . . . . . . . . . . . .This is Page 1 of 1. Go to page 1 next prevOther years: 1991 1992 1993 1994 1995 1996 1997 1998 1999 2000 2001 2002 2003 2004 2005 2006 2007 2008 2009 2010 2011 2012 2013 2014 2015 2016 2017 2018 2019 2020 2021 2022 2023 2024 2025

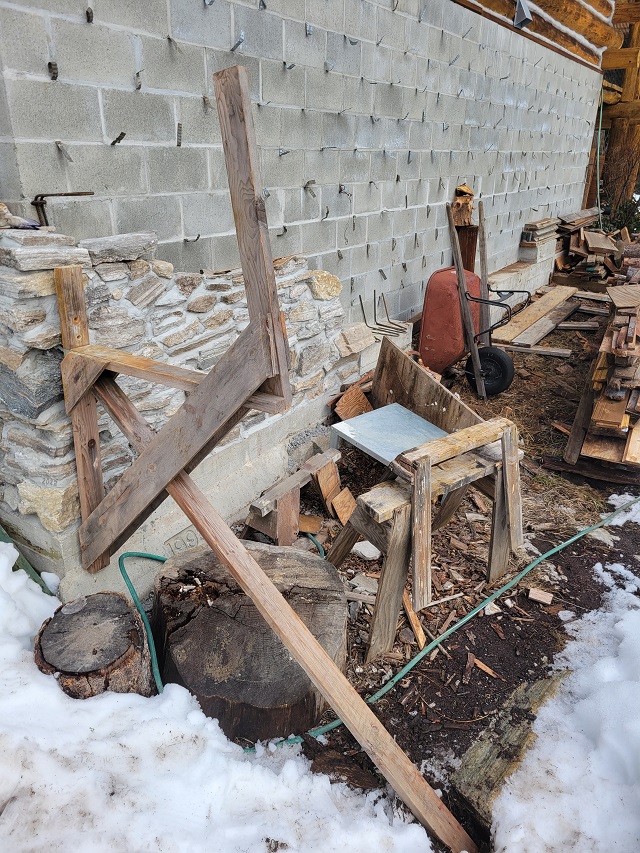
2/9/24 This picture is messy but it shows a lot. It shows an early step in the transition from an unworkable mess of clutter, to an organized work environment with uncluttered access to the block wall supported by a a sturdy scaffold system complete with an accessible mortar board and lifting devices for heavy loads. The starts of parts of the system are visible in this picture. Starting in the back, at the far right, you can see a "before" picture with a board pile that will have to be moved out away from the wall just as they have been moved in the center of the picture. That leaves a 3-foot margin for the scaffold planks. Since the first courses of stones are low to the ground, the scaffolding is not necessary at the beginning. But as the wall grows, the scaffolding will have to follow. To start with, short 2x4s will act like railroad ties running under and perpendicular to the planks. You can see four of those "ties" under the two planks near the top of the picture. As planks are added, they will be joined end-to-end by z-brackets which are flexible and which bear heavy loads in one direction. That will allow the planks to be supported by scaffold frames once they get up off the ground. You can see the first of five such frames already in place in the foreground. This winter, the "ties" will be put in place and the planks will be fastened in a long chain with z-brackets but left lying on the ground. They will wait in that position until spring when work can resume laying up stones. That work will be done from the scaffold deck and as the wall grows, the planks will be raised and scaffold frames will be installed under them to hold them up. They will move up from there.
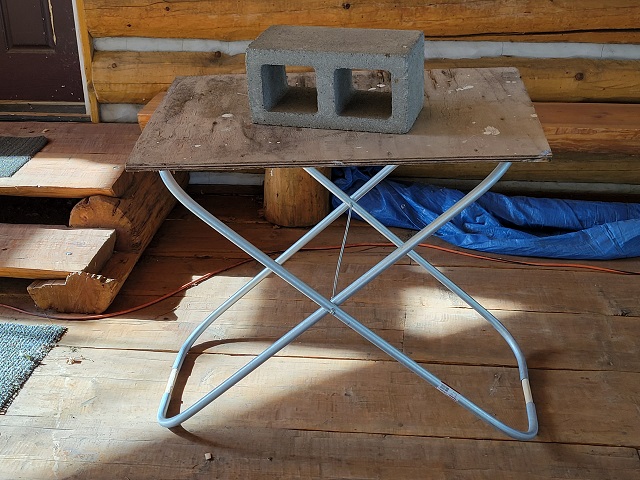
3/7/24 This is the Mortar Stand. It will stand on the scaffold with me as I place stones in the foundation wall. It will hold the mortar board that you see (the concrete block is there only as a demonstration of the strength of the stand), with its load of mortar, or stones, or tools, or whatever I need. The stand will move around the wall with me as I move around.
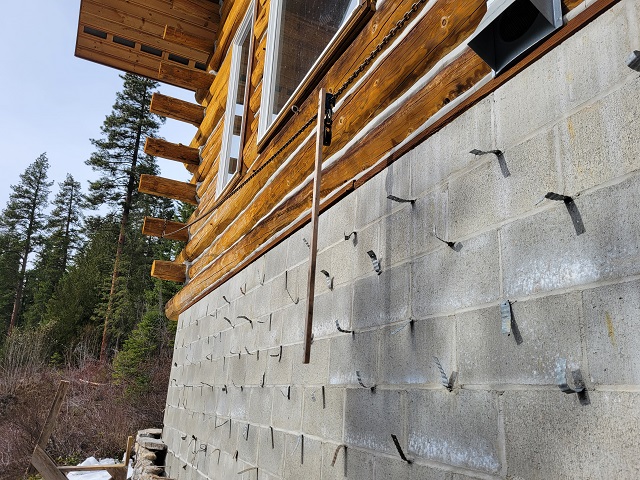
3/20/24 This is the primary lifting device for the project. It consists of an overhead chain anchored to the log walls at each end and stretched across the span. It will support all the loads. Hanging from the chain will be skyhooks (you can see the first one in the center of the picture). Each skyhook consists of a long handle that can be reached from the ground. The handle is attached to a chain hook that can be hooked or unhooked from the chain anywhere along its length. There will be at least two types of skyhooks, one of which can be seen here. This type has a pulley attached to the hook and the second type will have a shackle holding the cable hook of a come-along. Other types might be invented and built later as the need arises.
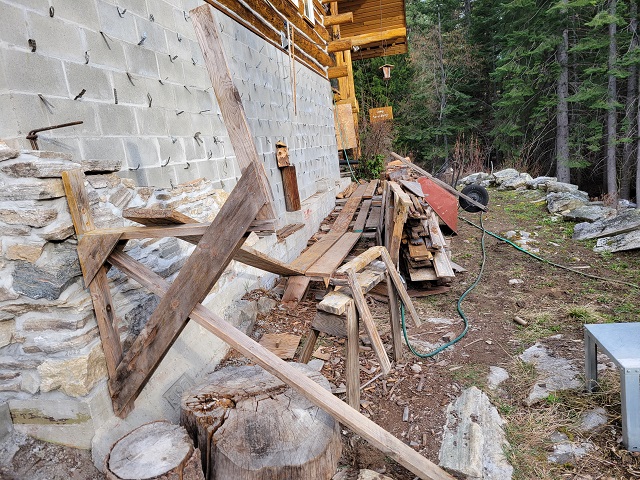
4/3/24 Here the scaffold platform or deck is installed and ready for work. Most of it is lying on the ground and I will stand on it while placing stones in the wall until the wall is 3 or 4 feet high. Then the deck will be raised and supported by scaffold frames similar to the first one that is already in place as you can see. The string of planks on the left are all fastened together end-to-end with Z-brackets.
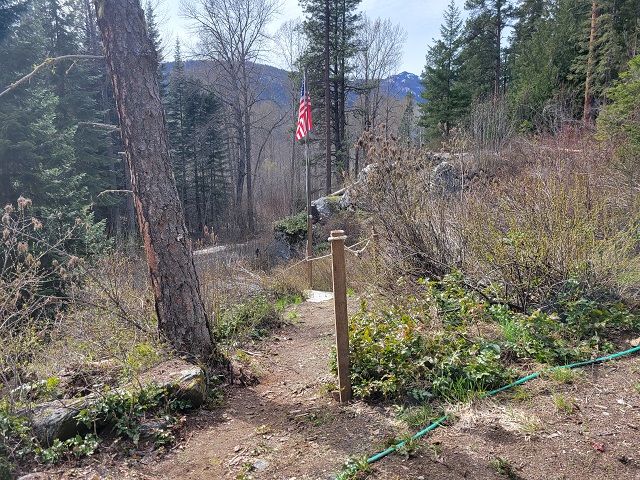
4/9/24 This is the new extension of the handrail serving the concrete staircase and the trail above it. The trail can get a little treacherous during the winter when the snow slides off the cabin roof and overflows onto the trail. Having a rail to hang onto will help. The post in the foreground and the rope connected to it are the recent new additions.
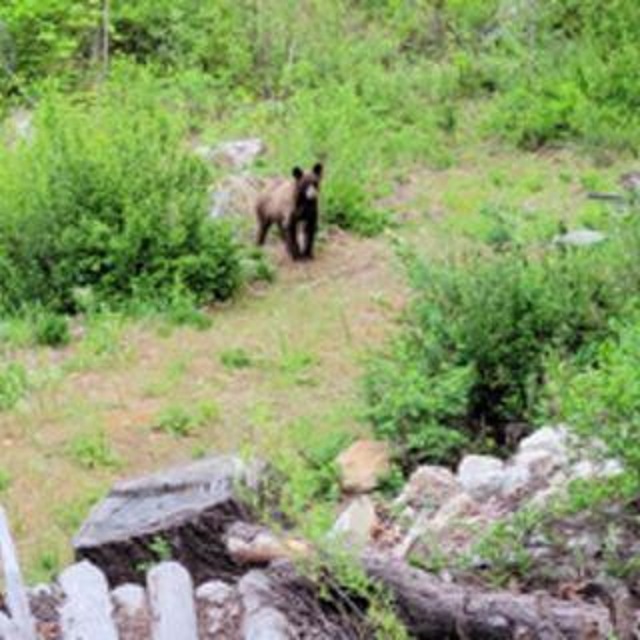
5/15/24 I was surprised to see this little bear out the kitchen window. He stood there long enough for me to get this grainy picture of him before he walked off behind the privy.
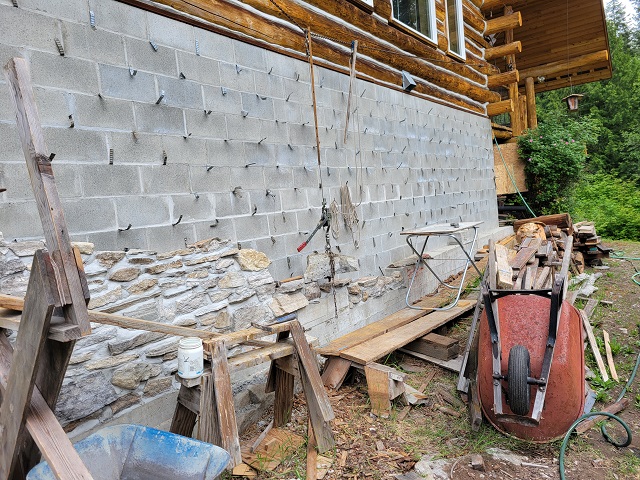
5/29/24 Here you see a fairly big stone hanging from a skyhook under the come-along held by a chain. It is dangling a few inches above where it eventually got gently set down into a bed of wet mortar. It was a great feeling to prove that the skyhook system will work effectively to allow me to manipulate and place big stones higher up as the wall grows.
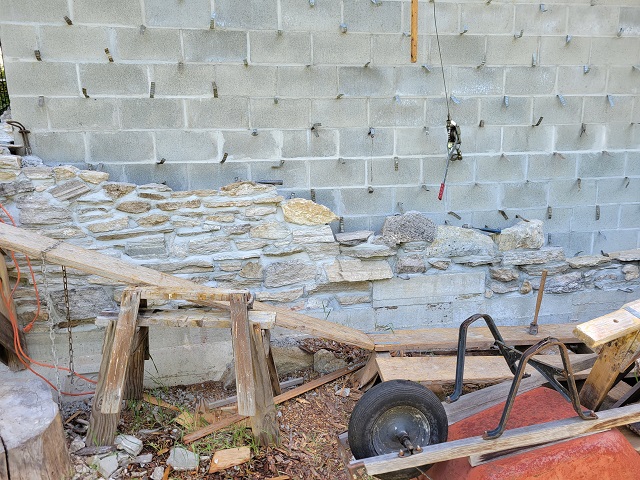
5/31/24 This picture shows the new addition to the wall after 47 batches of mortar.
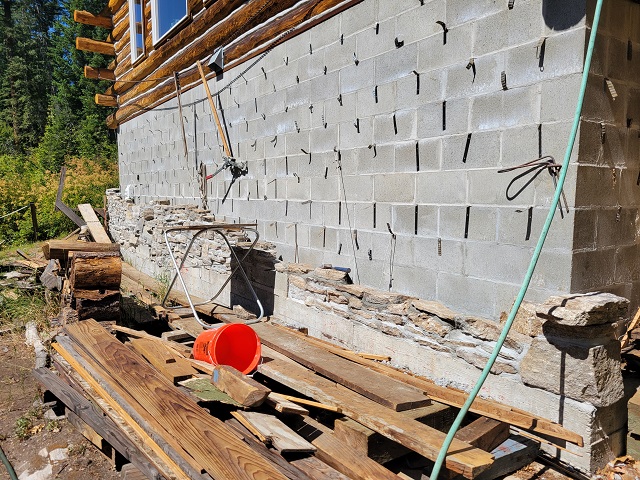
8/2/24 This picture shows the wall progress after 75 batches of mortar.
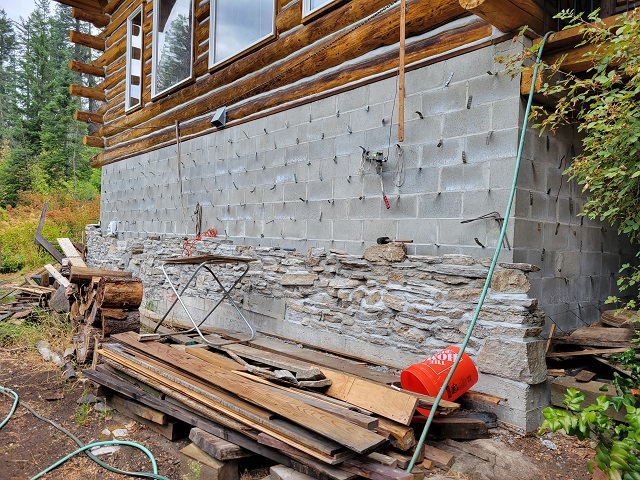
8/23/24 This picture shows the wall progress after 88 batches of mortar.
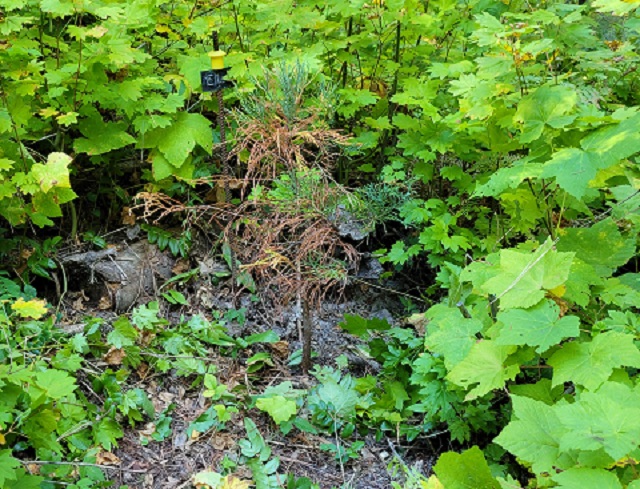
9/19/24 I was appalled to discover how overgrown the brush around the sequoia trees had gotten. I pruned the brush away from the worst of them, among which was Ellen that you see here. This picture is after the pruning and it shows a very sick tree. I hope it can recover.
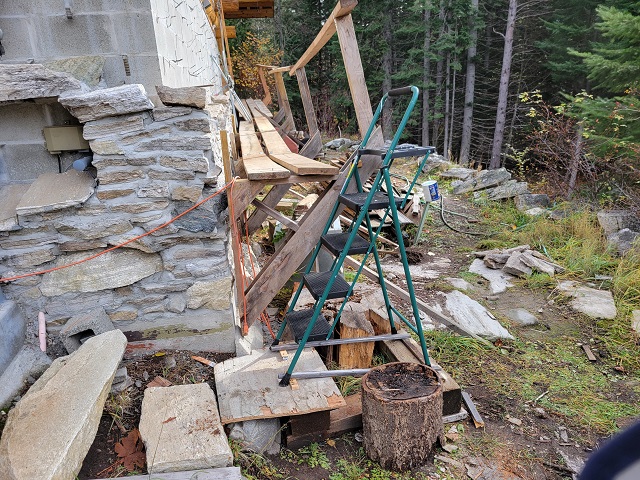
11/8/24 Here you can see the scaffolding that is ready to give me access to work on the stone wall as it grows. I will use it to install some wall ties yet this winter as well as some other incidental items, but the main use will be to finish laying up gneiss stones in the upper part of the wall in the spring when I can again safely use mortar without it freezing. In the foreground, you can see the stepladder I will use to climb up onto the scaffold planks.
Other years: 1991 1992 1993 1994 1995 1996 1997 1998 1999 2000 2001 2002 2003 2004 2005 2006 2007 2008 2009 2010 2011 2012 2013 2014 2015 2016 2017 2018 2019 2020 2021 2022 2023 2024 2025
©2025 Paul R. Martin, All rights reserved.