Log Home Pictures from 2017, Part 1 of 4
. . . . . . . . . . . . . . . . . . . . . . . . . . . . . . . . . . . . . . . . . . . . . . . . . . .This is Page 1 of 4. Go to page 1 2 3 4 next prevOther years: 1991 1992 1993 1994 1995 1996 1997 1998 1999 2000 2001 2002 2003 2004 2005 2006 2007 2008 2009 2010 2011 2012 2013 2014 2015 2016 2017 2018 2019 2020 2021 2022 2023 2024 2025
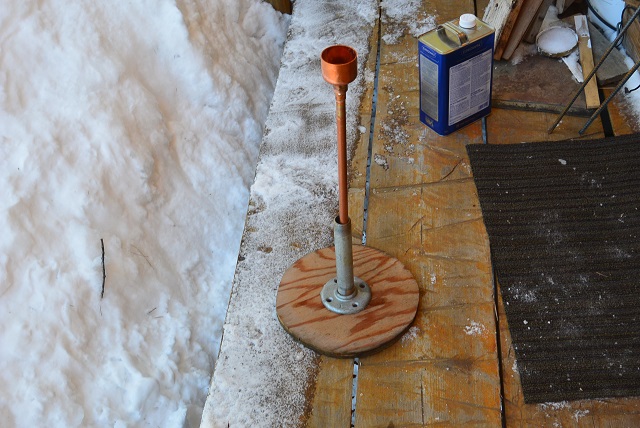
1/5/17 This is the cleaning bath tank for cleaning rebar balusters.
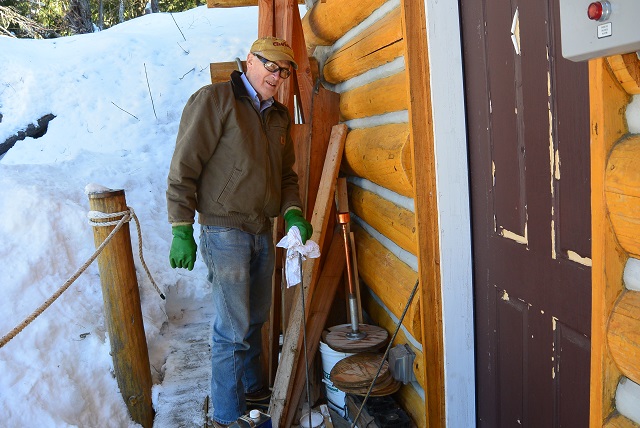
1/5/17 Paul with a rebar baluster ready to dip it in the cleaning bath. The tank contains paint thinner. The cleaned rebar will then be painted.
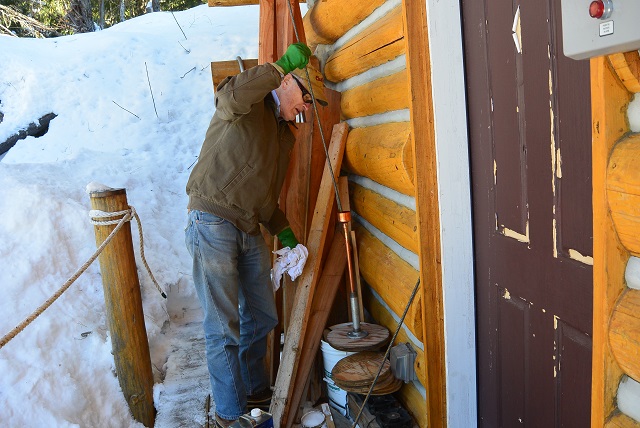
1/5/17 After dipping the baluster in the tank, the rebar is cleaned off with a rag.
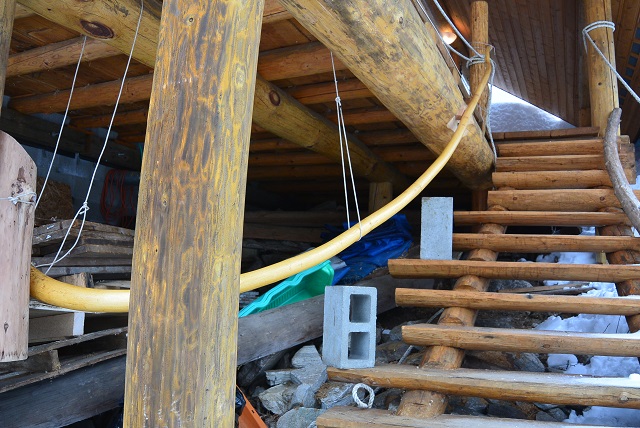
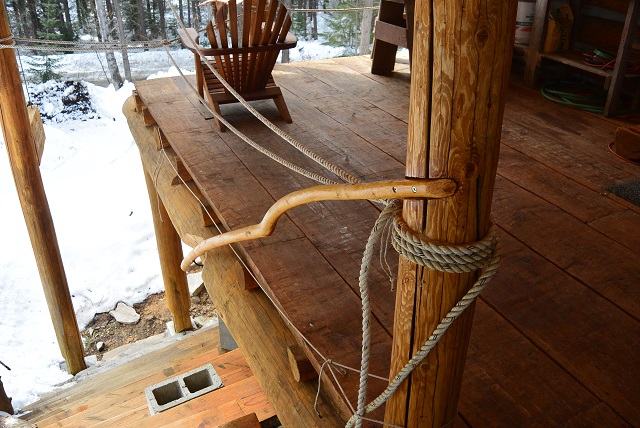
2/10/17 The vine maple handrail on the front staircase is temporarily held in place by ropes and the center rail bracket.
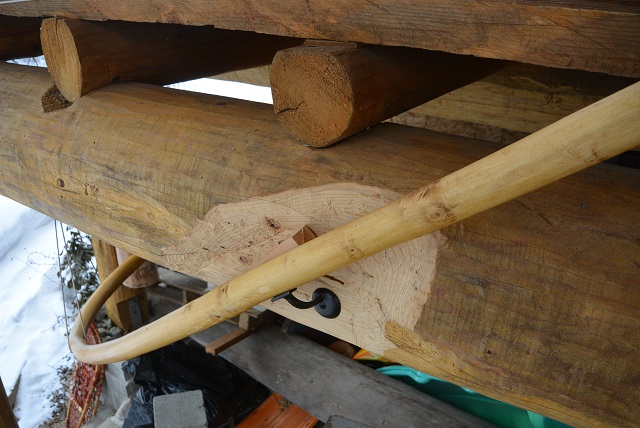
2/10/17 Here you can see the center rail bracket in the knuckle notch. The rail is just resting on the bracket and is held in position by a block of wood. It will be screwed to the rail later. As soon as the bottom of the rail is fastened, a flat spot will be formed on the underside of the rail which will mate with the bracket. Even then, it will not be screwed to the bracket until the top of the rail is bent over and fastened into a notch in the upper newel post. Then the whole thing will be taken apart again in order to install the balusters.
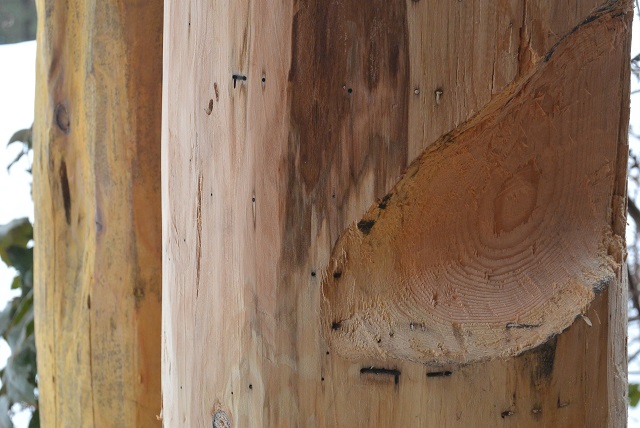
2/10/17 This is the notch chiseled in the log slab that will hold the bottom of the rail.
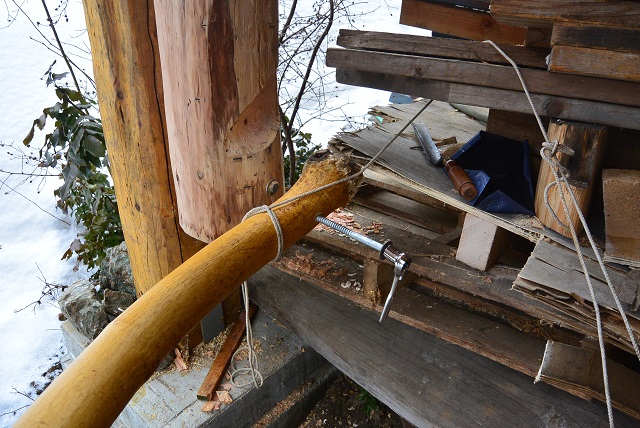
2/10/17 Here you can see that the holes have been drilled for the lag screw, the lag screw is started through the rail and the wrench is hanging from the lag screw ready to fasten the rail to the scab log.
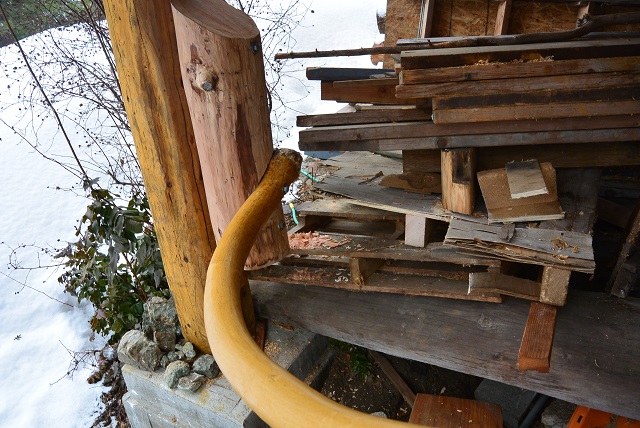
2/10/17 Here the bottom of the rail is securely fastened to the scab log on the Grid F3 column.
3/1/17 Here the top of the rail has been recessed into the newel post and fastened with two screws.
3/22/17 All the receiving holes for the balusters have been drilled under the rail and down into the treads. The first 18 balusters are inserted into the bottom holes and marked with tape for length.
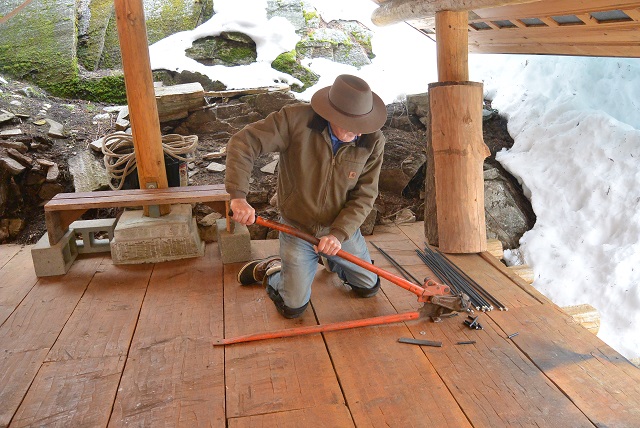
3/22/17 Paul is cutting the rebar balusters to length using Dr. Dick's handy rebar cutter/bender.
3/22/17 Here is a view of the first 18 balusters installed looking down from above. You can also see the center bracket in the knuckle notch.
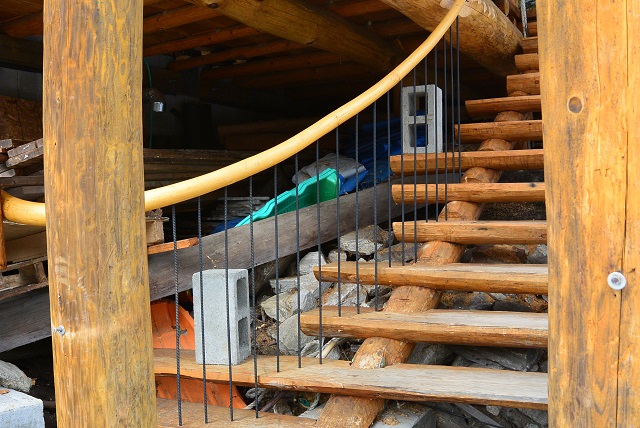
3/22/17 Here they are from the bottom of the staircase.
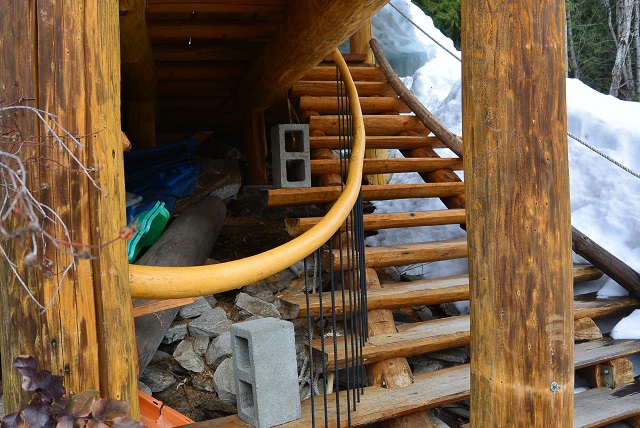
3/22/17 And here is one more view of the first 18 balusters.
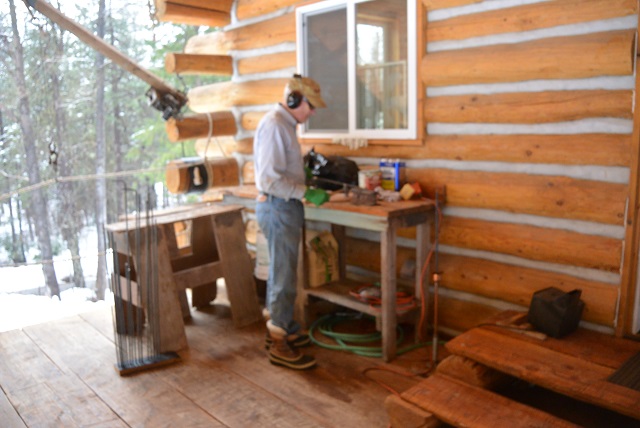
3/29/17 This picture shows the baluster prep process. The balusters are already cut to length and lying on the sawhorses. Each one has its ID written on a piece of tape. To prepare them I take the next one in sequence from the sawhorses and dress the ends. I do that by hammering the burs and sharp edges using the hammer I am holding and the short section of railroad rail you see as an anvil. That makes the ends of the rebar go into the holes more easily. Then I soak half of the baluster in the copper tank full of paint thinner. (You can see the skinny tank with a baluster soaking in it to the right in the picture.) Then I wipe the soaked end of the rebar clean with a rag and then soak the other end and wipe that clean. Finally I drive the rebar into the next hole in the painting rack which you see on the left. When they are all cleaned and in the rack, I carry the entire rack down below and spray on the primer and paint. When they are dry, I take them out one by one in sequence and place them in the staircase rail system.
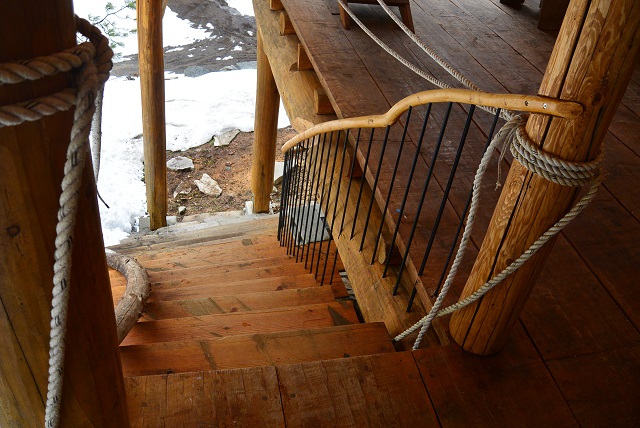
3/29/17 Here is a view from the top after all of the balusters have been placed and the railing has been fastened for the last time.
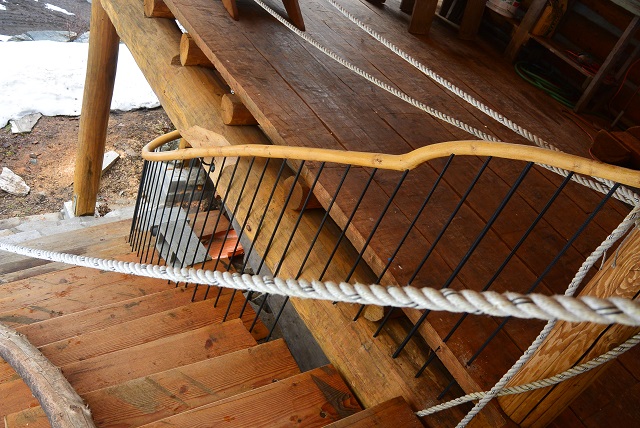
3/29/17 Here's another view from the top.
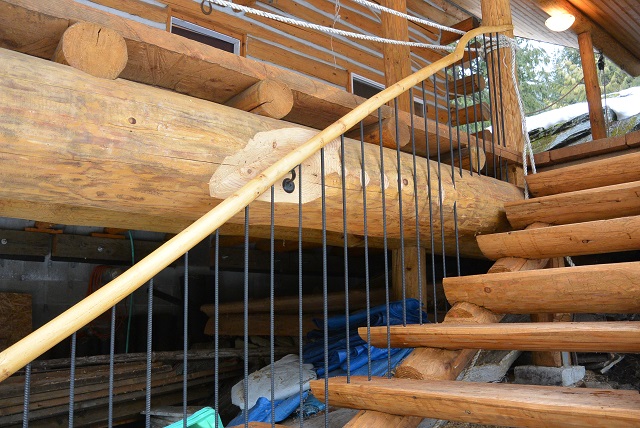
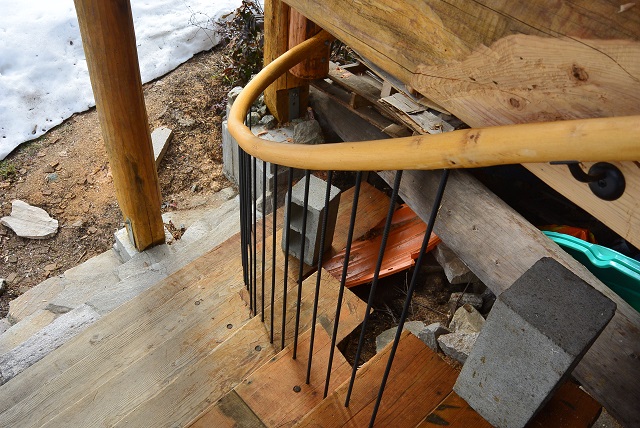
3/29/17 Here's a view from below,

3/29/17 and here's a view from the bottom.
. . . . . . . . . . . . . . . . . . . . . . . . . . . . . . . . . . . . . . . . . . . . . . . . . . .This is Page 1 of 4. Go to page
1
2
3
4
next
prev
©2017-2025 Paul R. Martin, All rights reserved.