Log Home Pictures from 2017, Part 3 of 4
. . . . . . . . . . . . . . . . . . . . . . . . . . . . . . . . . . . . . . . . . . . . . . . . . . .This is Page 3 of 4. Go to page 1 2 3 4 next prevOther years: 1991 1992 1993 1994 1995 1996 1997 1998 1999 2000 2001 2002 2003 2004 2005 2006 2007 2008 2009 2010 2011 2012 2013 2014 2015 2016 2017 2018 2019 2020 2021 2022 2023 2024 2025
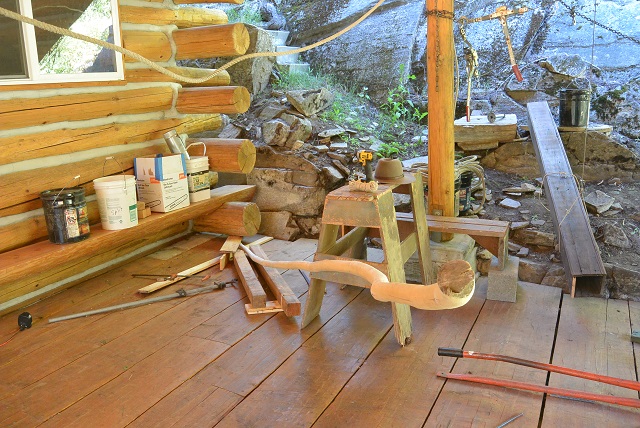
7/12/17 After changing my mind several times and after considering several different options for the outside front staircase rail, I settled on a vine maple that sort of matches the one on the other side. The vine maple was very crooked, and while it could have been used as is, I decided to steam bend it to try to straighten it at least a little. And after researching steam bending on YouTube, I settled on a method. I planned to use a steam box made of four cedar 1x8s screwed together. The steam would be produced in a 5-gallon bucket heated by a charcoal fire on the hearth the scouts built and used for their charcoal fires. Here you can see some of the parts. The steam box has one end up on the hearth and the bucket is sitting on the hearth. The crooked vine maple rail is rising up from the porch deck because the small end is wedged under the projecting wall log to the left of the picture. The curvature that I want to take out of the rail is what is holding the thing up off the deck.
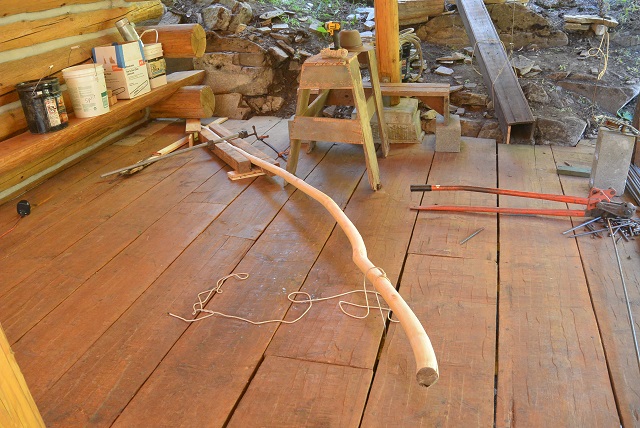
7/12/17 In this picture, the rail has been forcibly bent down and secured to the deck by a loop of rope that goes down under and around a log deck joist. It is also squeezed horizontally between those two 4x4s by a pipe clamp. Of course the rail will spring right back as soon as the clamp and the rope are released, but hopefully after the rail has been cooked in hot steam for an hour, it will bend into this shape easily and more importantly, it will retain the new shape when it cools. At least that is the plan and the expectation. We'll see.
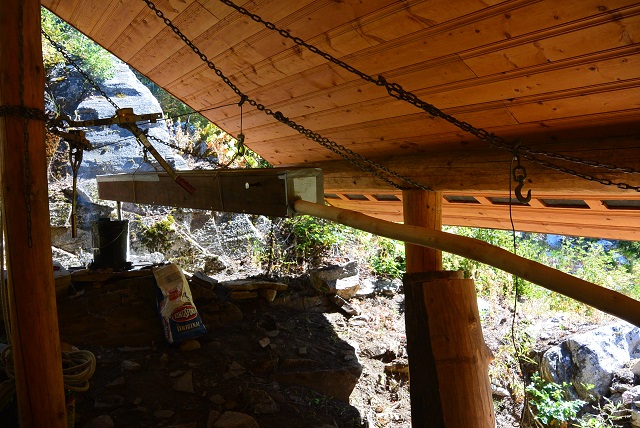
7/13/17 Here some more progress has been made. The steam box (upper left) is held suspended in the air by an adjustable rigging, a pipe has been fastened to the box that will deliver steam from the bucket below. Two holes have been cut in the bucket lid: one to admit the steam pipe and the other to allow water to be added to the bucket as it boils away. A rebar grate was also fabricated that will hold the bucket up off the fire. You can see it lying on the hearth under the bucket. A few more things need to be done before I can fire up the boiler. I need to stick the rail into the steam box, seal up the end with a styrofoam block, install a meat thermometer in the box, line the hearth with aluminum foil and add briquets, add water to the bucket, light the fire, and let it cook. Hopefully I can get that done next week.
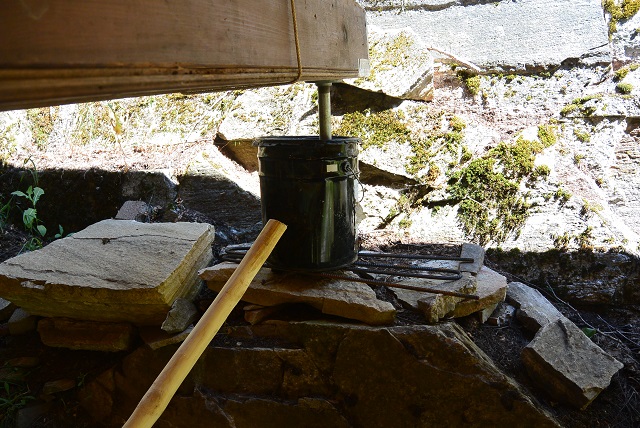
7/19/17 The rail is cooking in a steam bath in this picture. The butt end of the rail is sticking out of the steam box and is sealed by a block of Styrofoam. You can see the thermometer in the side of the box. The temperature stayed above 180 degrees inside the box for over an hour.
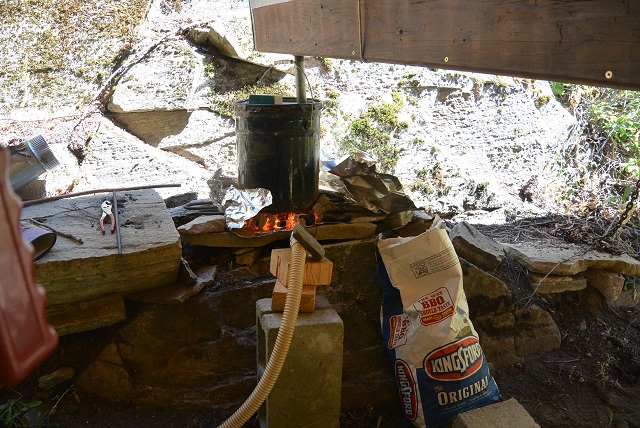
7/19/17 The steam was delivered to the box via the vertical pipe you see coming out of the boiler. The charcoal fire is kept flaring by the hair dryer hose blowing air through a vacuum cleaner nozzle.
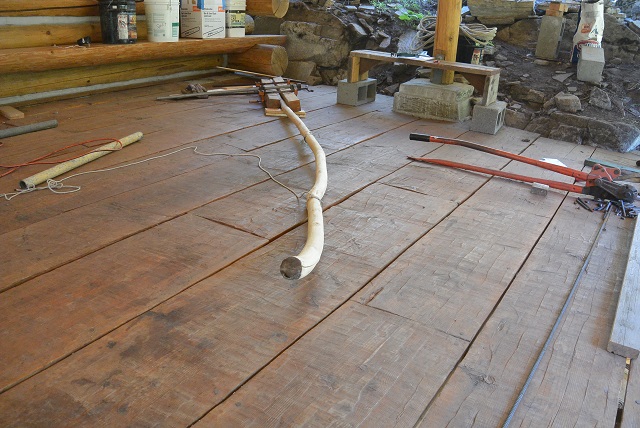
7/19/17 Here the hot rail has been clamped between the 4x4s and tied down to the deck in order to straighten it. When it cooled it sprang back only a little and remained straight enough to do the job.
8/16/17 Here the second front stair rail has been securely fastened to the Grid G2 column with a mortise and tenon joint and to the Grid G3 newel post with a half-inch lag screw. It is ready to be sanded, stained, drilled, and have its balusters installed.
8/17/17 Here the second front stair rail has been stained and will dry over the weekend.
8/24/17 The holes for the 32 balusters have been drilled in the treads and are temporarily plugged up with short pieces of scrap rebar. That will keep the mason bees from plugging up the holes over the weekend.
9/6/17 All thirty-two balusters are installed.
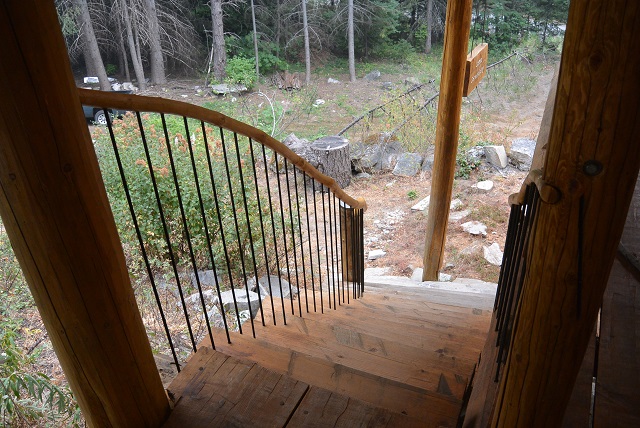
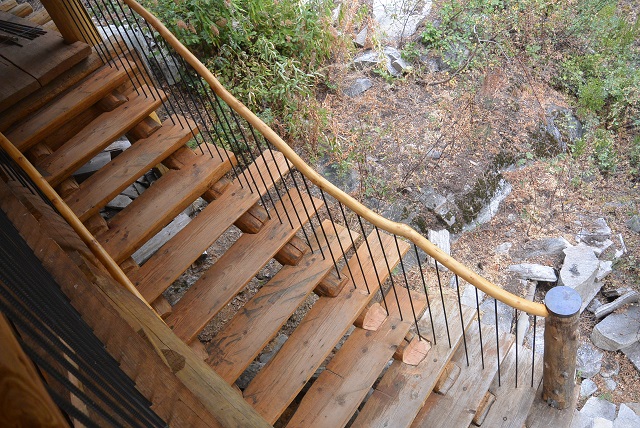
9/6/17 Looking down from the head of the stairs.
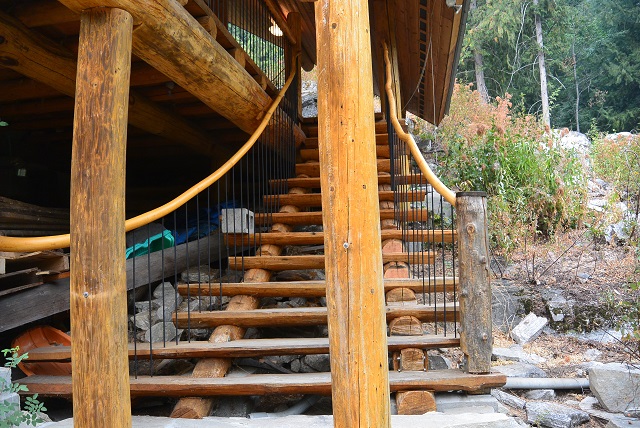
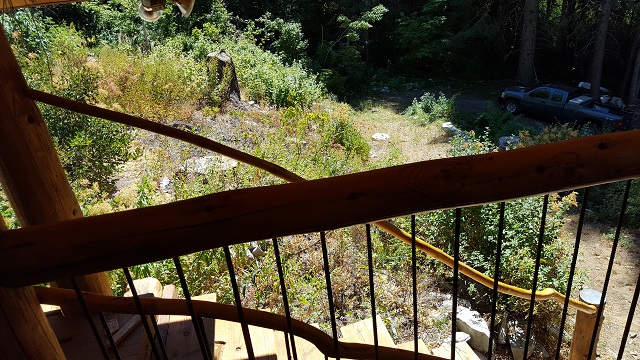
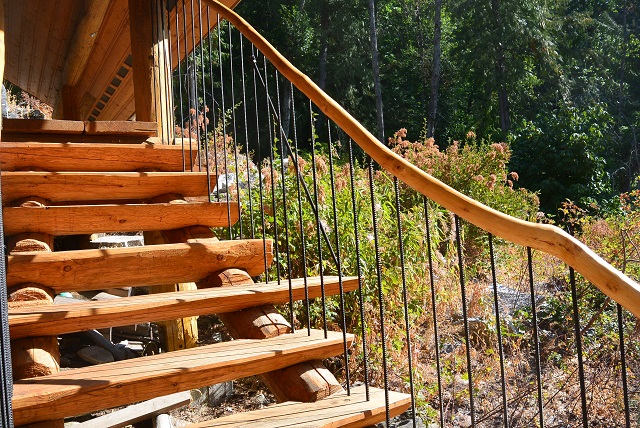
9/6/17 Looking up from the foot of the stairs.
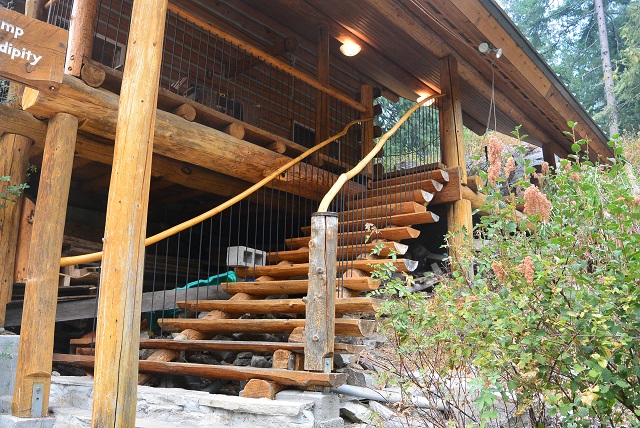
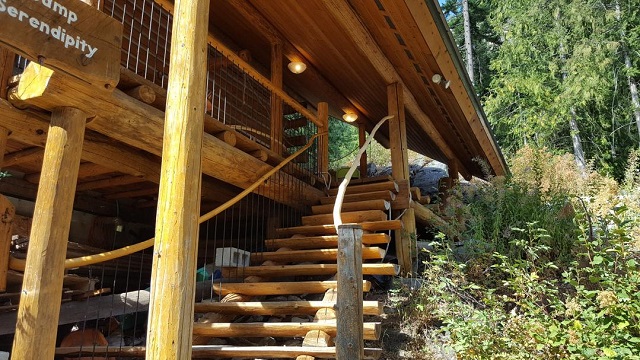
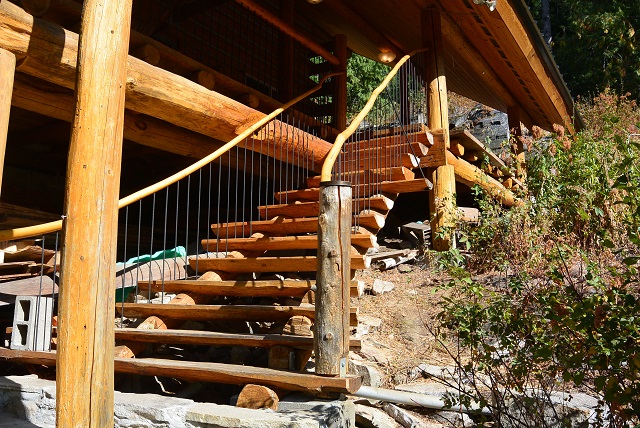
9/6/17 The front staircase seen as you approach from the roadway. There is still some trimming and staining to do, and I'll install a brace mid-span, but most of the work is done.
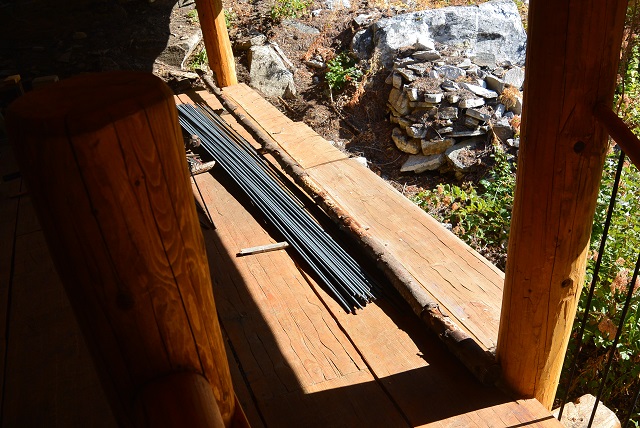
9/14/17 In this picture you can see a few things related to this week's work: There is the stack of thirty 10-foot lengths of #3 rebar that I carried up from the truck. The interesting thing is how clean the rebar is. There is not a speck on rust of any of them. The rusty ones on the right were from the previous batch. The next thing is the pole that will become the guard rail in that location. It obviously needs work. And the last thing is a stroke of serendipity, the two planks on the right that extend the deck. As it was, the deck did not reach far enough to hold the balusters in the position I wanted them. After some searching I found two old planks that were left over from making the porch deck many years ago. They just happened to be exactly the right size so I placed them where you see them without any cutting whatsoever. I screwed them down to the joists and plugged the holes with dowels that you can see if you look closely. What luck!
9/14/17 Here you can see the strut I made to make the rail more rigid. I think I heard the building inspector say that a rail needs to be structurally supported at least every eight feet. This strut will do that. It is a piece of 5/8" allthread held by nuts to the projection on the tread and to a 5/16" hook that is screwed into the underside of the rail. Then it was painted black to match the balusters.
9/14/17 Here you can see that the treads have been trimmed on the outside (except for the one anchoring the strut) to match the curvature of the rail.
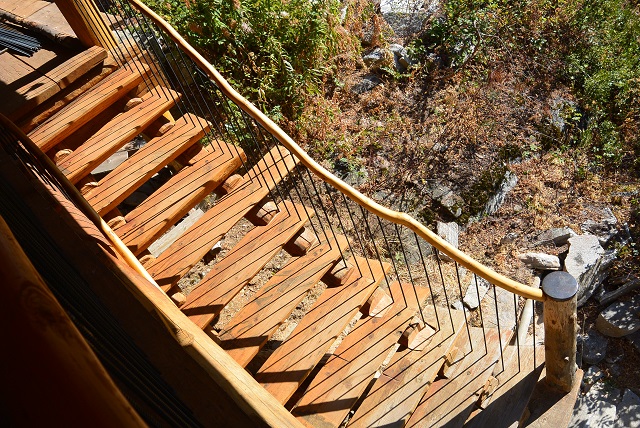
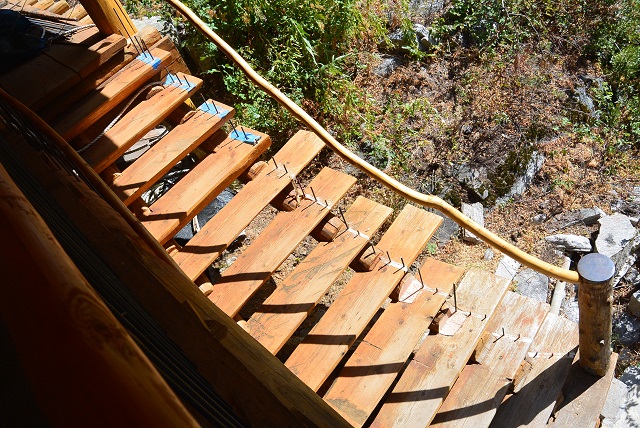
9/14/17 And here you can see an interesting shadow pattern of the rail and balusters on the stair treads.
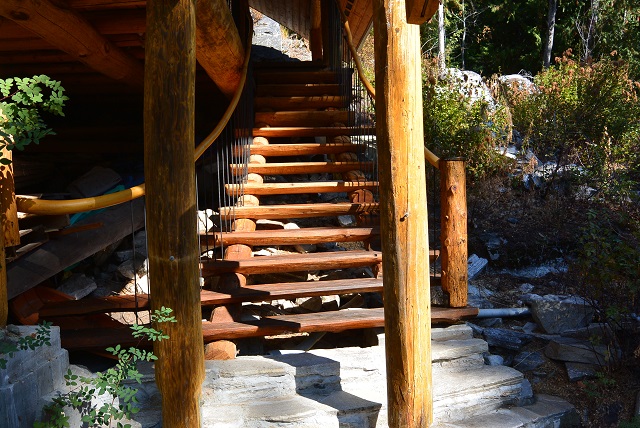
9/26/17 The front staircase is finally finished, including a new coat of stain. I think the lower newel post looks especially nice.
. . . . . . . . . . . . . . . . . . . . . . . . . . . . . . . . . . . . . . . . . . . . . . . . . . .This is Page 3 of 4. Go to page
1
2
3
4
next
prev
©2017-2025 Paul R. Martin, All rights reserved.