
Log Home Pictures from 2013, Part 3 of 4
There are multiple picture pages for this year. . . . . . . . . . . . . . . . . . . . . . . . .This is Page 3 of 4. Go to page 1 2 3 4 next prevOther years: 1991 1992 1993 1994 1995 1996 1997 1998 1999 2000 2001 2002 2003 2004 2005 2006 2007 2008 2009 2010 2011 2012 2013 2014 2015 2016 2017 2018 2019 2020 2021 2022 2023 2024 2025
10/9/13 Here you see the springbox with the lid removed ready to be worked on in an attempt to fix the leak around the cleanout pipe at the bottom.
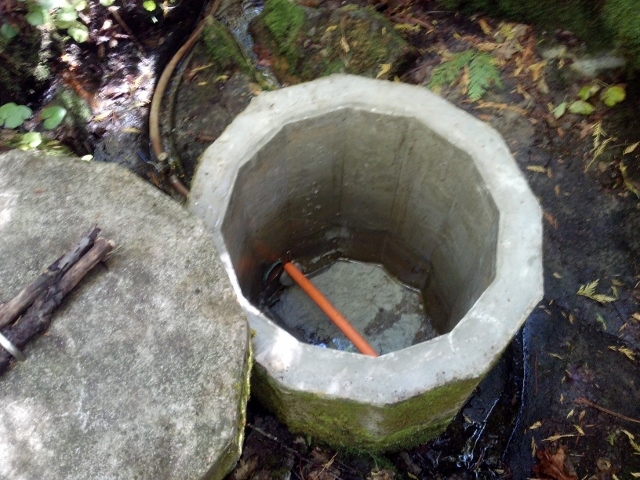
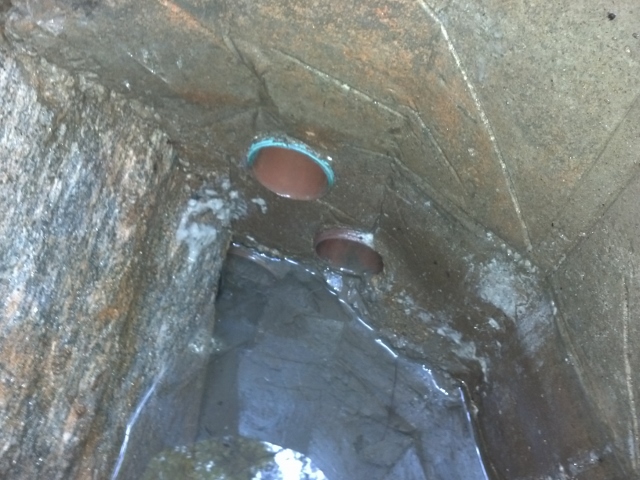
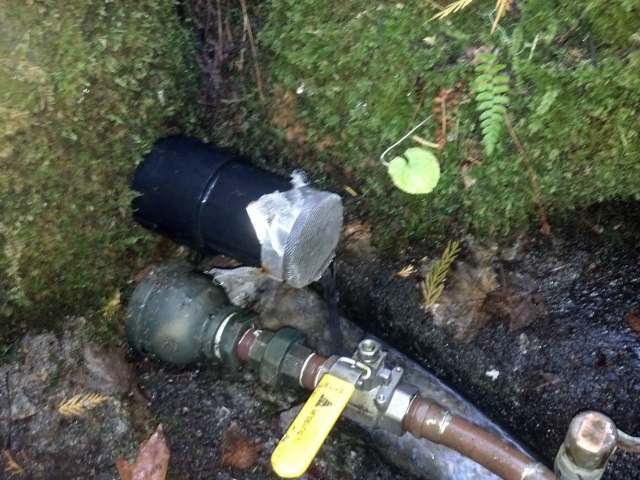
10/9/13 This is a view looking down into the springbox. You can see the piece of orange conduit that is holding the stainless steel strainer against the mouth of the serivce pipe to keep any debris out of the water supply. You can also see the bentonite on the bottom of the pool which was my last vain attempt to plug the leak.
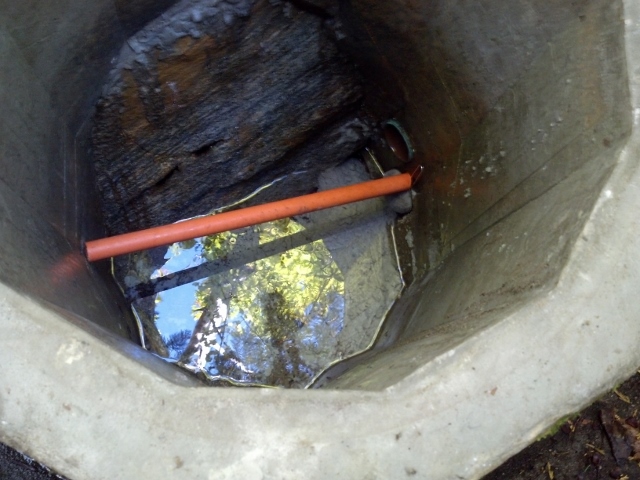
10/9/13 A closer view of the strainer held against the service pipe.
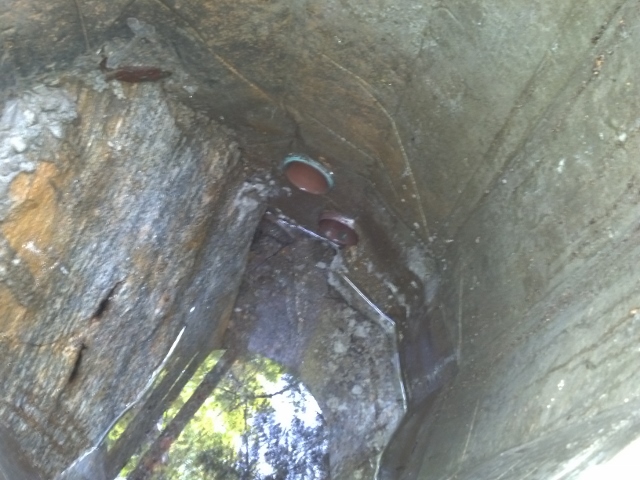
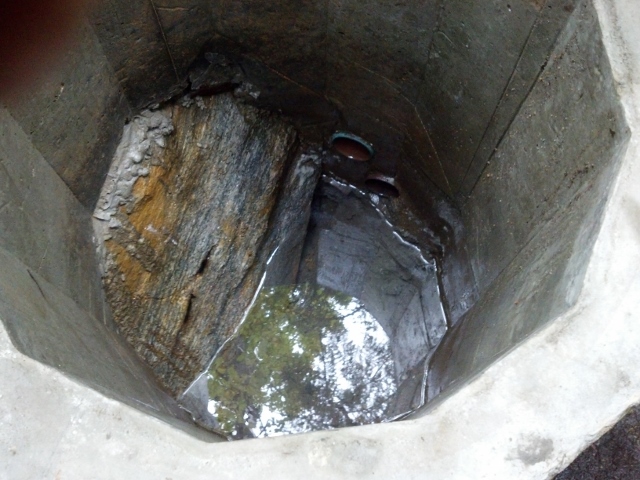
10/9/13 The strainer has been removed so that I can work inside. The cleanout cap on the outside has been removed so the water level is below the service pipe. You can see the water line just even with the top of the cleanout pipe and just below the service pipe. The overflow pipe is high and dry.
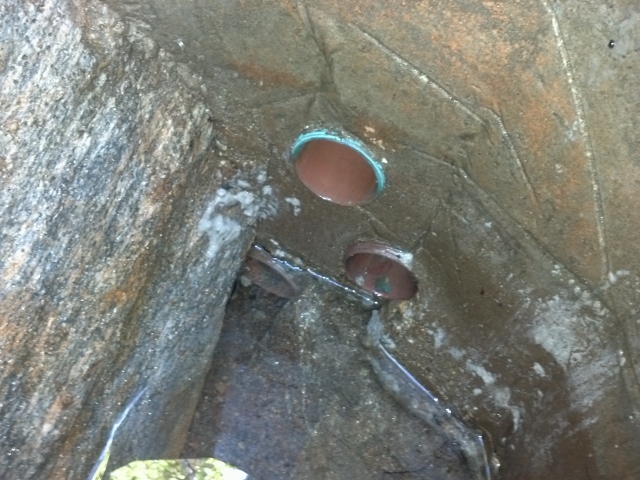
10/9/13 The bentonite, and as much sand and gravel as I could get out has been removed from the bottom of the pool. I discovered that there is about a 2 quart-size cavity under and to the left of the cleanout pipe. It seems that is where most of the leakage is occurring. You can also see a ledge under the service pipe which also might be leaking.
10/9/13 Hydraulic cement has been placed and troweled in under the ledge and into the cavity below the cleanout pipe. Hopefully this will plug up the leaks.
10/9/13 The springbox is now ready to be put back together.
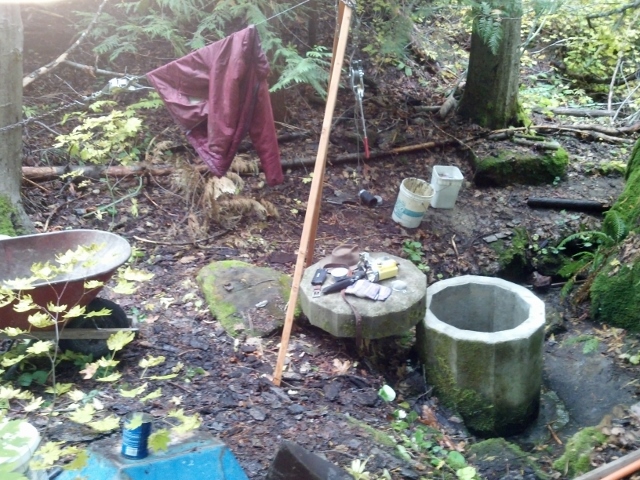
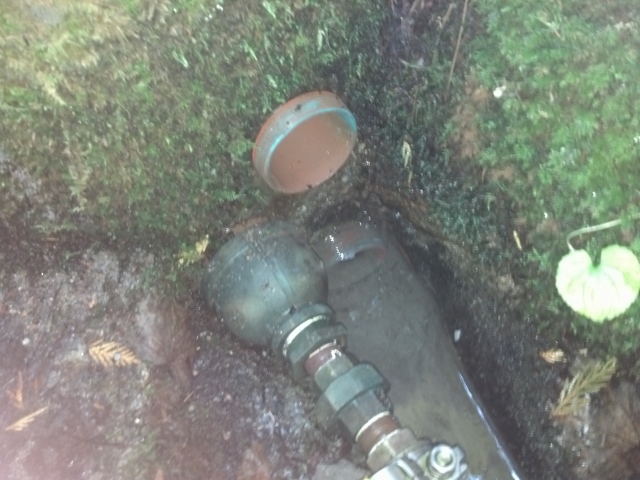
10/9/13 Here is a view of the work site prior to putting it back together.
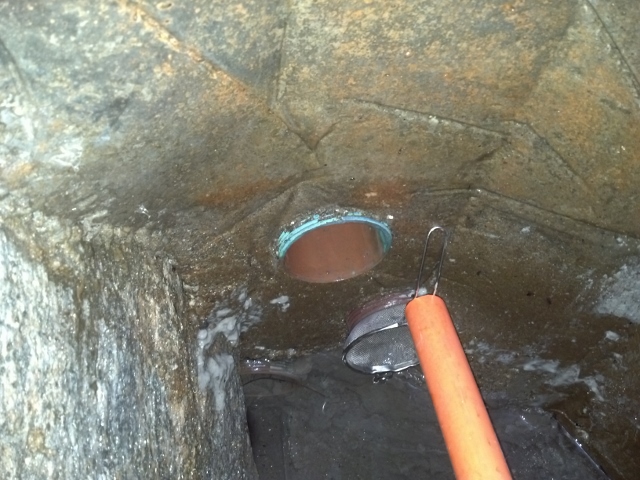
10/9/13 To get a tighter fit, the strainer is held in a different position.
10/9/13 This is a view of the outside with the cleanouot cap still off. It took a little work to clear the debris so that the cap could be put back on.
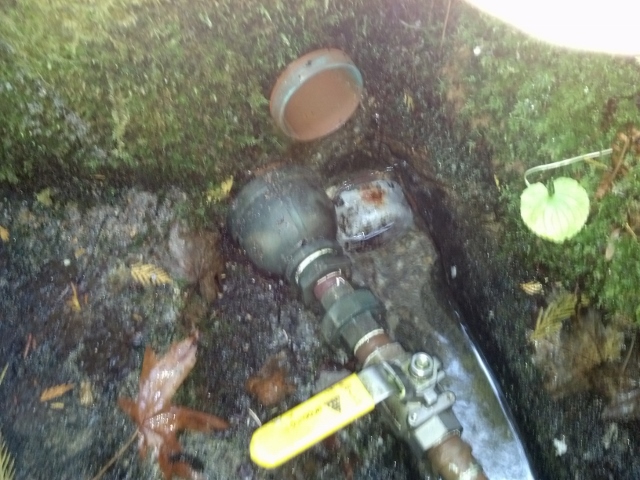
10/9/13 The cleanout cap is back on, and unfortunately, water still leaks from around the pipe. Bummer.
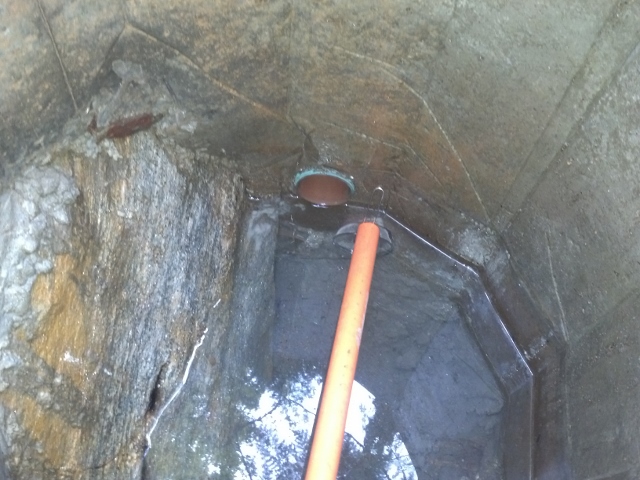
10/9/13 The leaks have been slowed enough, though, so that the water level rises inside the springbox up to the overflow pipe. That is good news and means that the springbox will work fine in spite of the leaks. Let's hope they don't get worse.
10/9/13 There is not much water flowing out of the overflow pipe, but any amount is enough.
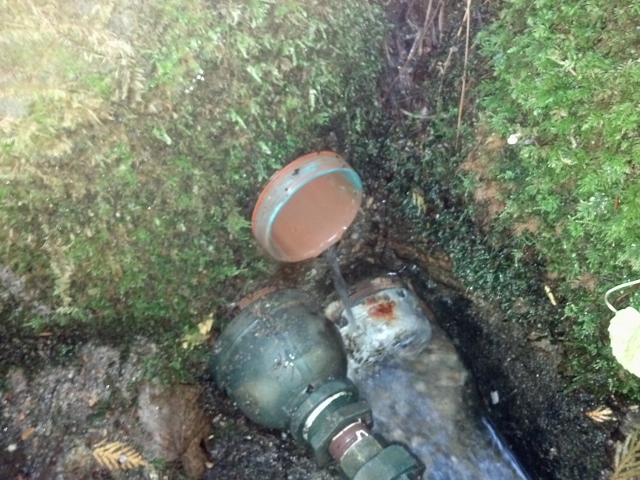
10/9/13 The overflow cap is replaced.
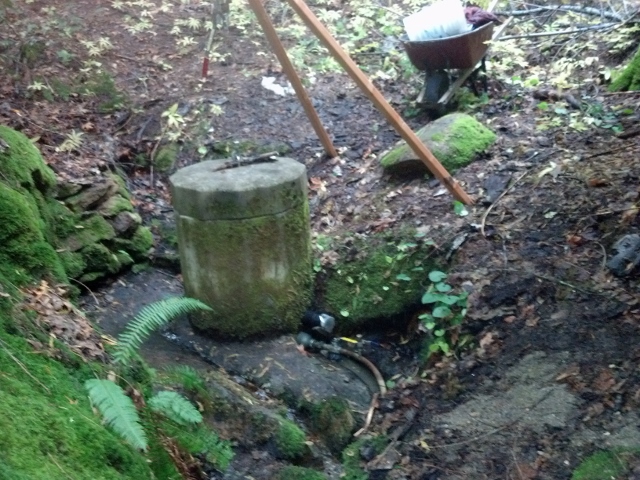
10/9/13 The springbox is in service again. The fix was not perfect but at least it will work and I understand what I am up against a little better now.
There are multiple picture pages for this year. . . . . . . . . . . . . . . . . . . . . . . . .This is Page 3 of 4. Go to page
1
2
3
4
next
prev
©2013-2025 Paul R. Martin, All rights reserved.