Log Home Pictures from 2012, Part 3 of 4
There are multiple picture pages for this year. . . . . . . . . . . . . . . . . . . . . . . . .This is Page 3 of 4. Go to page 1 2 3 4 next prevOther years: 1991 1992 1993 1994 1995 1996 1997 1998 1999 2000 2001 2002 2003 2004 2005 2006 2007 2008 2009 2010 2011 2012 2013 2014 2015 2016 2017 2018 2019 2020 2021 2022 2023 2024 2025
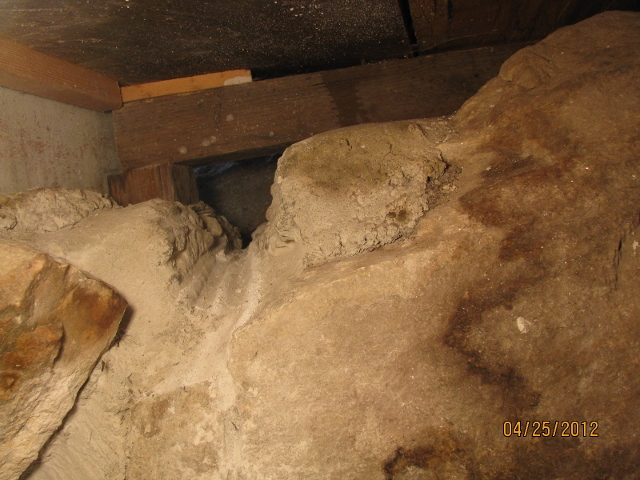
4/25/12 This is the drainage channel cut into the bedrock under the front porch at Grid E1.
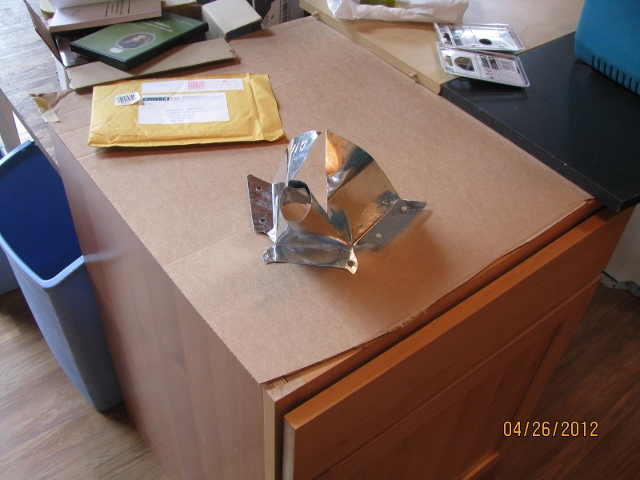
4/26/12 This is the sheet metal collector/funnel that will route the water from the drainage channel into a pipe.
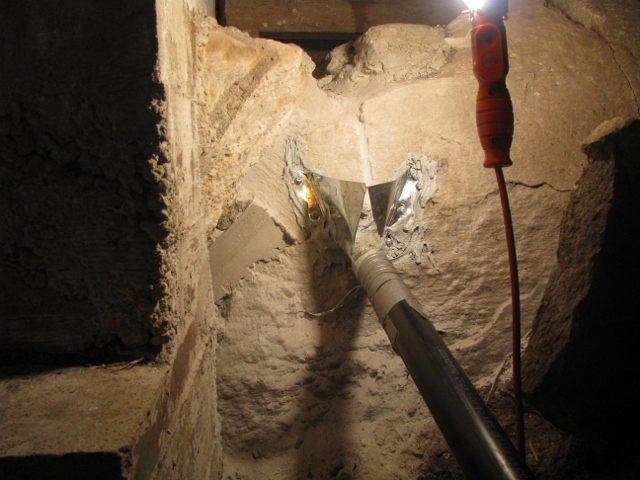
9/18/12 This is a view of the newly installed collector/funnel and drain pipe.
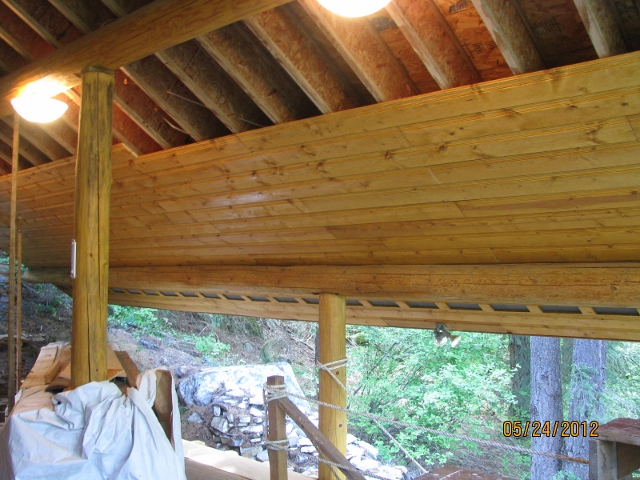
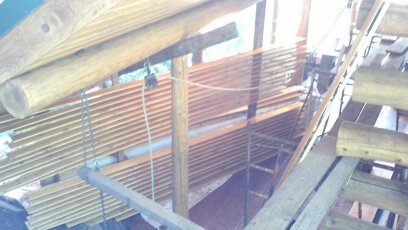
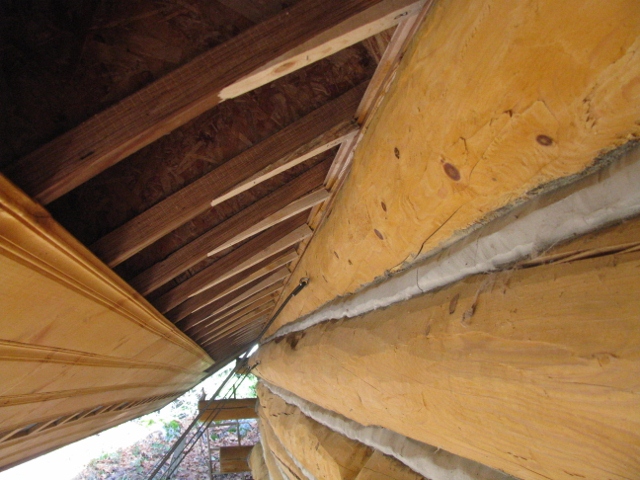
5/24/12 This is a view of the newly installed ceiling boards over the porch.
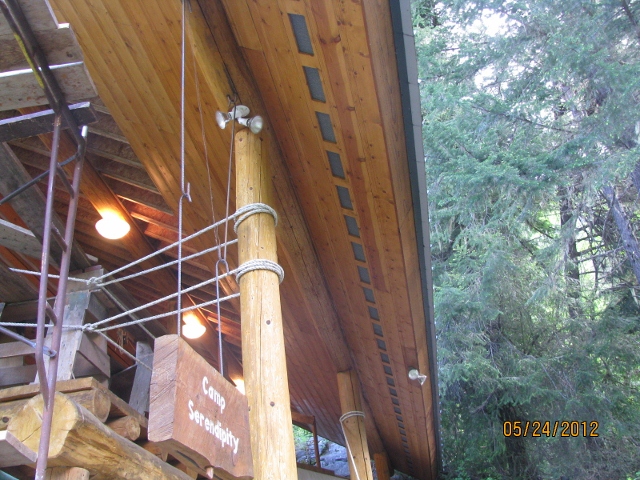
5/24/12 This is another view of the newly installed ceiling boards.
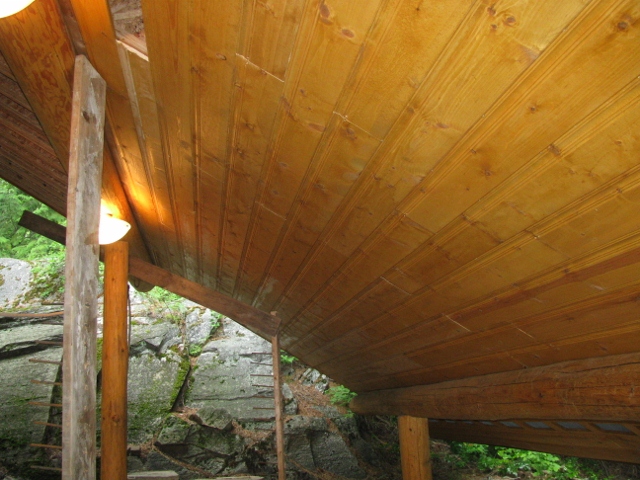
5/31/12 The ceiling boards are completely installed between the Grid F and G purlins over the far end of the porch.
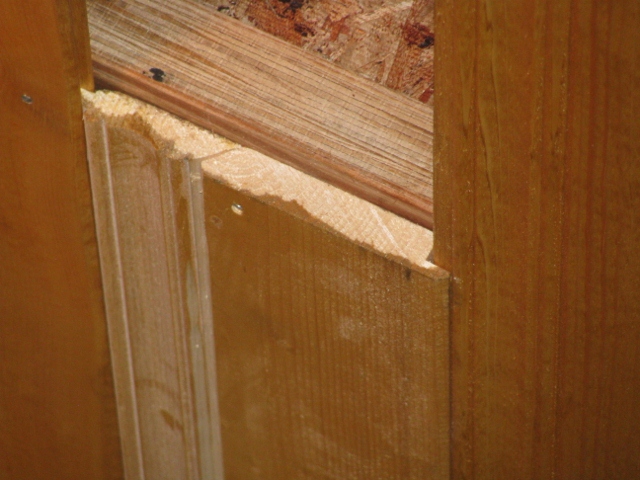
5/31/12 You can barely see the nearly horizontal joint between the two pieces making up the last ceiling board installed. This one is narrower than the rest because that is all the space that was left.
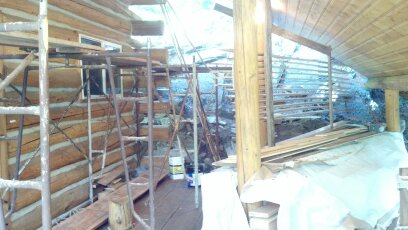
7/19/12 Here you see a very crowded porch. The scaffold tower is up against the log wall all the way along. The log bench is temporarily lying on the deck to be out of the way of the scaffolding. You can see the staining rack full of stained boards on the right. And at the center bottom of the picture, at the base of the log column, you can see the ends of the new boards in the inventory stack waiting to be pulled out and stained.
7/19/12 This view from the high rock shows the Grid F purlin and the scaffolding supported by a 4x4 hanging from a chain attached to the Grid F1 Anchor Hook. Here is also another view of the stained boards in the rack.

7/19/12 Here you see the scaffold planks and the progress on the ceiling.
7/19/12 This 2-tier scaffold tower needs to be raised another tier to provide safer access to the ceiling under the eaves. That's Rosie the rosebush surrounded by the tower.
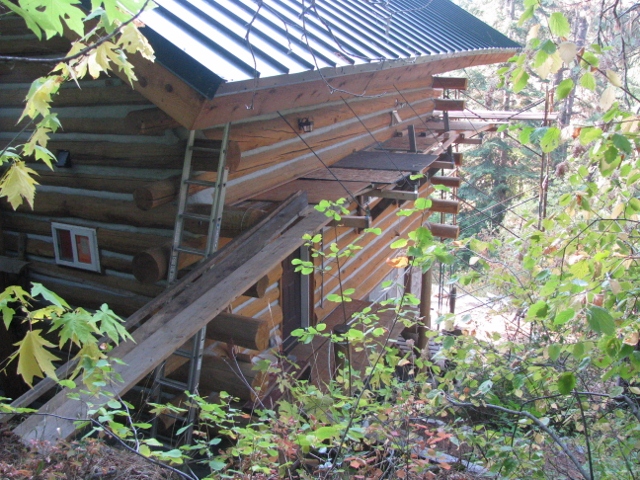
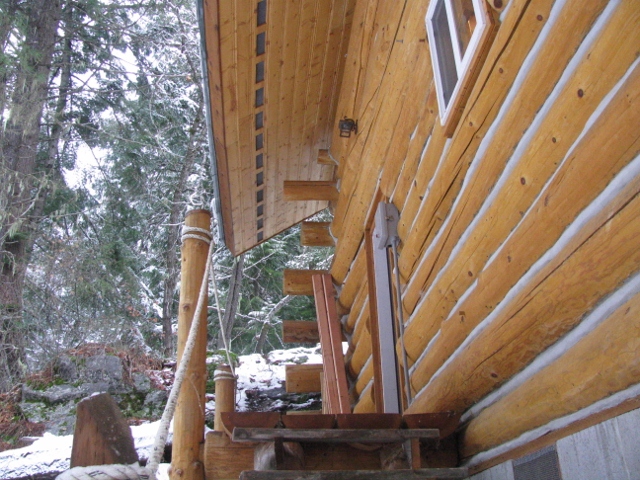
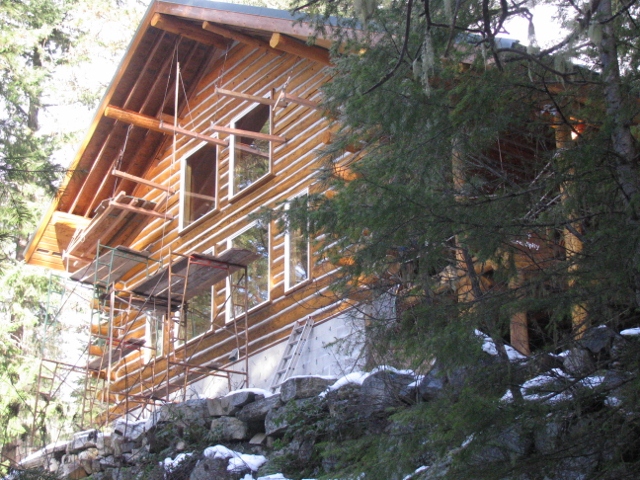
10/11/12 Here's the scaffold system for the Grid A eaves. Note that the planks on the left rest on the ground, where those on the right require a 3-tier scaffold tower. Quite a difference.
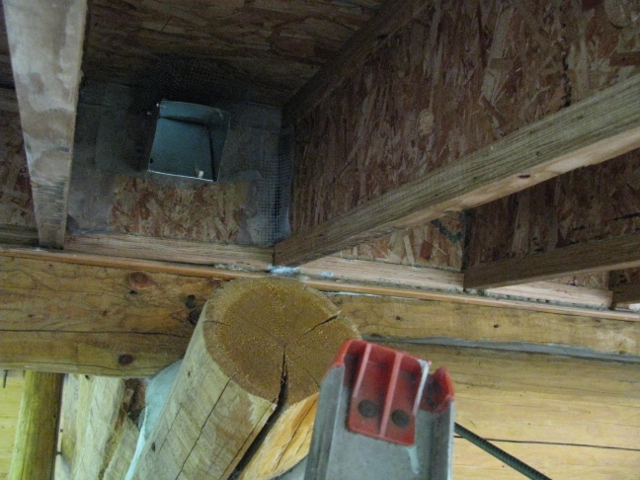
10/11/12 Here the sheet metal rodent valve is installed on a birdblock to let the mice out and keep them out.
11/8/12 Here you see the special shims installed under the rafters in order to accommodate the crowned roof.
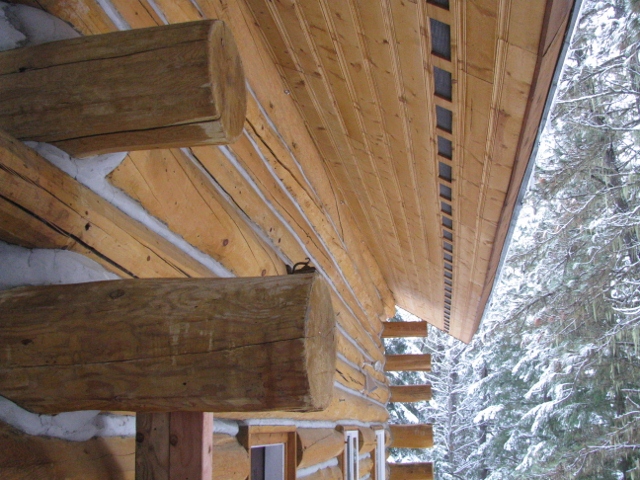
11/29/12 The new eave ceiling over the crawl space door.
11/29/12 The new eave ceiling over the back porch.
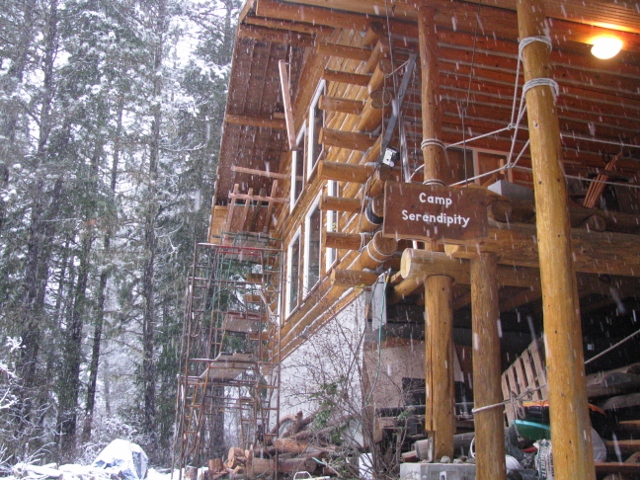
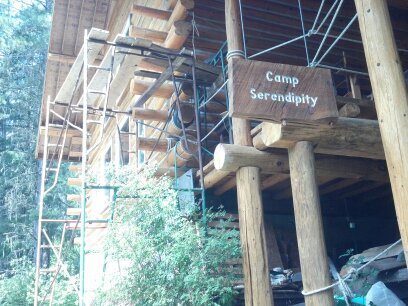
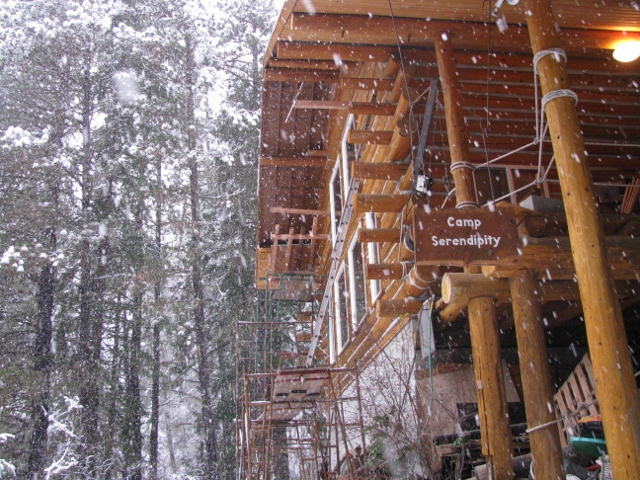
12/6/12 At the far end of the cabin, just left of the two high windows, you can see two horizontal 4x4 scaffold supports sticking out from the log wall. The left ends of these are suspended from rebar S-hooks hanging from the purlin directly above. You can see four 4x4 stringers resting on the lower support. The far support holding up the other ends is not visible because of the steel scaffold towers in front. There is a sheet of OSB on top of the stringers forming the working platform of the scaffolding. Then on the near side of the cabin, you can see a 4x4 support hanging in mid air apparently above the left high window but really in a line with the near log wall. This support is hanging from an S-hook that has a wooden handle lashed to it. The S-hook is nearly invisible but you can see the wooden handle above and to the right of the support. The hanger and the support were both hung up there by using the ladder up against the log wall right up against the corner. The ladder is hard to see because the rungs sort of line up with the chinking, but if you look, you can see it. The ladder is partly hidden by the Camp Serendipity sign, the Grid F3 column, and the porch crane. This doesn't look like much, but it took a lot of doing to get that 4x4 hanging up there like that.
12/6/12 This picture shows that same 4x4 support now horizontal with its right end fastened to the log wall with a lag screw. Now you can clearly see the wooden handle on the rebar S-hook slanting up to the right from the left end of the support. The lag screw and the support were installed by working from the ladder in the position you see here. The bottom of the ladder is resting on the scaffold platform in the foreground. The picture is somewhat of an illusion, but the ladder is resting against the log wall only a few inches to the left of the projecting ends of the wall logs. There are still two more purlins above this one which need similar supports hanging from them, but they are significantly higher and so are that much more difficult and dangerous to install. One thing at a time.
12/13/12 This picture shows all seven of the 4x4 supports for the high hanging scaffold system. They are the horizontal 4x4s seen sticking out from the log wall high up under the eaves. The scaffold deck is already in place for the left-most two of them. Decking the rest of them is the next job to do. You can see some of the scaffolding that was necessary to install the S-hook hangers and the 4x4 supports. You can also see the 1x2 wooden handle of my skyhook hanging vertically directly under the ridgepole
There are multiple picture pages for this year. . . . . . . . . . . . . . . . . . . . . . . . .This is Page 3 of 4. Go to page
1
2
3
4
next
prev
©2012-2025 Paul R. Martin, All rights reserved.