Log Home Pictures from 2021, Part 2 of 3
. . . . . . . . . . . . . . . . . . . . . . . . . . . . . . . . . . . . . . . . . . . . . . . . . . .This is Page 2 of 3. Go to page 1 2 3 next prevOther years: 1991 1992 1993 1994 1995 1996 1997 1998 1999 2000 2001 2002 2003 2004 2005 2006 2007 2008 2009 2010 2011 2012 2013 2014 2015 2016 2017 2018 2019 2020 2021 2022 2023 2024 2025
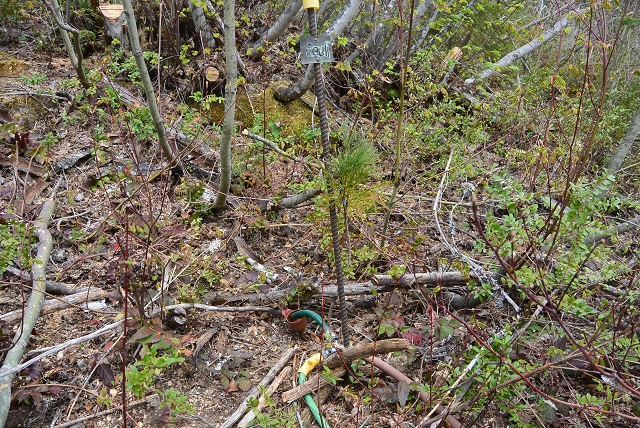
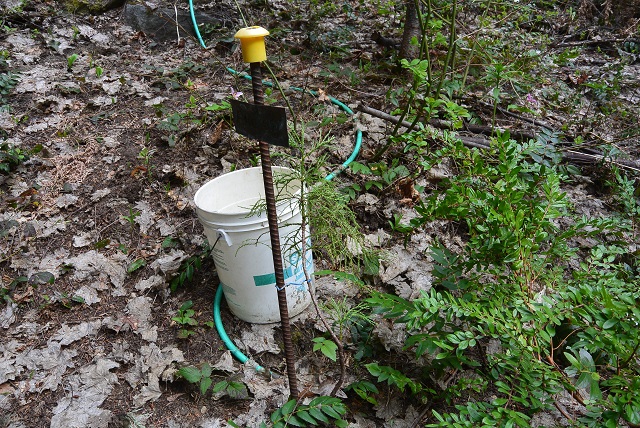
4/28/21 This is Paul. You can see the copper funnel that takes the stub end of the green hose and dribbles water 20 inches into the ground. I got the advice from both my brother John and from Earl that irrigating the tree on the surface only encourages a shallow root system. With this new arrangement, I hope that the tree will seek out the water deeper into the ground. We'll see.

4/28/21 Brian. This poor tree is almost completely shaded all the time and is on a steep dry bank. I can't do much about the sunlight, but I have an irrigation hose that runs near the tree 24/7 from April to October.
4/28/21 Andrew. One of the scrawniest of the trees. It does get a little sun, but the ground is very dry. I tried in vain to water it using a ram pump but I gave up and now carry water to it in buckets nearly every week.
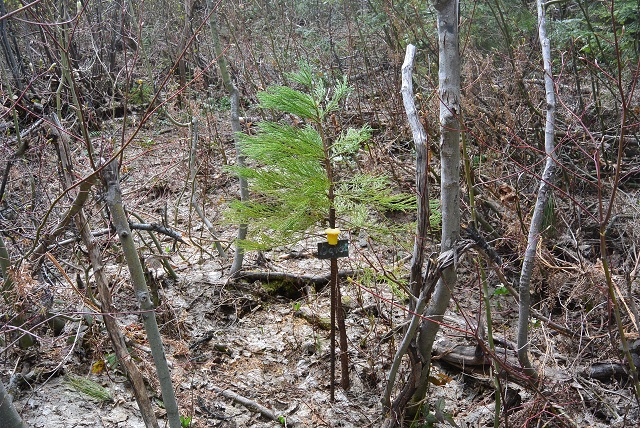
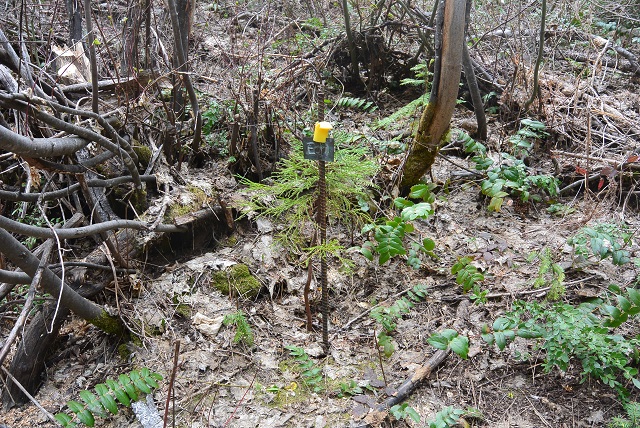
4/28/21 Bill. This tree is thriving and competing vigorously for second or third place in the tree growth competition.

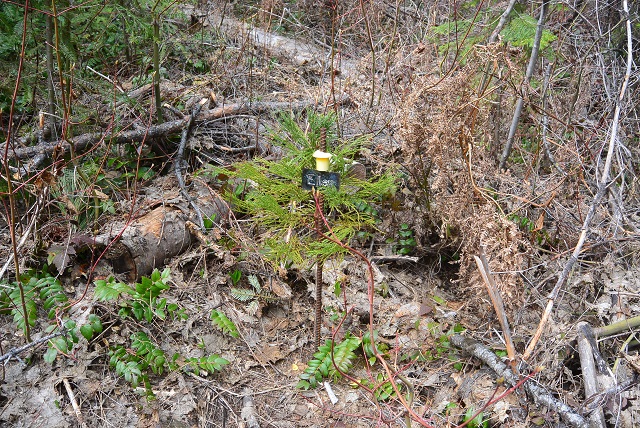
4/28/21 Cam. Cam held a strong second place in the competition for many years, but lately its growth seems to have slowed and most of the lower branches have died. It looks like it is trying to grow tall instead of bushy, and I guess that is OK.
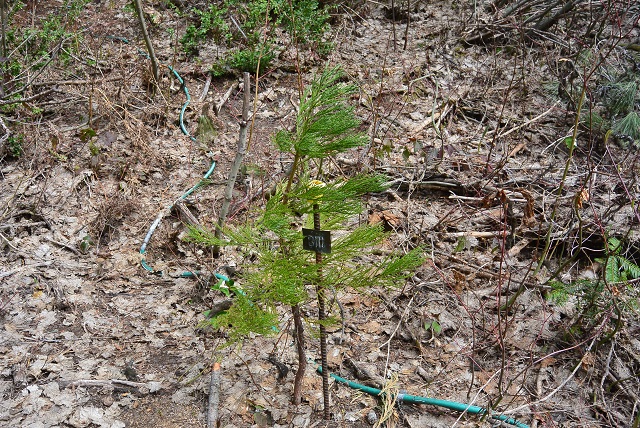
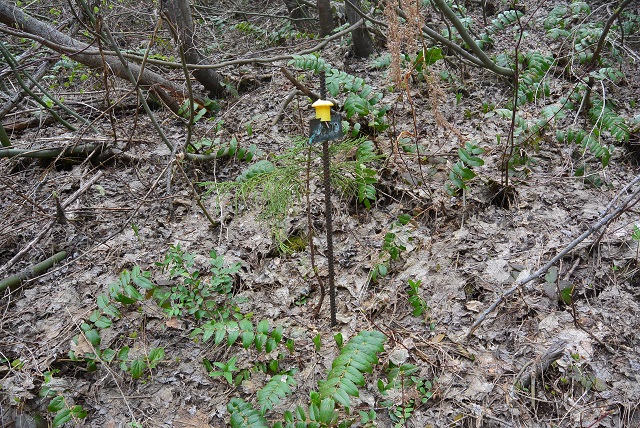
4/28/21 Dave. Dave has been the clear champion in growth all the while. Even though the competition is closing in, I think Dave will stay ahead of it.
4/28/21 Earl. This is another tree that hardly gets any sun. I also do not irrigate it but it seems to thrive anyway.
4/28/21 Ellen. Ellen had a sort of rough start and was pretty scrawny for the first few years. Lately, though, it has picked up the pace and is now a strong contender for second place behind Dave.
4/28/21 John. This is another tree deprived of sunlight and one that I do not irrigate. Even though it is pretty scrawny, it seems to be a survivor.
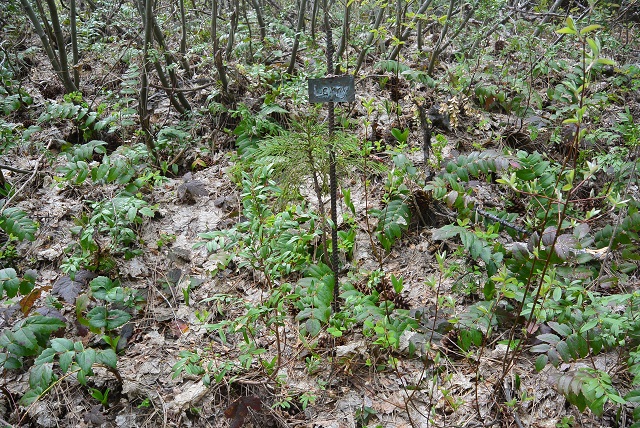
4/28/21 Larry. Larry, like Andrew is at a pretty high elevation, but it is more shaded. It never gets watered but it seems to keep growing, however slowly.
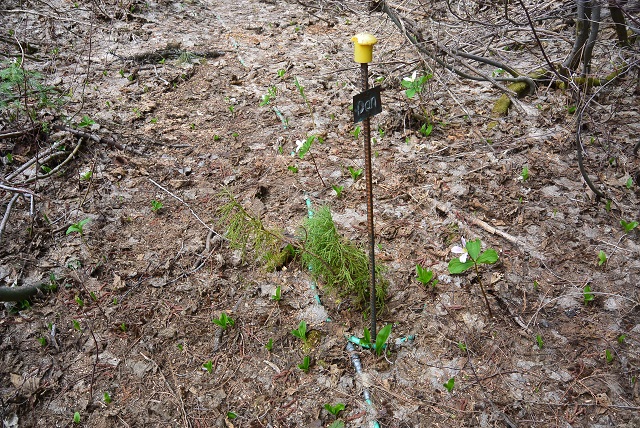
4/28/21 Dan. This tree might have a congenital problem because it can't seem to decide which of its branches should become the main trunk. Instead, branches will shoot out the side and get long, while the rest of the tree gets bushy but doesn't seem to establish a trunk. If I were an arborist I might know whether and how to do something about it, but I am not so I won't.
That is the end of the sequoia photo gallery.
4/28/21 This is one of the cedars I transplanted up on the bluff. It survived a direct hit from a big falling tree. I found it bent over flat under the trunk of a big tree killed by laminated root rot. Fortunately there was a gap between the trunk and the ground at this point that kept the cedar from breaking. As you can see, I cut a chunk out of the trunk and stood the cedar back up straight. I think it will do OK now.
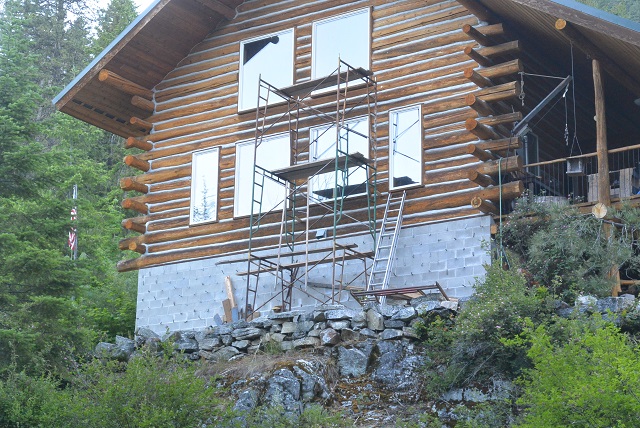
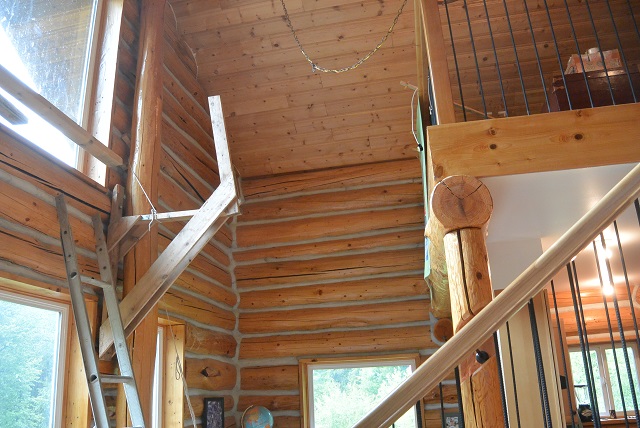
6/2/21 Back on 9/19/17, a grouse had flown into one of the top front windows and cracked it from top to bottom. No glass fell out so I had just left it intending on fixing it one day. Well the day has arrived so I started work on the repair. That involved setting up a three-tier scaffold tower in front of the window so I could reach it. Here you see the tower set up and almost ready to go. It only needs a safety rail and it will be ready.
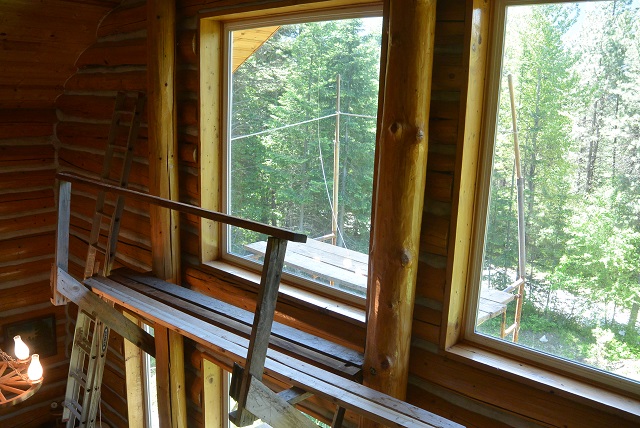
6/4/21 I was shocked to discover that it was the inside pane and not the outside one that was cracked. That meant I needed access from the inside which meant another scaffold system. Here you can see that I used the old system of brackets hanging from the log walls that I had used during the construction of the cabin. You can also see the crack in the window if you look closely, and you can see the nice platform on the outside with safety rope and all that now will be used to wash the outside of the window.
6/14/21 This picture shows the third scaffold bracket installed using a rope and a screw-eye block to lift it. The rope is visible in the picture but the screw-eye block is nearly invisible. It consists of a short 2x2 with a big screw-eye on the bottom. The end of the 2x2 is visible between the column and the log wall, but the screw-eye is hidden behind the column.
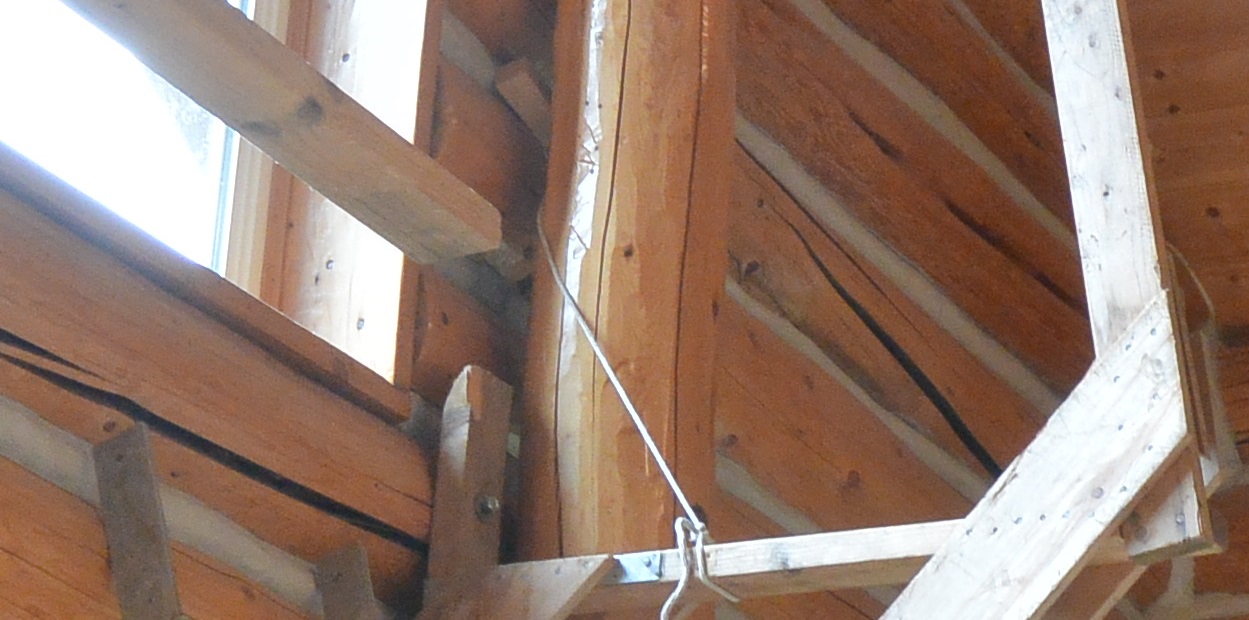
6/14/21 In this close-up, the 2x2 is clearly visible but the screw-eye is still hidden.
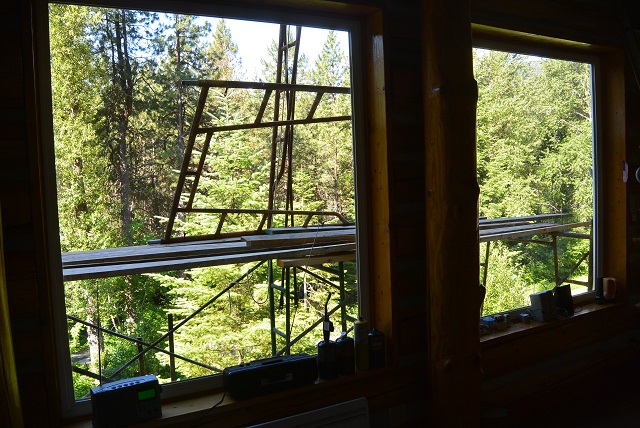
6/22/21 Here you see the tricky part of re-configuring the outside scaffolding. The original 3-tier tower gave me access only to half of the front windows. Now that those have been washed, the tower had to be moved. To minimize work, the strategy was to erect a tandem 2-tier tower using two frames of the original tower. Then, with a deck spanning both 2-tier towers, the outer frame of the 3rd tier would be removed and carried across the deck so that it could be set up to use to complete the 3rd tier of the new tower. Then the original tower could be dismantled leaving the new tower giving access to the rest of the windows. This picture shows that tricky maneuver of carrying that frame across the deck. You can see it resting on the deck and leaning against the central frame toward the cabin. It stayed that way overnight before it finally made it across.
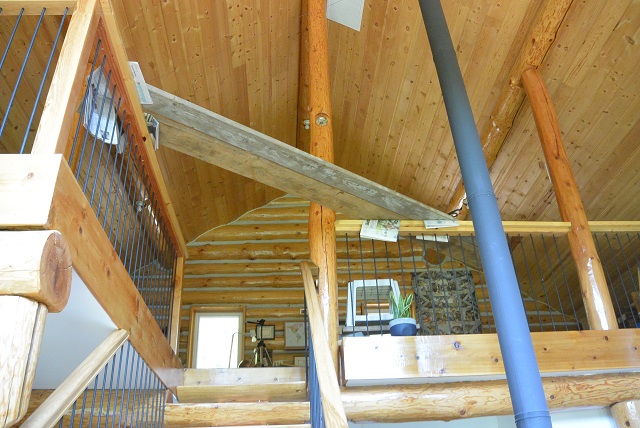
6/30/21 This is the scaffolding I set up on the loft railings so I could install a light fixture above the loft stairs.
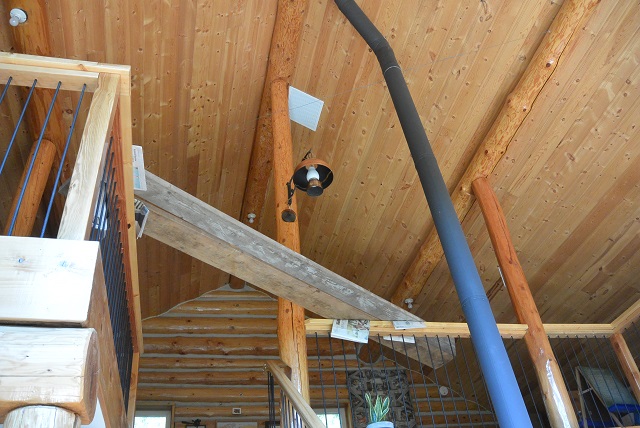
6/30/21 Here the light fixture is installed.
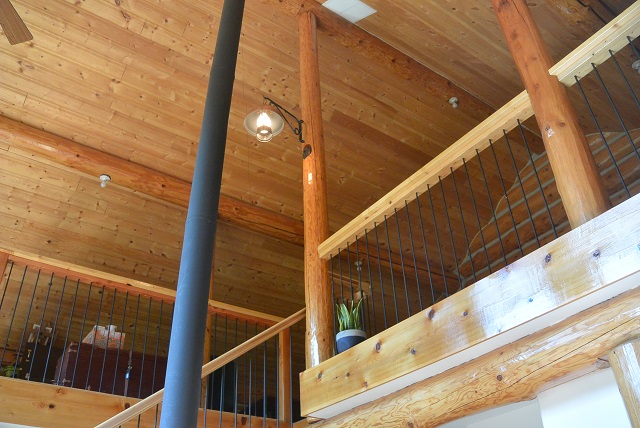
6/30/21 Here's another picture of the fixture, working, and the scaffolding removed.
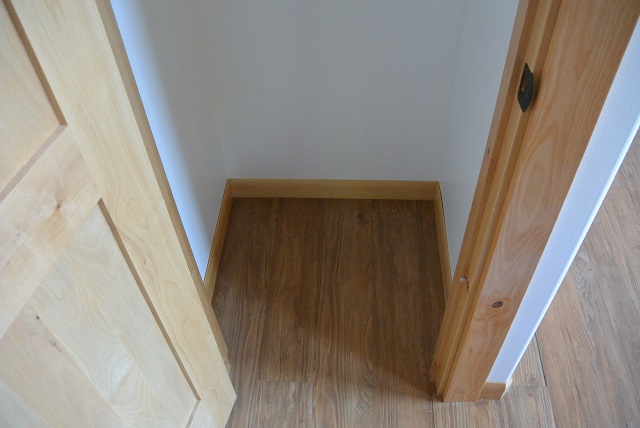
7/1/21 Baseboards installed inside the living room closet.
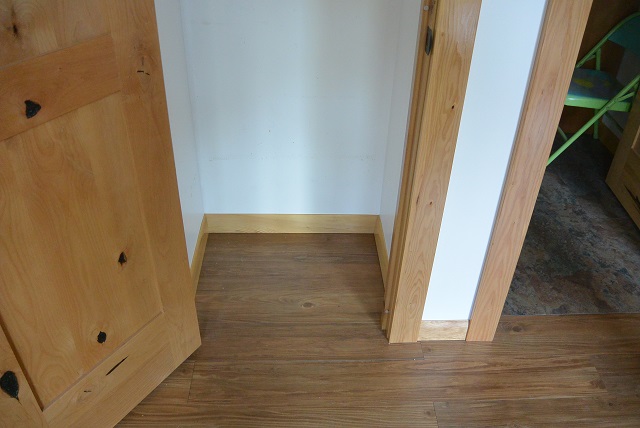
7/9/21 Baseboards installed inside the curly fry closet. This is the last of the baseboards on the first floor.
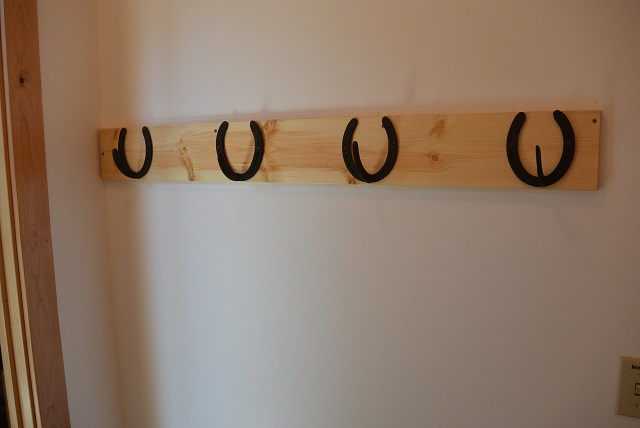
7/21/21 These are the coathooks that Paula gave us a long time ago. They are finally installed and will be useful for hats and coats.
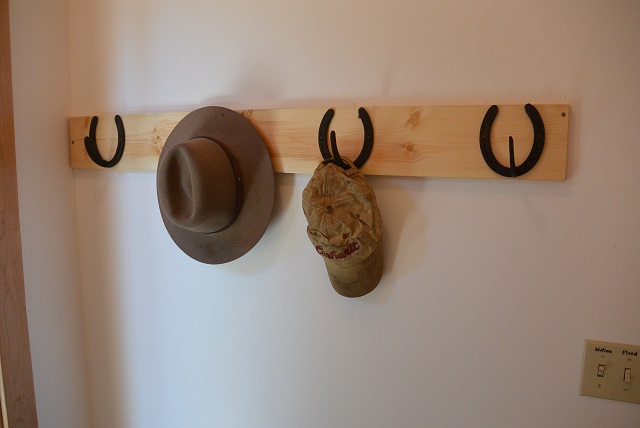
7/21/21 Here you see the first use of the coathooks.

7/27/21 For 30 years I have wanted a reasonably detailed topographic map of the Camp Serendipity property. The best government maps have 200-ft contour intervals so they show only one contour line running through the property. That is hardly enough. I thought of, and tried, many approaches to getting a good topographic map, all of which ended in frustration and no map. Early this year, in the aftermath of one of those failures, I decided to draw a map of my own by hand. I used the data from the official survey map that came with the property to draw the property boundary and the road. Then I figured out ways of fixing points on the ground which I could then site on my drawing by measuring distances between points on the ground, and striking intersecting arcs with a compass on my drawing. It is a little tedious, but it works. I will continue these methods during whatever seasons of the year give me access to points on the ground until I complete the map. This picture shows the status of the map so far including the siting of the cabin foundation on the map. That is a huge milestone and I decided to commemorate the event with this picture. In addition to the cabin, the map shows portions of four contour lines on 5-foot intervals that march up the driveway toward the cabin starting at the road.
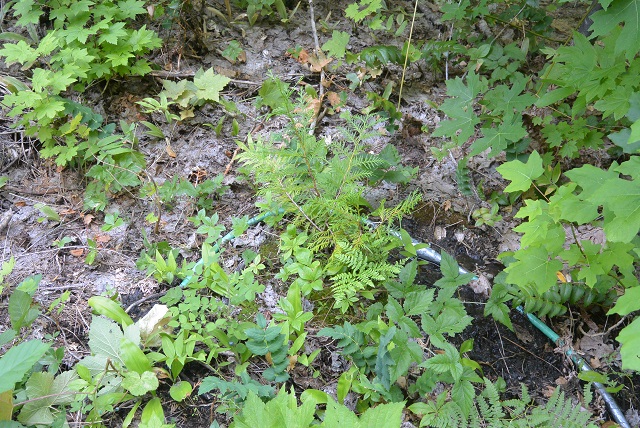
7/28/21 This is a picture of Runty, the rescued Western Redcedar. Runty was just a struggling seedling when I dug him up from the skid road the loggers had built and before they began skidding logs on it, which would have obliterated the little tree. I transplanted it off to the side of the skid road where it is thriving today. I also provide drip irrigation to it 24/7 by that leaky hose you see draped around the tree. It's a little hard to discern Runty from the other leaves around it, but the cedar leaves are distinct enough that you can see the difference if you look carefully.
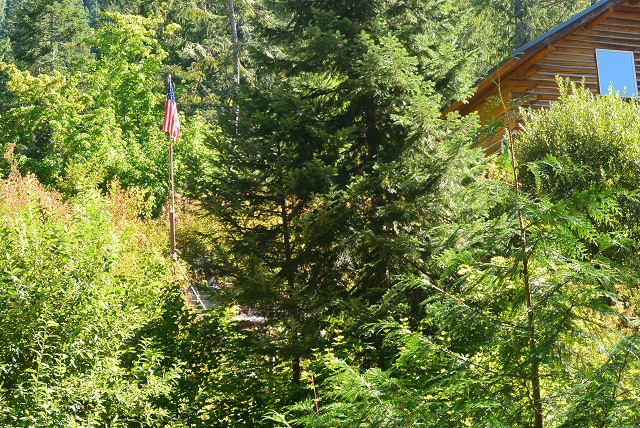
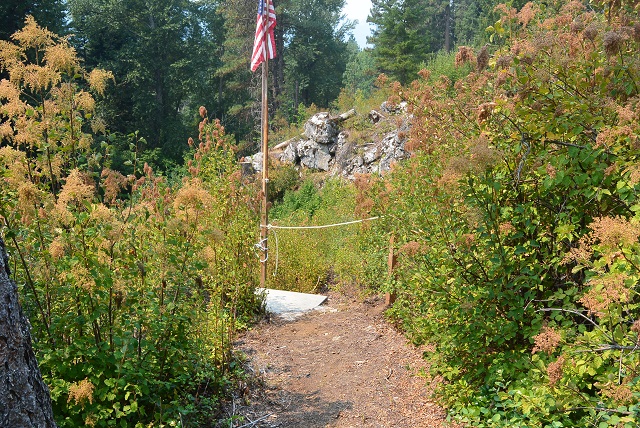
8/10/21 A new flagpole was built and mounted atop the stancheon at the head of the concrete staircase.
8/12/21 A handrail was installed alongside the steep rock steps above the concrete staircase. A 3/4" rope was used for the rail which is attached to a new 4x4 post planted at the top.
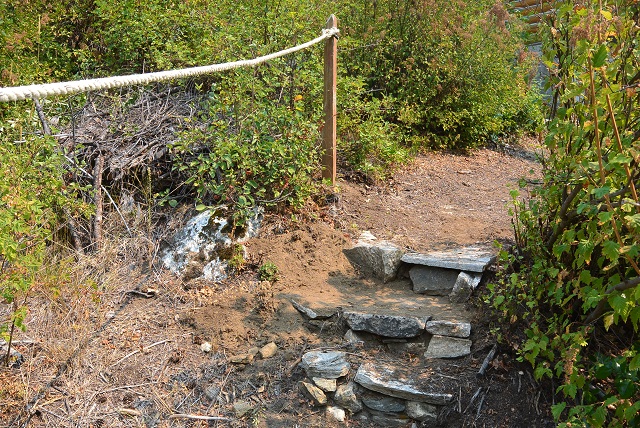
8/12/21 Here you can see the new handrail and also the rock steps which were rebuilt to make them safer.
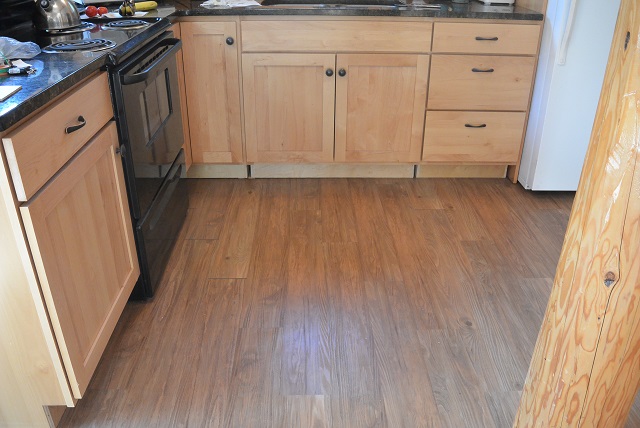
8/24/21 Kitchen cabinet before toeboard was installed.
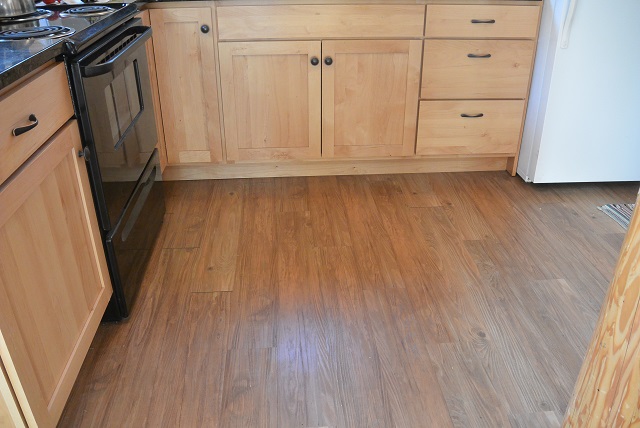
8/24/21 Kitchen cabinet after finished toeboard installed.
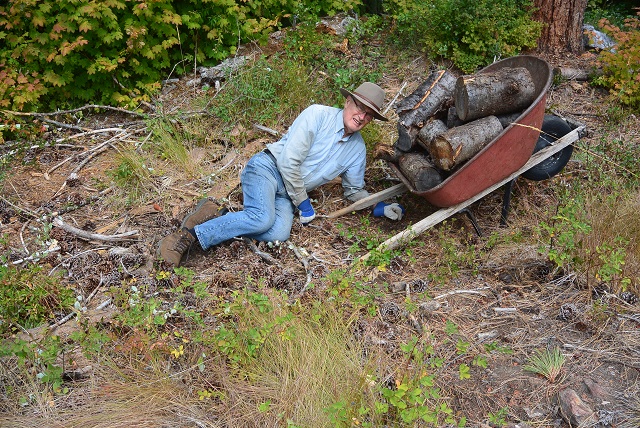
8/26/21 Me re-enacting the fall I took when I lost my footing and fell face-first into that load of firewood.
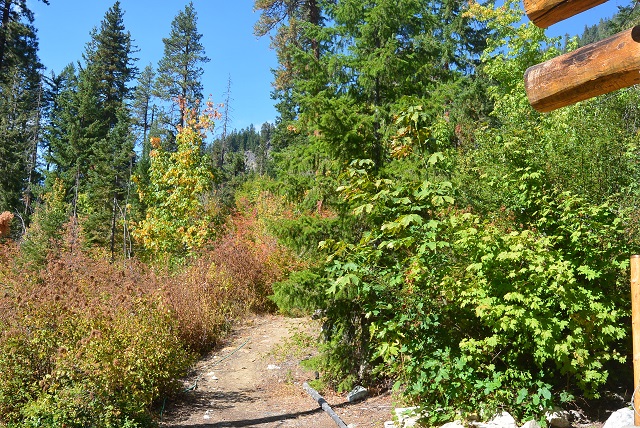
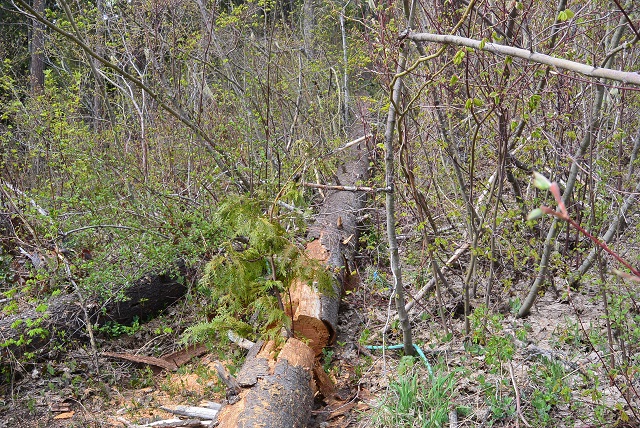
9/15/21 This is a picture "before" I started some serious brush removal.
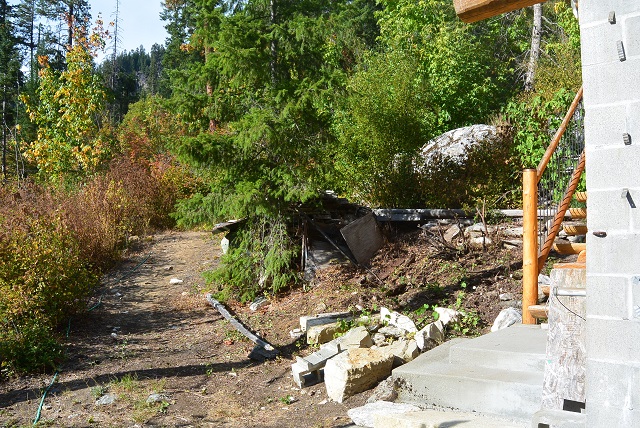
9/16/21 This is the picture "after" a day's work.
Other years: 1991 1992 1993 1994 1995 1996 1997 1998 1999 2000 2001 2002 2003 2004 2005 2006 2007 2008 2009 2010 2011 2012 2013 2014 2015 2016 2017 2018 2019 2020 2021 2022 2023 2024 2025
©2021-2025 Paul R. Martin, All rights reserved.