
Log Home Pictures from 2021, Part 3 of 3
. . . . . . . . . . . . . . . . . . . . . . . . . . . . . . . . . . . . . . . . . . . . . . . . . . .This is Page 3 of 3. Go to page 1 2 3 next prevOther years: 1991 1992 1993 1994 1995 1996 1997 1998 1999 2000 2001 2002 2003 2004 2005 2006 2007 2008 2009 2010 2011 2012 2013 2014 2015 2016 2017 2018 2019 2020 2021 2022 2023 2024 2025
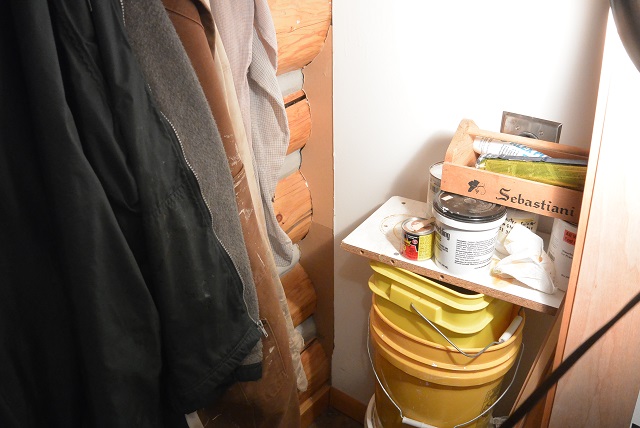
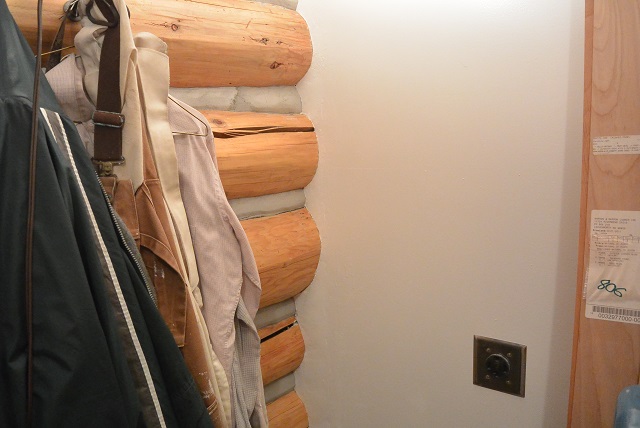
9/28/21 At the top of this picture you can see a typical drywall/log wall interface before doing anything. The lower part has been fitted with cardboard cutouts that will be the backing for the drywall mud. This is the bathroom/utility wall interface and the drywall is a six-inch wall. You can barely see the top part of the corresponding cutout in the utility room.
9/30/21 This is a view from the utility room with two sections of cardboard fitted in place.

10/6/21 Here you see the webbing structure that is glued between the two opposing cardboard cutouts. The webbing provides structural strength and stability once the glue dries.
10/7/21 Here you can see the masking tape applied to the logs and the chinking prior to mudding and painting.
10/14/21 Here the mud has been applied and allowed to dry and the paint has also been applied. All that remains is to remove the masking tape.
10/14/21 This is the final product! The masking tape has been removed, it came off cleanly, and the proof-of-concept is in the pudding, to mix a metaphor with the mud.
10/14/21 Another view of the same seam. I am very pleased with the results and I plan to do the rest of the interfaces, except for one, the same way. The one exception is the wall between the utility room and the kitchen. Since the refrigerator fits so snugly in its location, I think that gap in the wall is important for air flow to keep the refrigerator operating properly, so I will just leave it as it is.
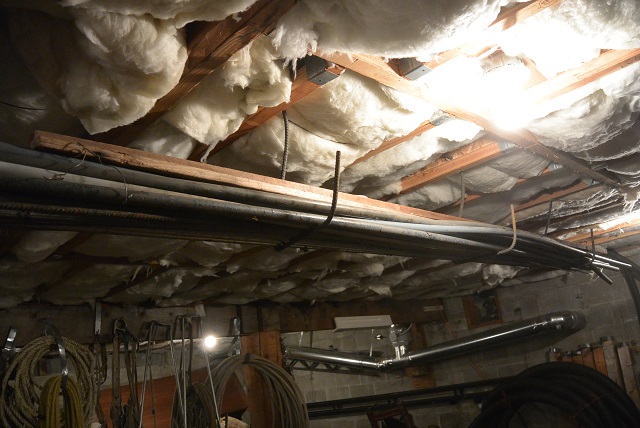
10/14/21 Another small project I took on this week in anticipation of the first snowfall was to bring all the stuff back into the crawlspace that had been removed in order to insulate the floor and which was temporarily stored on the old log rack by the back porch. One problem was a bunch of long stock of rods, pipes, and such that are awkward to store without being in the way. I solved the problem by making four brackets out of #3 rebar and hanging them from joists overhead. Here you can see the brackets loaded up with the pipes, etc.
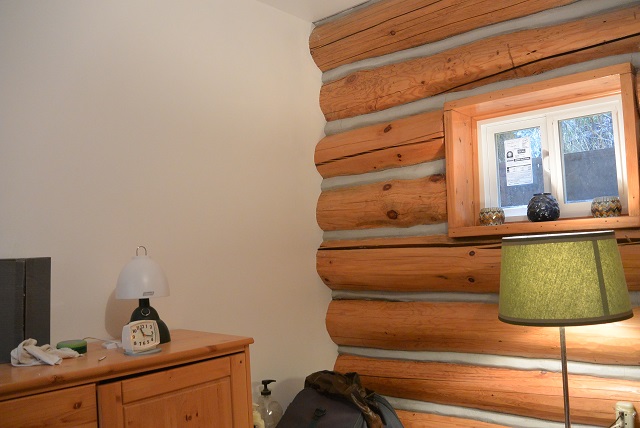
11/3/21 Here's a picture of the finished seam between the bedroom/bathroom wall and the log wall.
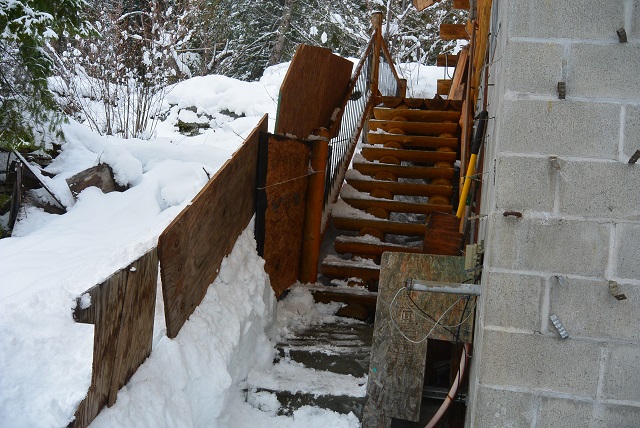
12/16/21 This winter, to save a lot of shoveling, I decided to set up a sheet of OSB against each of the newel posts at the foot of the front and back staircases. The sheets are intended to prevent the huge snow berm, that forms from snow falling off the roof, from avalanching down onto the stoop and the lower steps of the staircase. I had set those sheets up the previous week and they worked great. Now, however, the berms were high enough to overflow over the top of the OSB sheets. So, in the back, I added three more pieces of plywood on top of the OSB to stop the overflow. In this picture you can see the three additional sheets on top of the original OSB, and you can see the berm up against them.
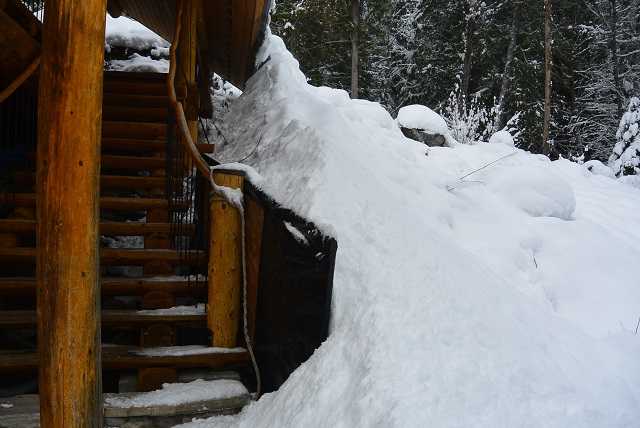
12/16/21 This is a picture of the original sheet of OSB at the front staircase. Even though the berm is beginning to overflow here too, I didn't add any extra sheets. I might in the future, but I hadn't yet at the time this picture was taken.

12/24/21 Over the years I have learned that Camp Serendipity lies in the range of a cougar that makes periodic visits. I have never seen the cougar, but I have seen evidence of its tracks. And the only time I see those tracks is after a fresh snowfall just before the cougar's visit. That has happened only a few times in the last 30 years, and it happened again last night. In the past, the tracks always originated from the road down by the driveway entrance, then straight up the hill toward the cabin, and then going up onto the high rock on the left side in a passage I call the Cougar Pass. I followed them only once beyond that, and they went down into the valley, up to the other side and then straight up the side of Dirtyface until it was too steep for me to follow. This time, the pattern was much different. This morning I looked out the loft window at the high rock and I saw a big track of something that walked toward the cabin and then jumped down onto the front porch. This picture shows the track that I saw.
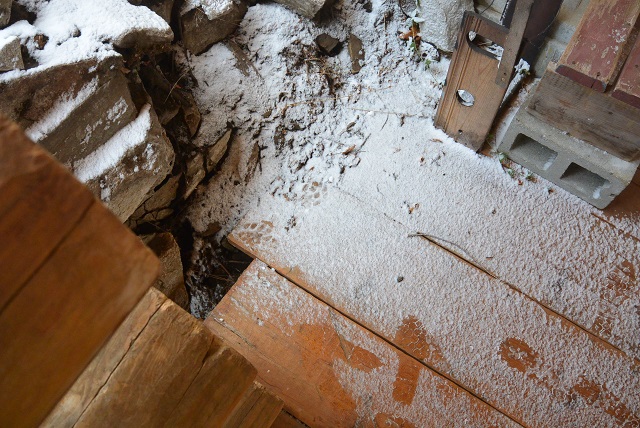
12/24/21 I went out to the front porch and saw the tracks where the cougar landed on the porch. He didn't stay on the porch long but instead walked along the rocks at the end of the porch.
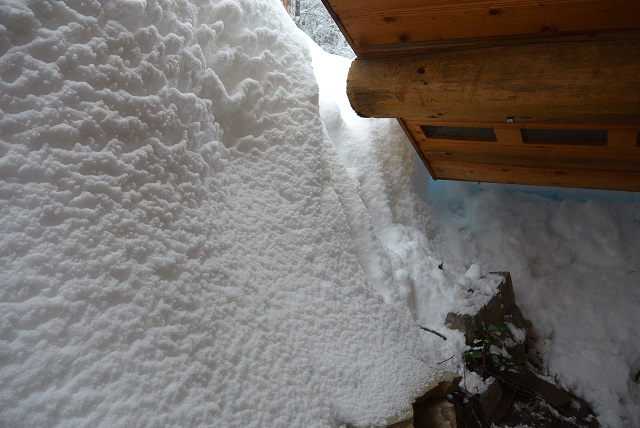
12/24/21 Here you can see where the cougar made his exit from the porch. There was barely enough room between the roof and the snow on the cliff for the cougar to climb and jump out leaving these tracks.
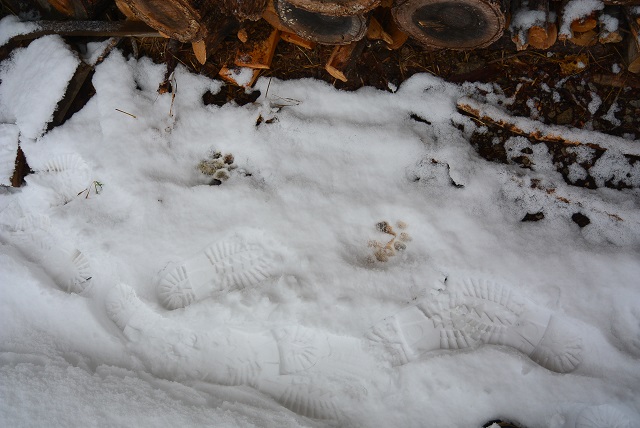
12/24/21 After looking around, I found many more sets of tracks. One set showed that the cougar had followed the trail in front of the cabin over to the trail leading to the hairpin turn. That part of the trail had been obliterated by a huge avalanche from the roof, but the trail in front of the cabin was clear as you can see from this picture in front of the woodpile. Another set of tracks showed that he had climbed all the way up the back stairs and across the back porch. I don't know where he went after that.
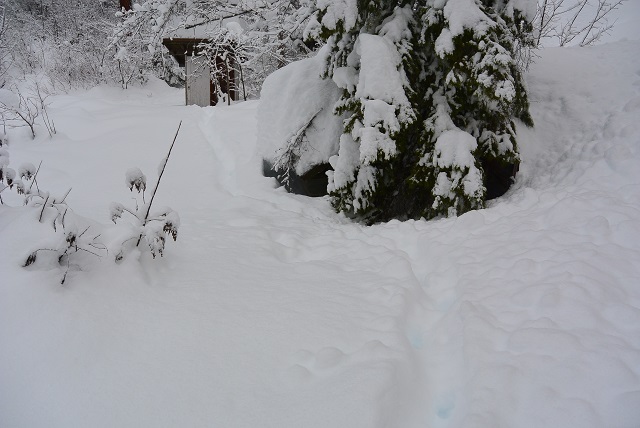
12/24/21 When I was bringing my gear down to the truck getting ready to leave, I saw this track coming from up by the privy that you can see in the background, down to the trail I was walking. This might be the track that led up to the back porch. It seems unlikely that one animal made all those tracks. It looks like there might have been two cougars, one making the trail from the privy to the back porch, and another one going over the high rock, onto the front porch, and back out into the snow. Either that or one cougar was very curious and gave the cabin a thorough inspection.
Other years: 1991 1992 1993 1994 1995 1996 1997 1998 1999 2000 2001 2002 2003 2004 2005 2006 2007 2008 2009 2010 2011 2012 2013 2014 2015 2016 2017 2018 2019 2020 2021 2022 2023 2024 2025
©2021-2025 Paul R. Martin, All rights reserved.